Charming DIY Succulent Planter Box
This post contains affiliate links, which means we may earn a small commission if you purchase through them — at no additional cost to you. Please see our policy page for more details.
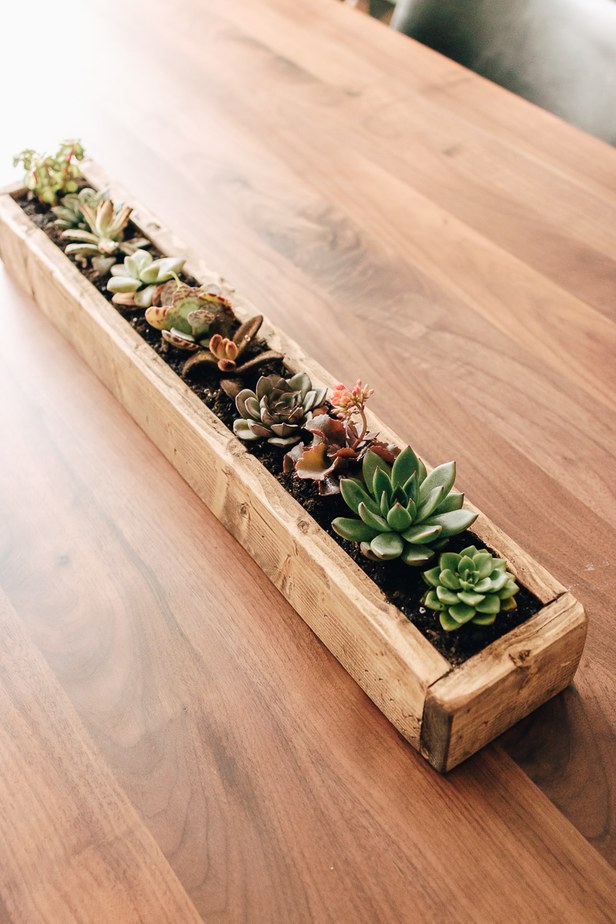
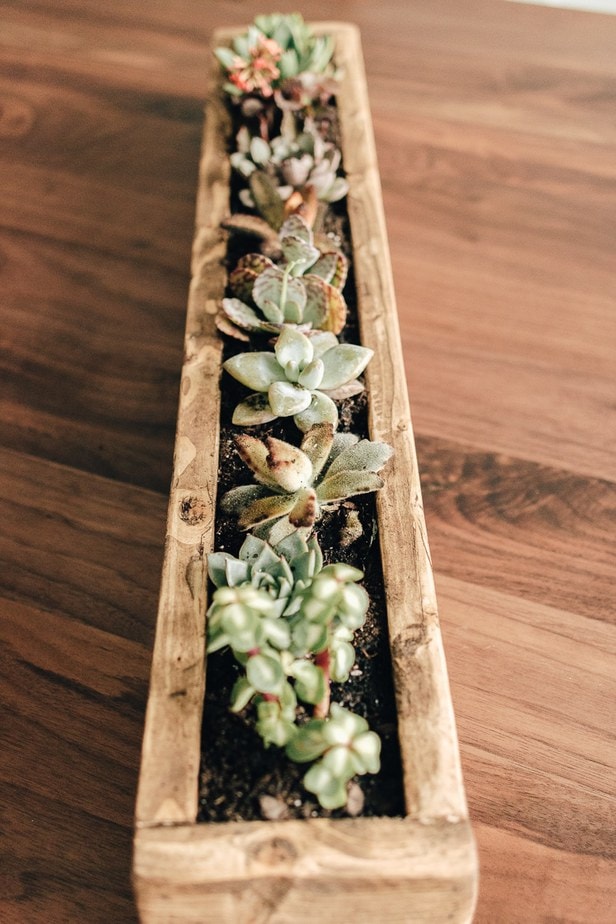
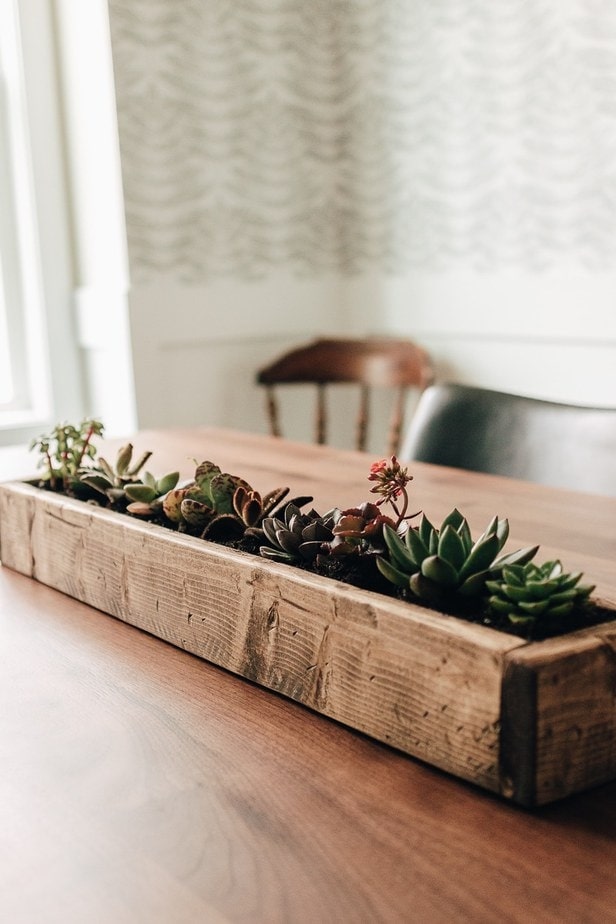
I recently collaborated with Walmart and Costa Farms to make this rustic diy succulent planter box for mini succulents. I love how it turned out!
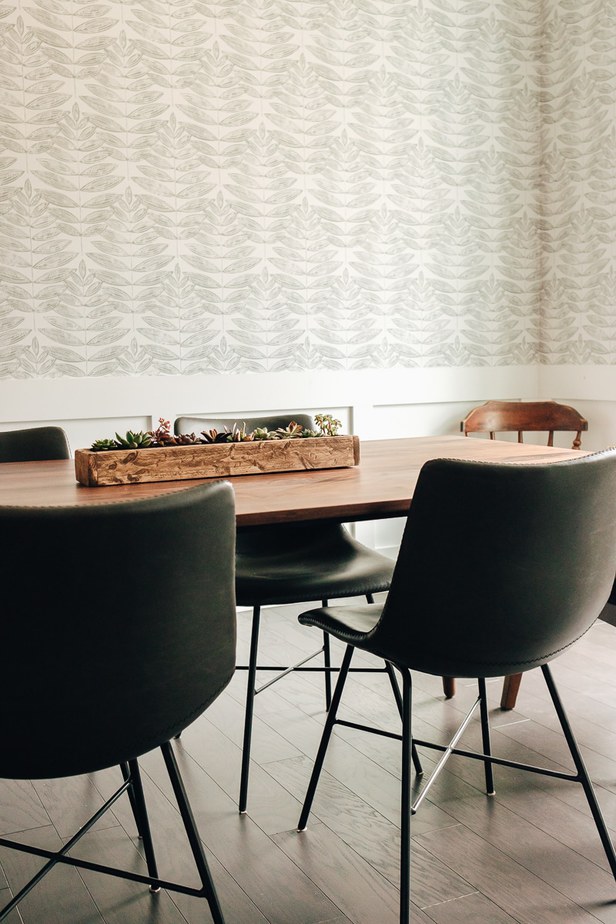
I have it sitting as a centerpiece on our dining room table. It’s simple and earthy but the shape makes it interesting and just enough for your tables.
There are three things in particular that I love the most:
- It’s great for brown thumbs – it doesn’t need that much watering!
- It’s low so you can still talk to your people across the table without looking through greenery.
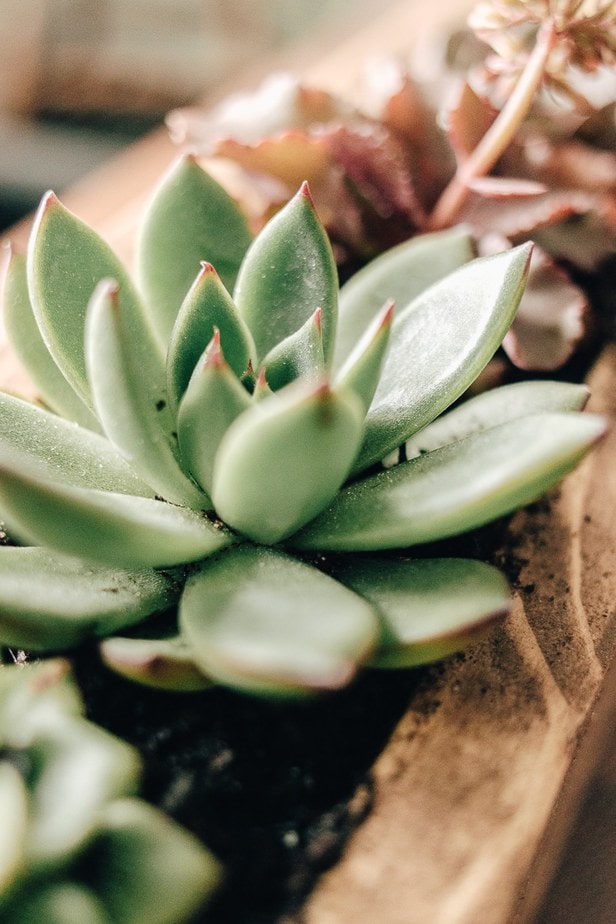
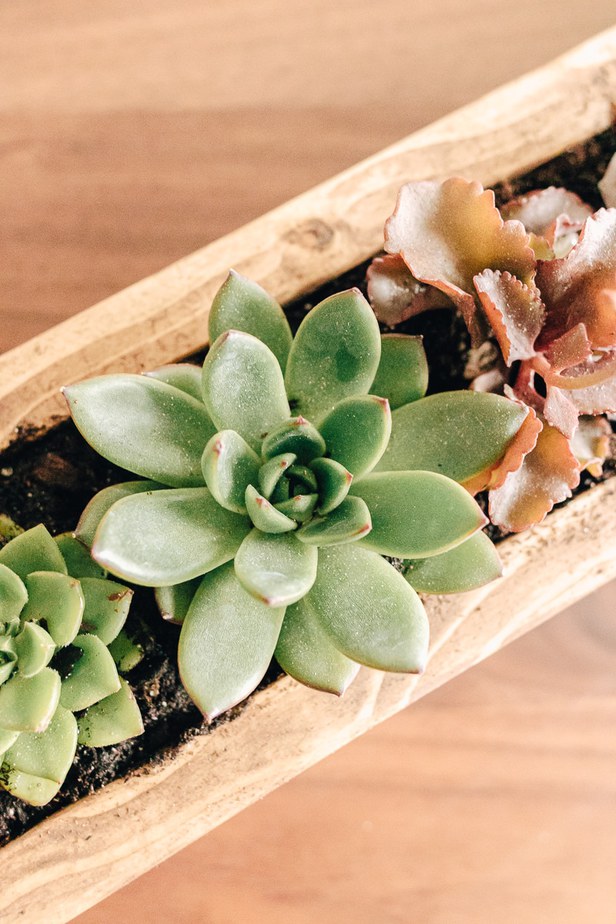
- These mini succulents are the most beautiful little plants – you get quite the variety in this pack and they look great together.

Watch a Video
Things You’ll Need:
- 1×4 Pine wood
- Costa Farms Mini Succulents – available at Walmart and Walmart.com
- Wood Stain – I used Early American
- Polyurethane
- Wood Glue
- Brad Nailer and finish nails
- Succulent/Cactus Soil Mix
- Landscape Liner
- Table Saw
- Clamps
- Orbital Sander or Sandpaper
- Drill
DIY Succulent Planter Box – Step by Step
Step 1: Cut Wood Pieces.
Take your 1x4x8 and cut it down using your table saw.
My finished succulent planter is 21 inches long.
You will need to cut three pieces of wood 21 inches long. Then another two smaller pieces of wood slightly more than 3.5 inches long.

You are making a long skinny planter:
- One 21 inch piece of wood as the bottom.
- Two 21 inch pieces for the long sides
- Two 3.5+ inch pieces for the short sides.
Step 2: Attach your Wood Pieces together.
Using some wood glue, attach your long pieces of wood to the bottom on each side.
(Watch the video to get the gist of how to do this.)
Use clamps to hold these pieces together tightly while they dry.
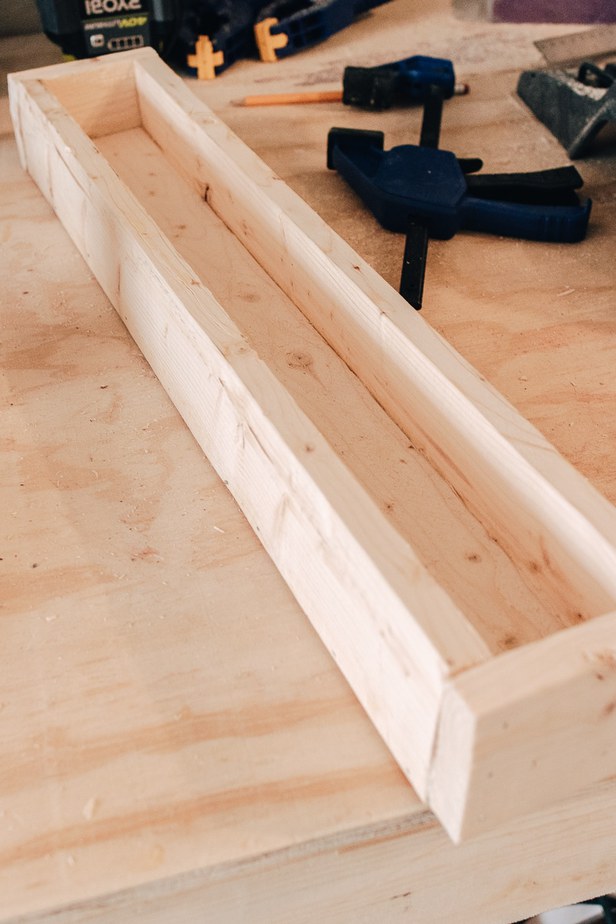
After they dry, pop a few nails in there for extra security.
Now we are going to repeat this step, but with the two short sides of the planter.
Step 3: Sand your Planter.
Take some sandpaper or an orbital sander to sand your planter down.
This will smooth out the rough spots and also ready it for your stain.
If you want, you can also take a hammer and “beat it up.”
This is optional, but if you want to go a little rustic and crazy, by all means go for it.
Step 4: Stain your Planter.
I used Early American for this project.
Grab your favorite stain and staining cloth and go to town! I love the way Pine wood looks when it’s stained.
I don’t know why some folks are so anti Pine wood. It’s cheap and soft, yes, but it’s beautiful in my opinion.
You can also apply a coat of polyurethane on the outside of your planter to protect it.
Step 5: Drill some Drainage Holes in the Bottom.
Take a drill and make a few holes down the center of your planter.
Succulents don’t like to sit in water.
If you don’t want to do this, you can line the bottom of your planter with rocks/pebbles for drainage and also a charcoal layer to help absorb excess water.
Step 6: Plant your Mini Succulents.
The fun part!
Line your planter with some landscape liner or mesh to help protect the wood on the inside and keep the dirt from falling through the drainage holes.
Keep in mind, we are not watering these guys that much.
You can also use a plastic bag and cut it in the middle to allow access to the drainage holes.
Fill in the bottom of your planter with some succulent/cactus soil mix.
Then, plant each mini succulent in the row and fill in some dirt around them.
Give them a leeeeeeeeeeetle (that’s little, LOL) bit of water. Just a little.
Put them in a space where they will get some sun and light and enjoy this beautiful creation that you just made.


