How to Make a Giant Spider Web for Halloween
This post contains affiliate links, which means we may earn a small commission if you purchase through them — at no additional cost to you. Please see our policy page for more details.
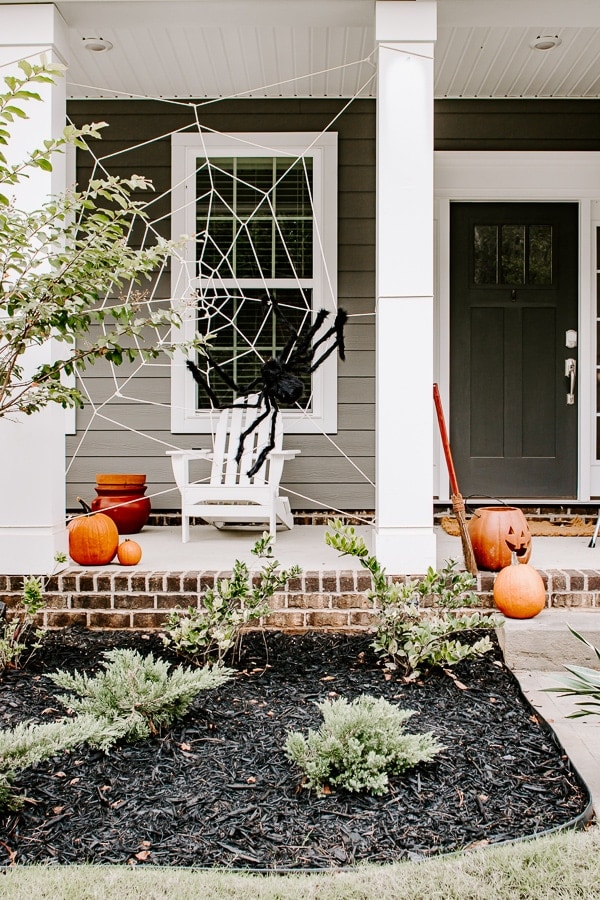
One of my fondest childhood memories is watching my dad create a large spiderweb for Halloween on our front porch every year. Now that we have a bigger front porch, I finally get to create that giant spiderweb for my kids!
This spiderweb was HUGE and I was always in such awe of it.
This Halloween DIY is so simple and makes a big impact on your porch. If you’re looking for an easy, inexpensive way to add Halloween decor to your home – this is a winner!
So, let’s get to the tutorial.
Things You’ll Need
- Cording, rope, string, clothesline or yarn. I used this leftover macrame cord.
- Faux Spider
- Scissors
- Screw-in eye hooks or nails (if you need them, see notes)
Notes: Our porch has columns, so I created my spiderweb in between and used the posts to tie them. If you don’t have columns, you can tie your ropes with screw-in eye hooks or nails.
Can you use any string to make a spiderweb?
Absolutely! You can make a spiderweb from any rope, yarn, string, or other material you have. If this is an outdoor spiderweb, consider getting rope that will withstand the elements, like macrame cording or clothesline.
How long does it take to make a spiderweb?
This honestly took me all of 20 minutes. Once I got my foundation strings up – the actual weaving process for the webbing was a cinch!
How to Make a Giant Spider Web
You’ll want to first tie strings for the “foundation” of your spiderweb. Then, you can create the individual webbing by weaving in and out of these “foundation” strings.
Here’s how you do it.

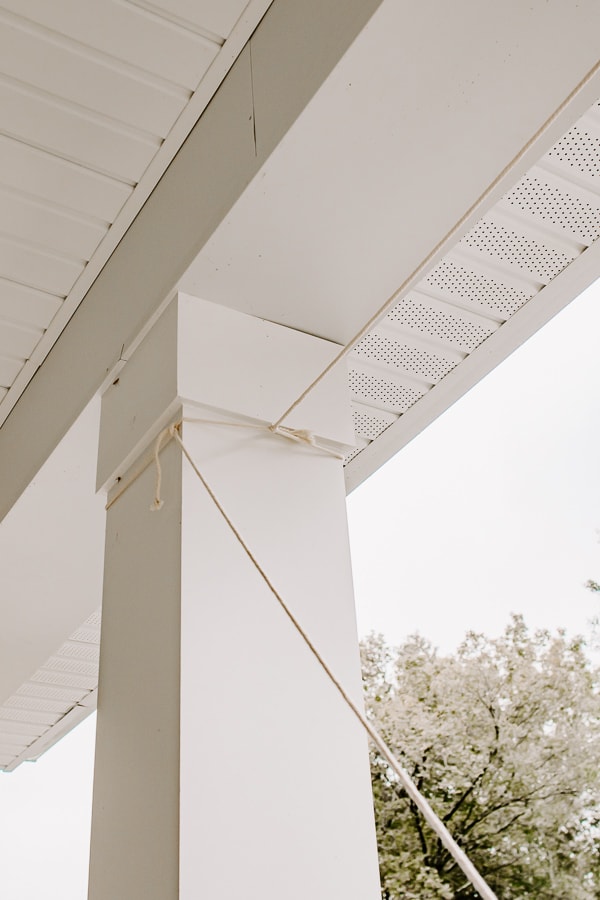


- Tie three strings across – one at the top, one in the middle, and one at the bottom.
- Now, tie a string from the top to the bottom that crosses the middle.
- Tie a diagonal string from the top left corner to the bottom right corner.
- Tie a second diagonal string from the top right to the bottom left corner. These strings should all intersect in the middle.
- Starting with the outer edges working towards the center, weave string in and out of these “foundation” strings. You can tie a knot at each cross string or loop it around tightly. Pull your strings taut – this creates a better-looking spiderweb. You can start each row with a new piece of string or continue through with one long strand. Keep going until you get to the center of the spiderweb.
- Tie a knot at the end to finish off the web and keep it secure.

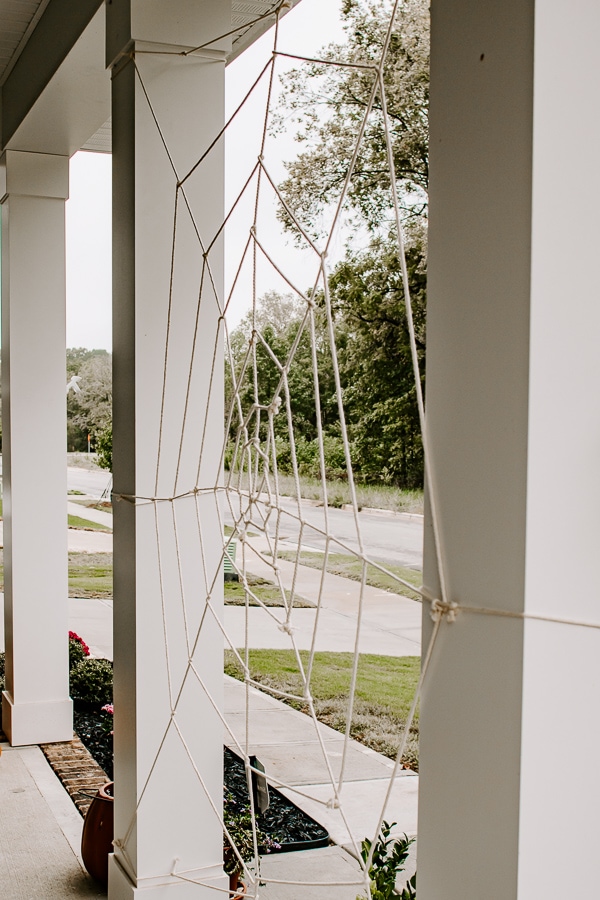
That’s it! I made up a little diagram for how I did this.

The beauty of this DIY porch spider web is that it shouldn’t look perfect. It looks more spooky and realistic when the rows are slightly off.
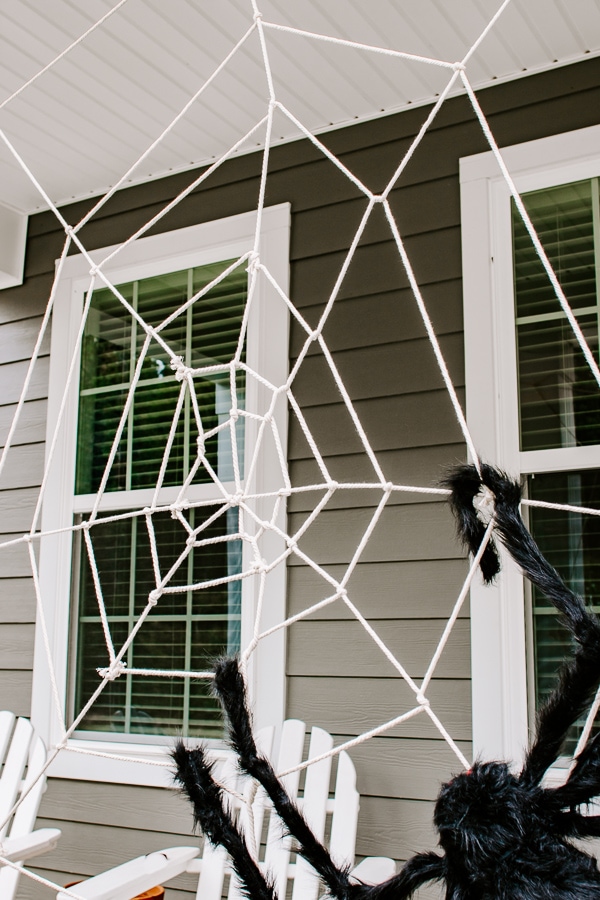
The finishing touch will be your giant spooky spider! These spiders have bendy legs that you can easily “hang” on your spiderweb. Add one or two – or more, depending on your spider web size!
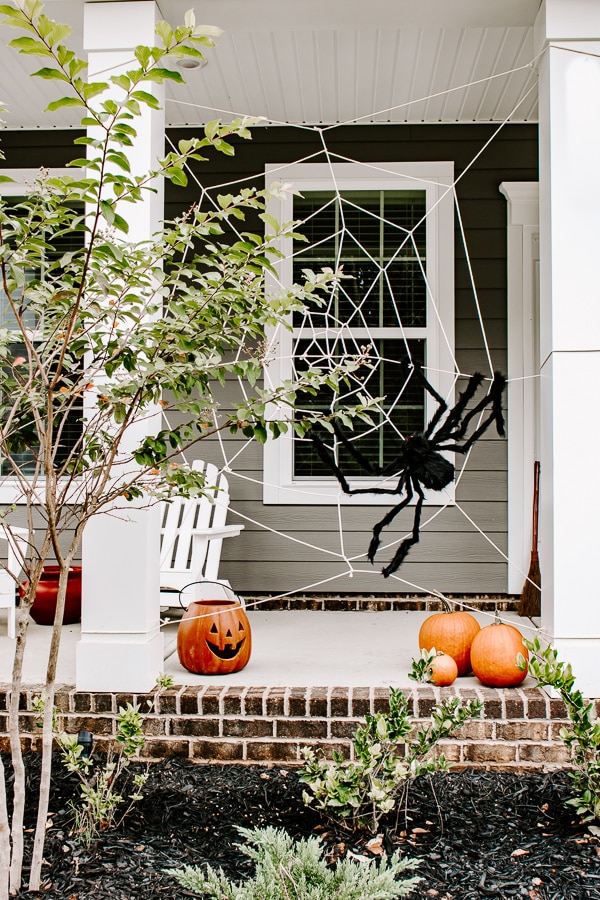


You can buy these giant spiderwebs if you don’t feel like making your web. But I probably used less than $5 worth of rope. The savings went towards other Halloween decorations. Up to you.

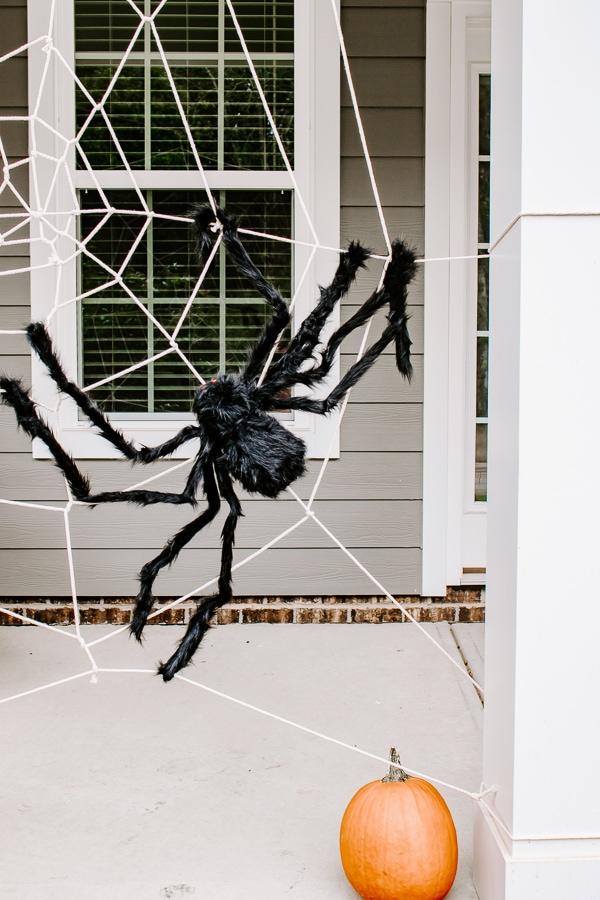
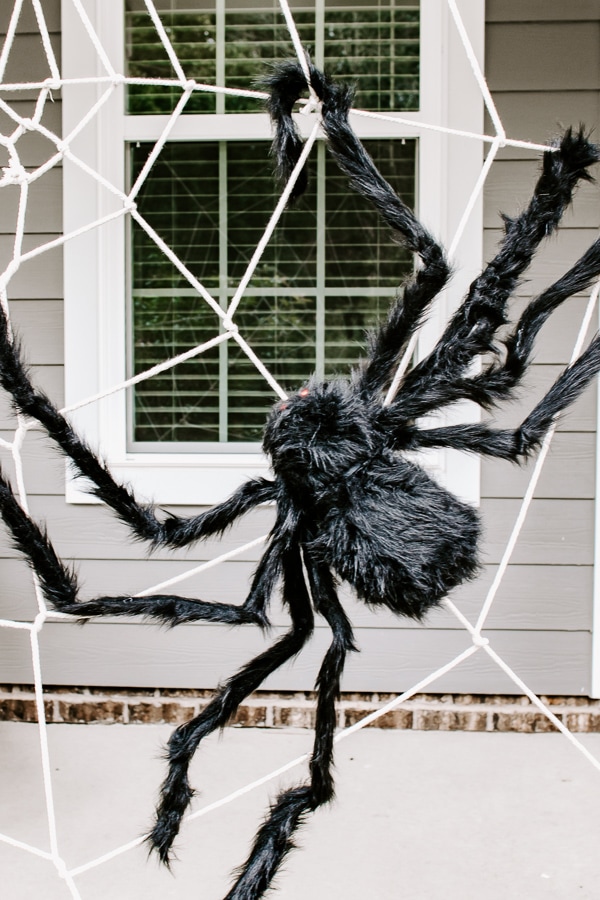
I think it’s the perfect way to spook up your porch for Halloween! Now that you know how to make a giant spider web, are you ready for more Halloween posts?
Check out my Halloween Decor Board on Pinterest for lots of spooky inspiration. Follow me while you’re there!
Xo Karen


