How to Get the Terracotta Pumpkin Look

This post contains affiliate links, which means we may earn a small commission if you purchase through them — at no additional cost to you. Please see our policy page for more details.
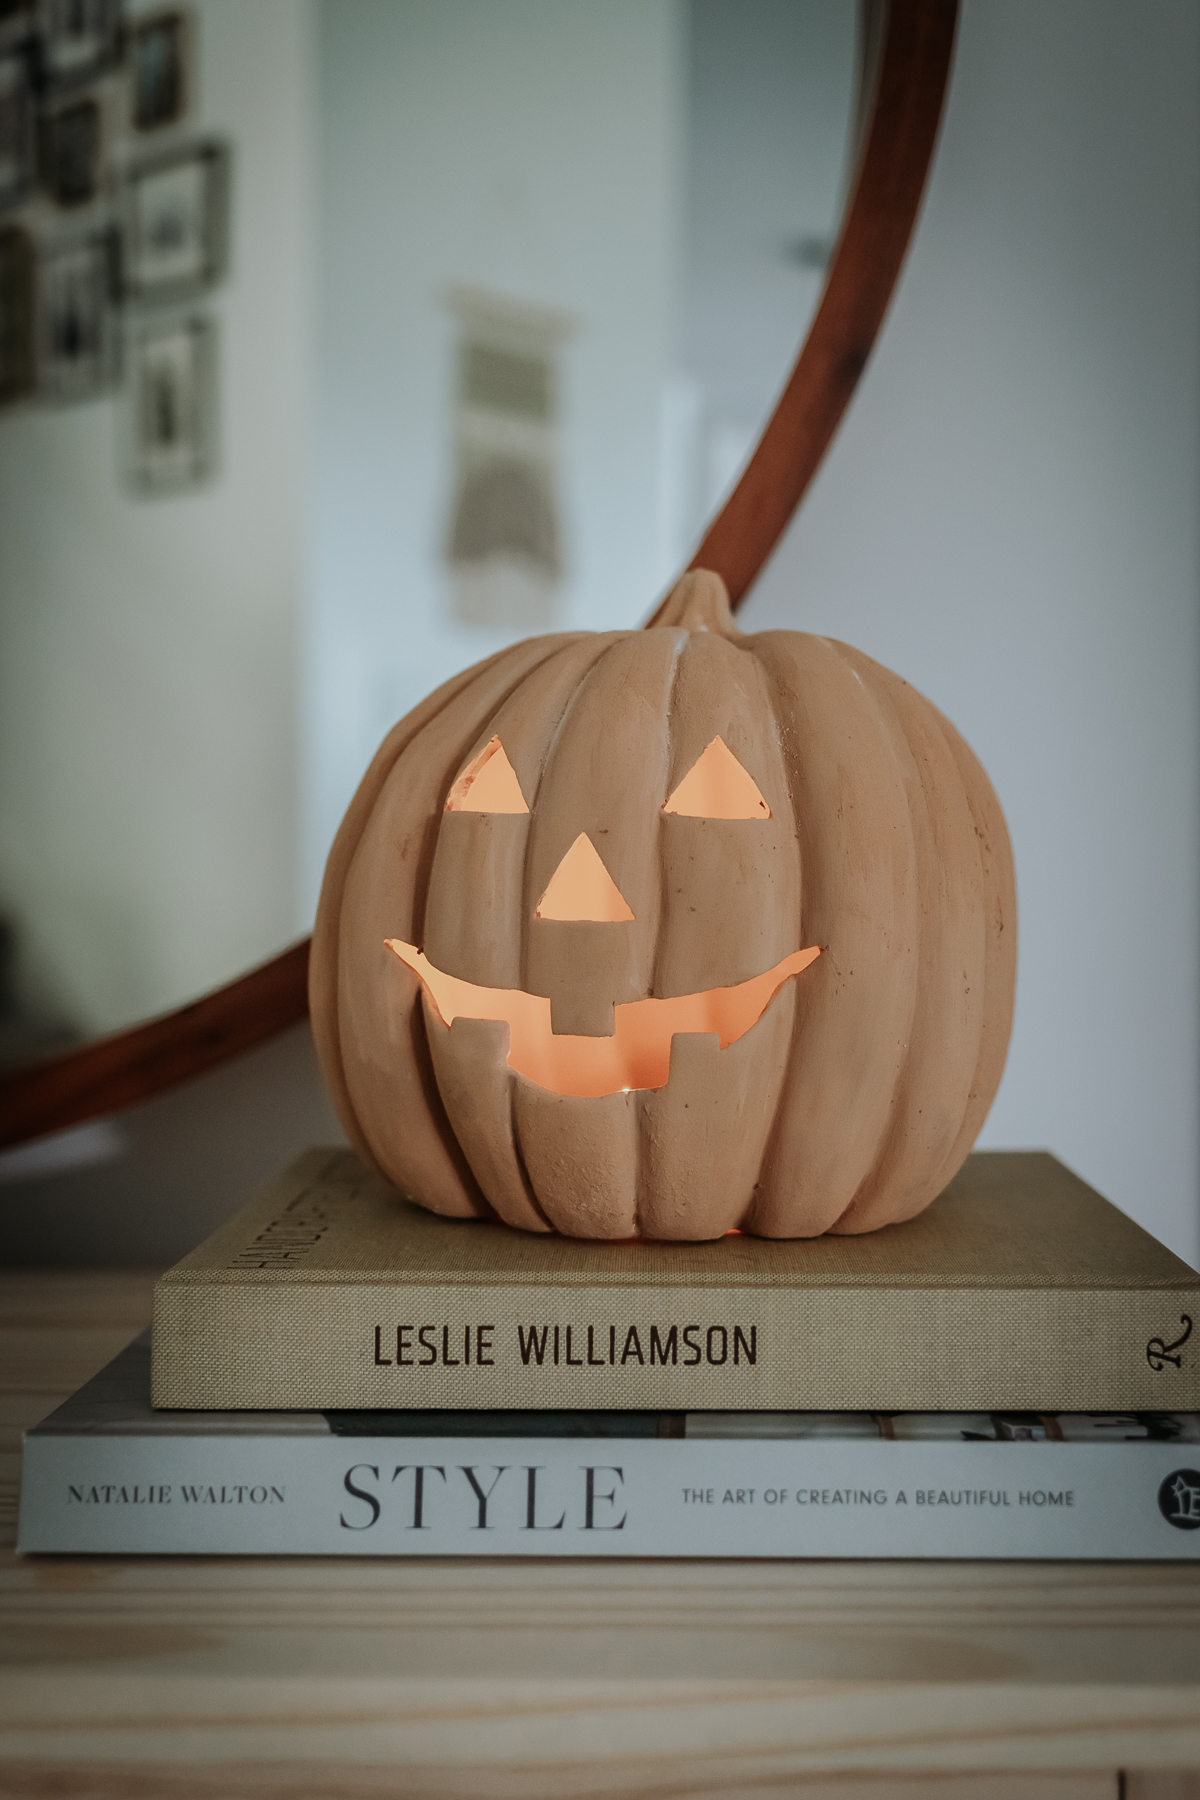
If you’ve been eyeing those gorgeous terracotta pumpkins but don’t want to shell out the cash, you’re in luck! I’ll show you how to get that rustic, earthy look with a bit of DIY magic—and the best part? All you need is some paint!
This is a super simple way to give those plain pumpkins a trendy makeover, perfect for fall decor. Let’s jump in and make those pumpkins look like they were straight out of a pottery studio!
Terracotta Pumpkins
If you are unsure what these Instagram favorite terracotta pumpkins are, I’ll show you a bunch. Pottery Barn sold these pumpkins last year, and I saw them everywhere!


I love the look, and they are not the bright orange color you typically see with Halloween decorations. Then, Walmart and Target came out with their version this year. And they are a steal!!
But if you already own a bunch of decorative pumpkins, why shell out more cash? This DIY will give you the look with your existing pumpkins.
Things You’ll Need
- Decorative Pumpkins (I used both plastic and ceramic)
- Acrylic Paint – I used DecoArt Americana in Colors Whitewash, Honey Brown, and Warm Beige
- Paint Brush or Foam Brush
- Baking Soda
- Paper plate or Paint Palette (for mixing paints)

How to Get the Terracotta Pumpkin Look with Paint

How to paint your pumpkins to look like terracotta.
Total time: 3 hours
-
Mix Paints

-
Paint Pumpkins & Dust with Baking Soda
Use your paintbrush to paint the pumpkins. If the color looks too dark, add more white. If it looks too light, add more brown. Add a very light dusting of baking soda to the pumpkin. It should stick since the paint is still a bit wet. This will give it that chalky look. You can also mix baking soda into the paint itself; however, it can make it clumpy and harder to apply.
-
Let Dry!

Allow your pumpkins to dry for a few hours or overnight. Then, you can use your hands or a dry paintbrush to remove some baking soda or spread it around more evenly.
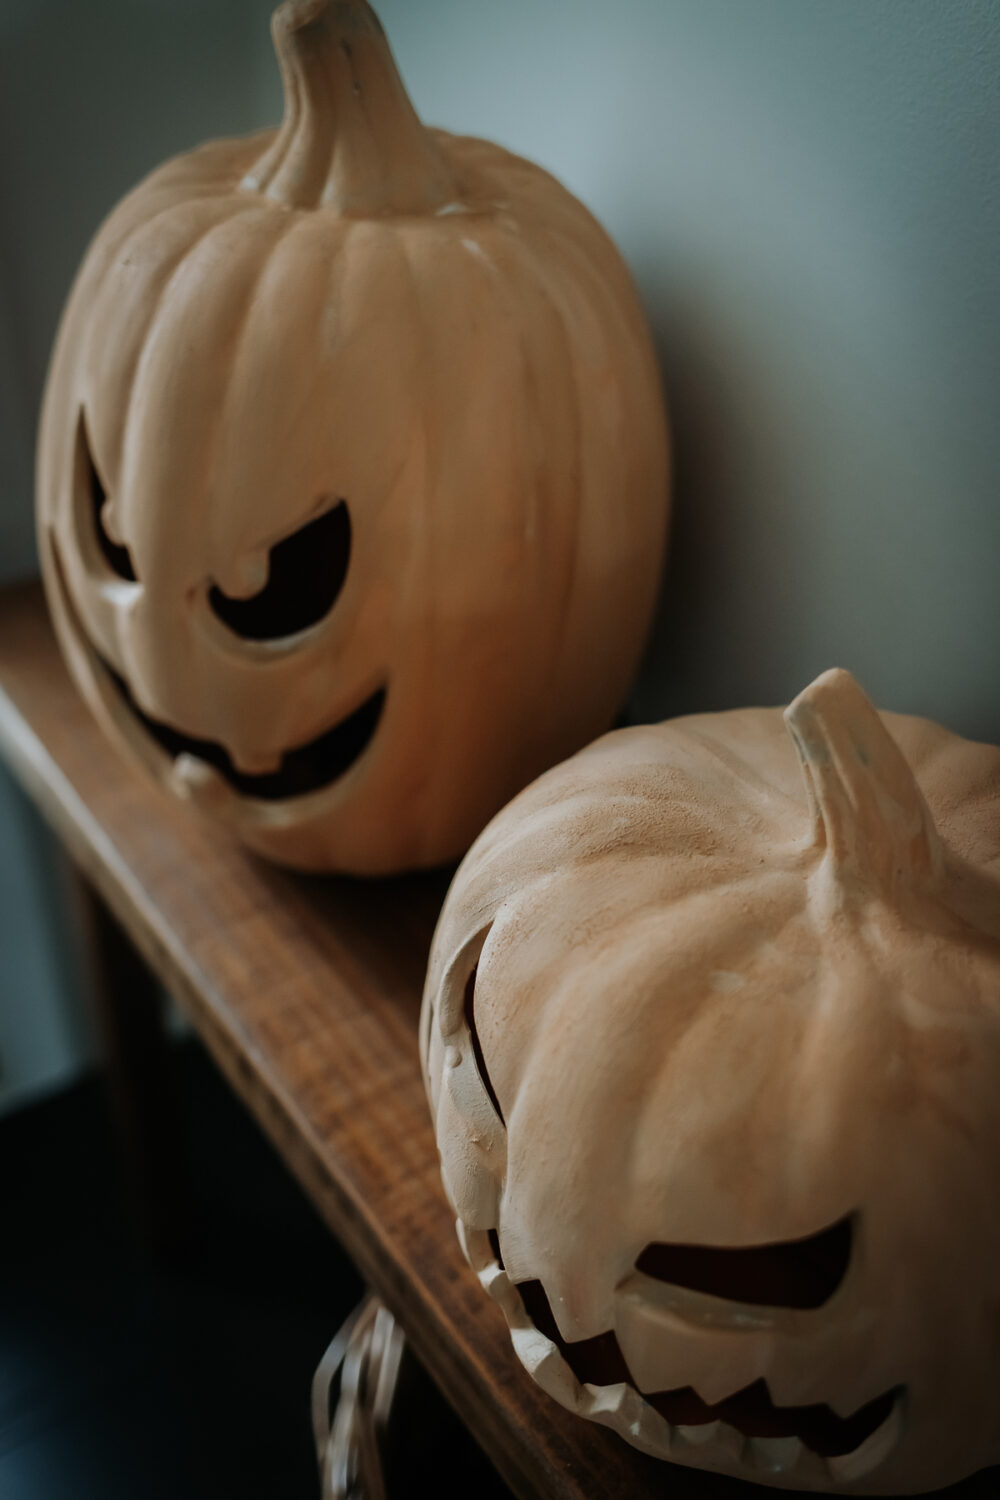
I love how these pumpkins turned out, but you know what I love most? That they all match! I didn’t realize how much it bothered me to have different color pumpkins. These look like a set now.


And there you have it—your very own DIY terracotta pumpkins! Who knew a little paint could make such a difference, right? This simple project brings that warm, cozy vibe to your fall decor without breaking the bank.


