10 Free Pumpkin Carving Stencils + Essential Tools

It’s time to break out the pumpkin carving tools and get carving! This post includes some free pumpkin carving stencils and my pumpkin carving essentials.
I still enjoy the old jack-o-lantern look of my pumpkins, but sometimes it’s fun to carve a design that’s a little more “you.” You can really go hog wild with the ideas—have you seen some of those intricate pumpkin designs? Crazy!

I gathered a few designs that I thought would make cool pumpkins but are beginner-friendly, too. After all, the kids will likely take part in this, and we don’t want to sit there for hours carving away or make it too hard for them to participate.
Pumpkin Carving Tools
First things first. If you want a stellar design on your pumpkin, you need to have the right tools. Those packaged tools they sell in the grocery store don’t really cut it (pun intended). These tools are somewhat hard to use (read: tiny) and end up bending or breaking. I do like the scoop, however.

But I advise investing in a set of quality pumpkin carving tools that you can bust out year after year. I recommend this set. It’s stainless steel and heavy-duty, but the tools are sharp, so use caution!
Free Pumpkin Carving Stencils
Here are some free pumpkin carving stencils. Each is on 8.5 x 11 inch paper, so just print them out, stick them on the front of your pumpkin with tape, and carve through the paper into the pumpkin. Once you complete the basic outline, you can remove the paper and finish carving.
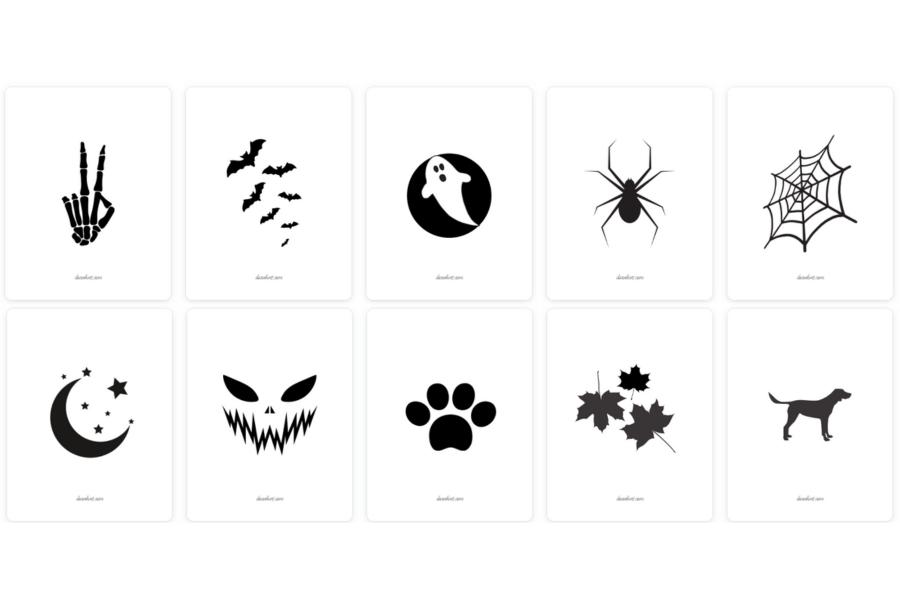
Click here to download these stencils.
Pumpkin Candles
Another important factor is how to light the pumpkins once you are done. Thankfully, we are past the days of having to put a real-flame candle in there. Phew! I bought this set of solar candles a long time ago, and they are still going strong!
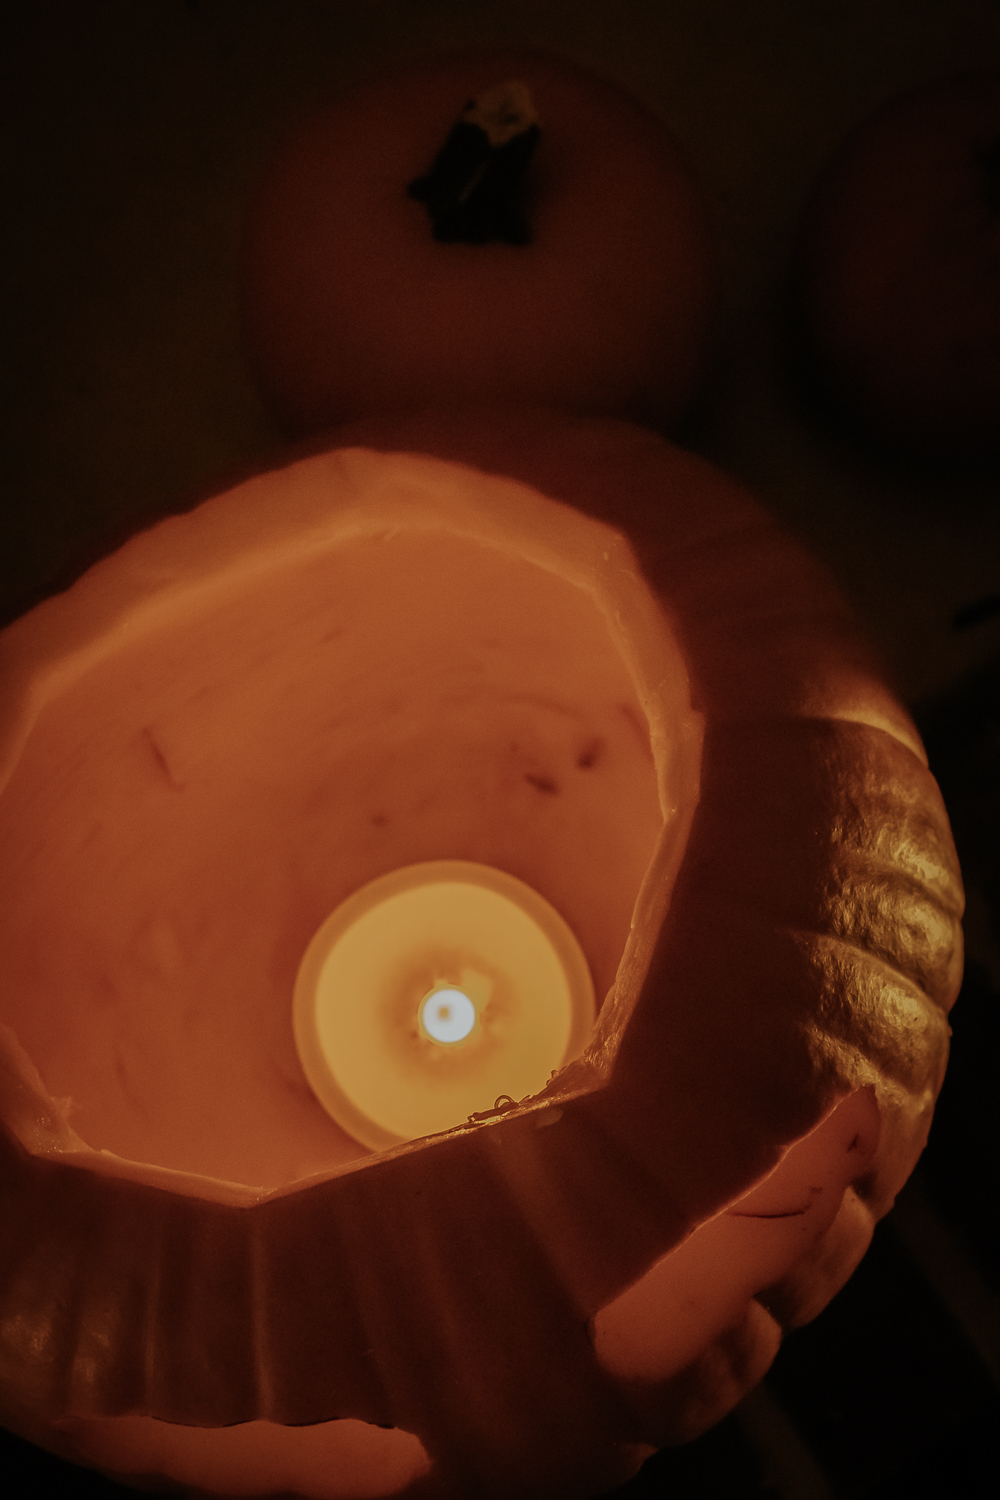
They really give off a great amount of light, and I never have to worry about batteries. The only caveat? You have to take them out of the pumpkins in the morning so they can charge by the sun and then put them back in the pumpkins at night. It’s not a big deal for me to do this because it’s only a week.


The other option is to use
Pumpkin Carving 101
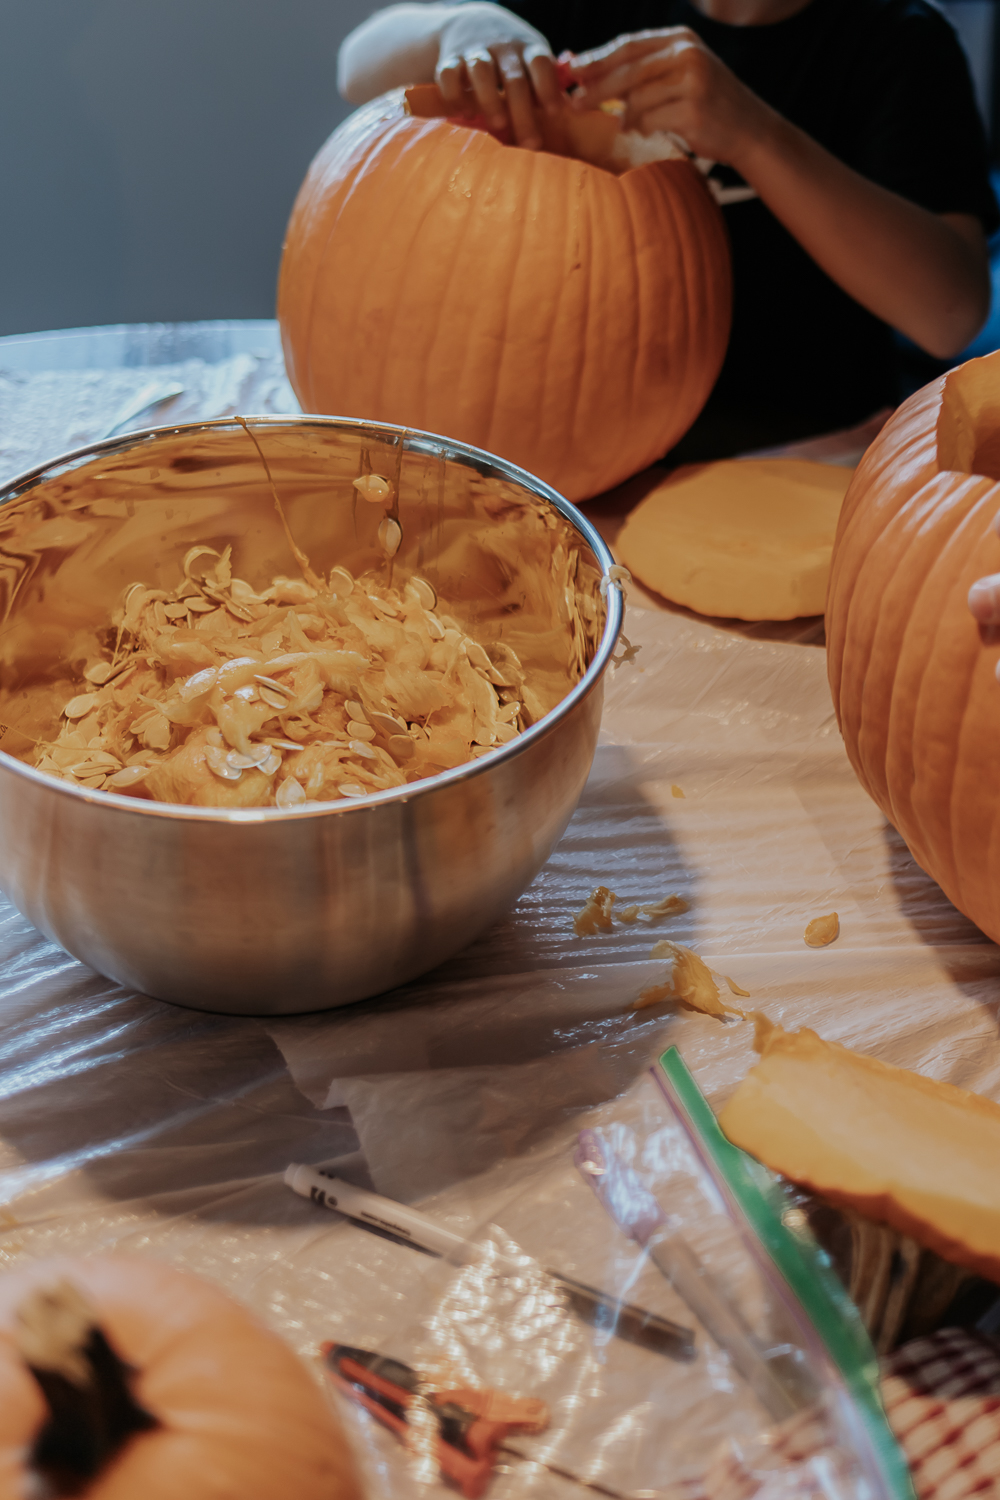
Carving a pumpkin is messy but not hard.
And that’s it, my friends. Happy Pumpkin Carving!


