How To Paint Kitchen Cabinets Like A Pro In 10 Simple Steps
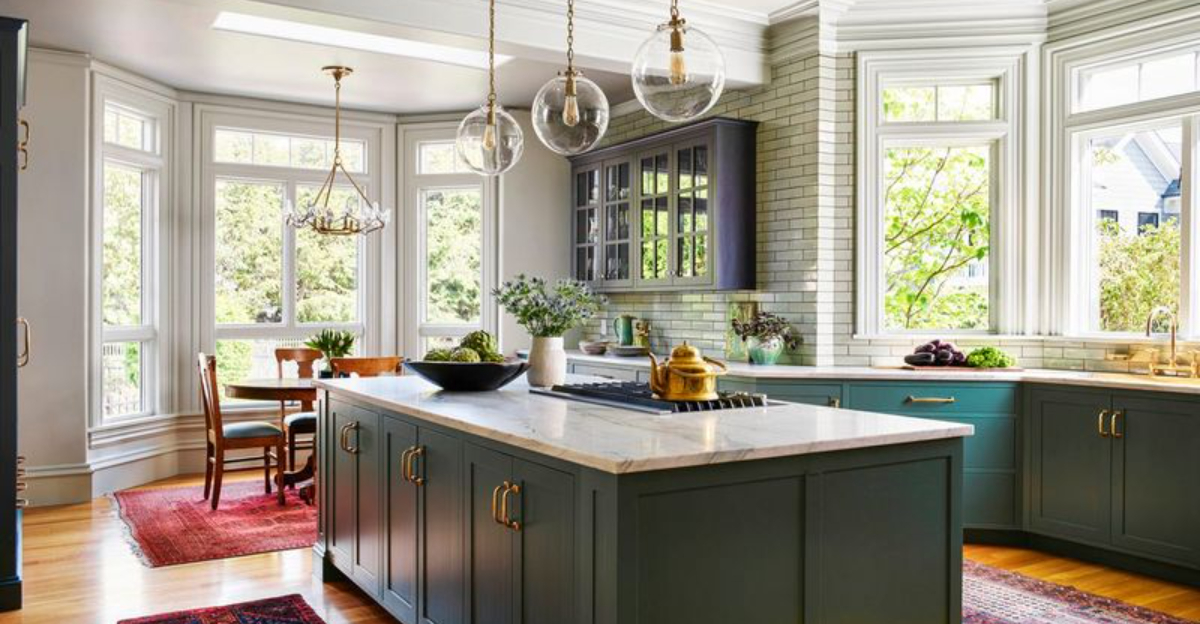
Transforming your kitchen doesn’t always require a complete renovation. With some patience and the right approach, painting your cabinets can give your space a fresh new look at a fraction of the cost.
I’ve learned that professional-looking results come from following a methodical process.
Let me walk you through the ten essential steps that will help you achieve beautiful, durable cabinet finishes just like the pros do.
1. Remove Doors
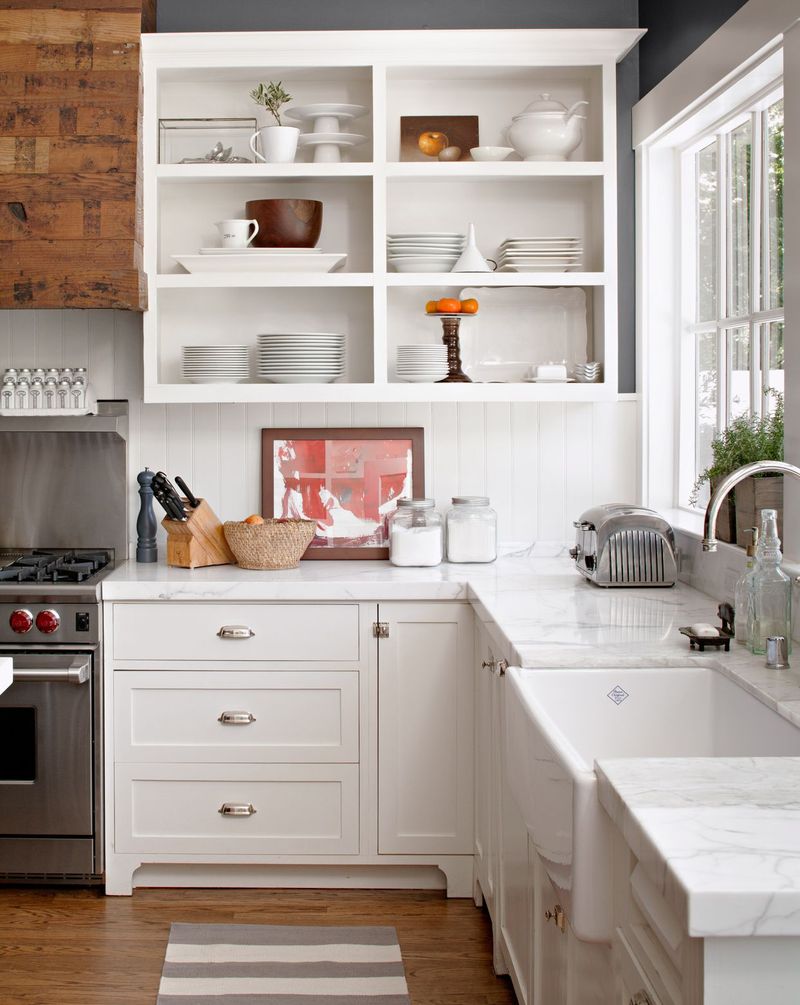
First things first take off all cabinet doors and drawers. This step might seem obvious, but you’d be surprised how many DIYers try to paint everything in place! Working with detached pieces allows for easier access to all surfaces and creates a smoother finish.
You’ll need a screwdriver or drill to remove the hinges. Place a drop cloth underneath to catch any hardware that might fall. Remember to work systematically from one end of the kitchen to the other.
Removing doors also prevents paint from gumming up the hinges or creating those annoying stick points where the cabinet meets the frame. Trust me, this extra effort upfront saves headaches later!
2. Label Everything
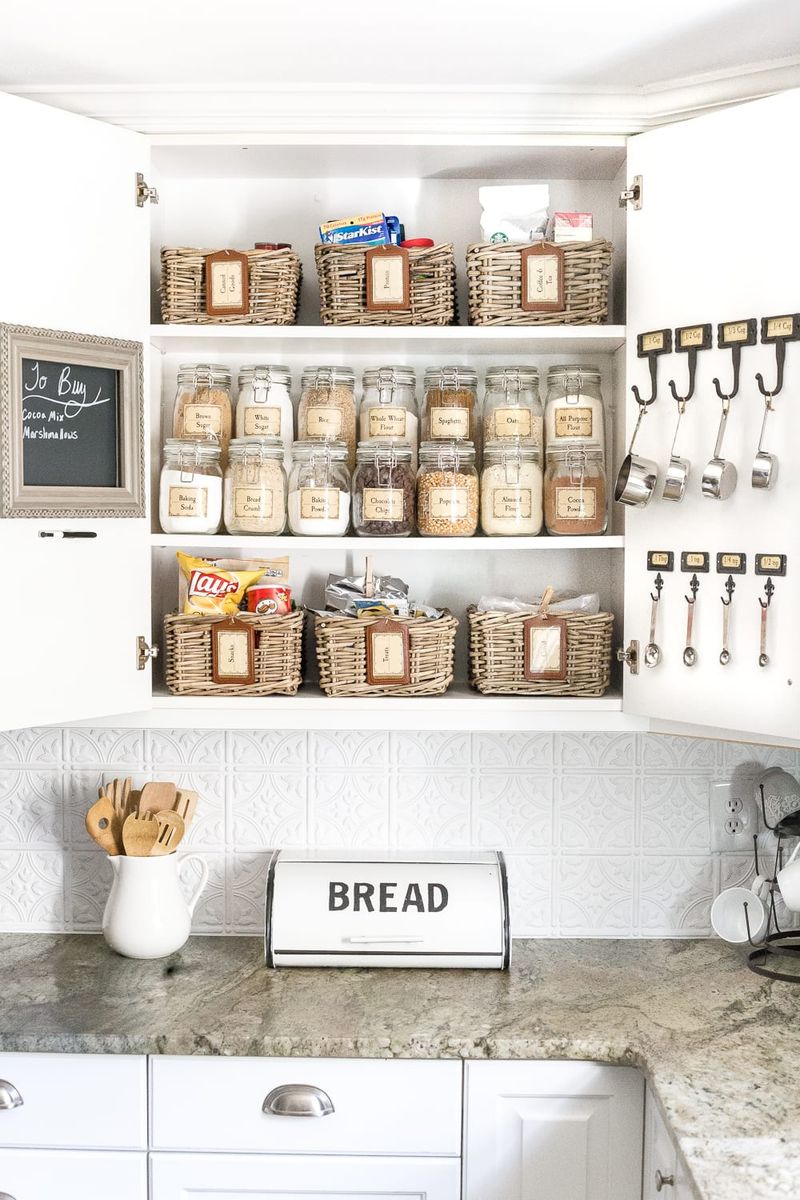
Have you ever disassembled something only to forget how it goes back together? Avoid this kitchen nightmare by creating a simple labeling system. I use masking tape and a marker to number each door and its corresponding location.
Take photos of your cabinet layout before disassembly as a backup reference. Store hinges and hardware in labeled plastic bags or containers one for each door. This prevents mismatched hardware and ensures everything goes back exactly where it belongs.
Many cabinets look identical but have subtle differences that become apparent only during reinstallation. A good labeling system saves hours of frustration and guesswork when it’s time to put everything back together.
3. Clean Surfaces
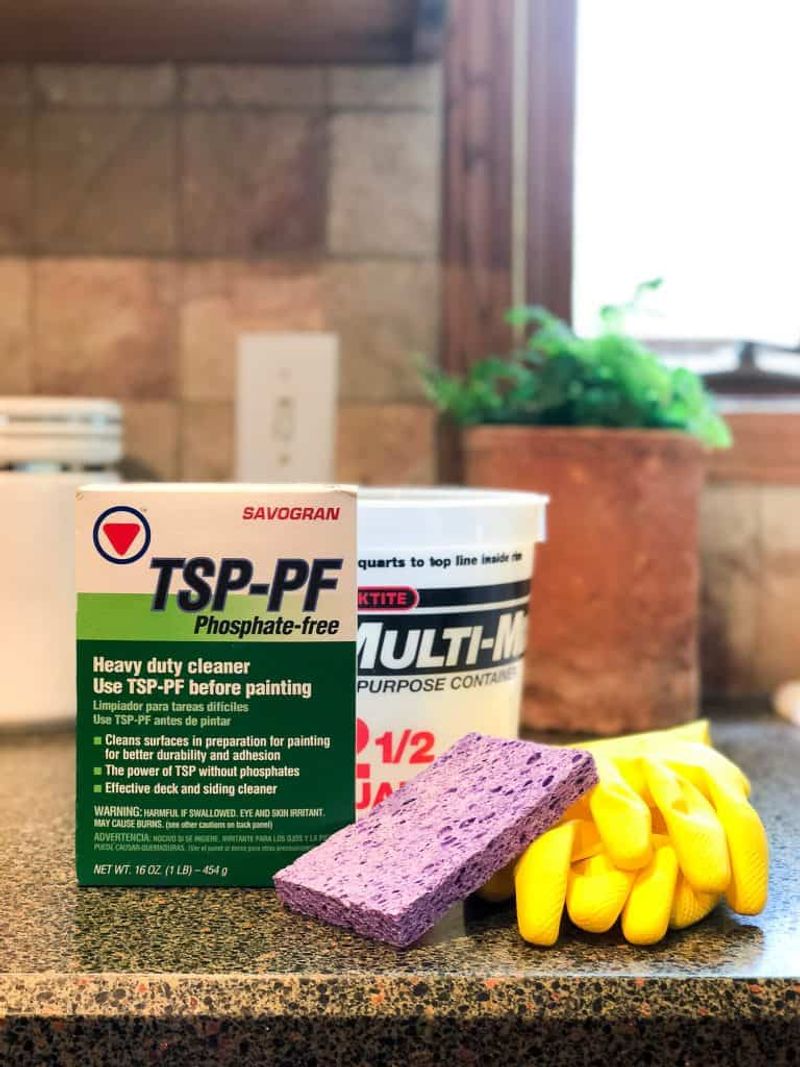
Kitchen cabinets collect an astonishing amount of grime cooking oils, food splatter, and everyday dirt build up over time. Thorough cleaning removes these barriers to good paint adhesion. Mix a solution of TSP (trisodium phosphate) or a degreasing cleaner with warm water.
Scrub every surface that will be painted using a sponge or cloth, paying special attention to areas near the stove and handles. Rinse with clean water afterward to remove any cleaning residue. Allow cabinets to dry completely before moving to the next step.
This cleaning stage might seem tedious, but skipping it often leads to paint that peels or chips prematurely. Even brand-new cabinets need cleaning to remove manufacturing oils and dust.
4. Sand Cabinets
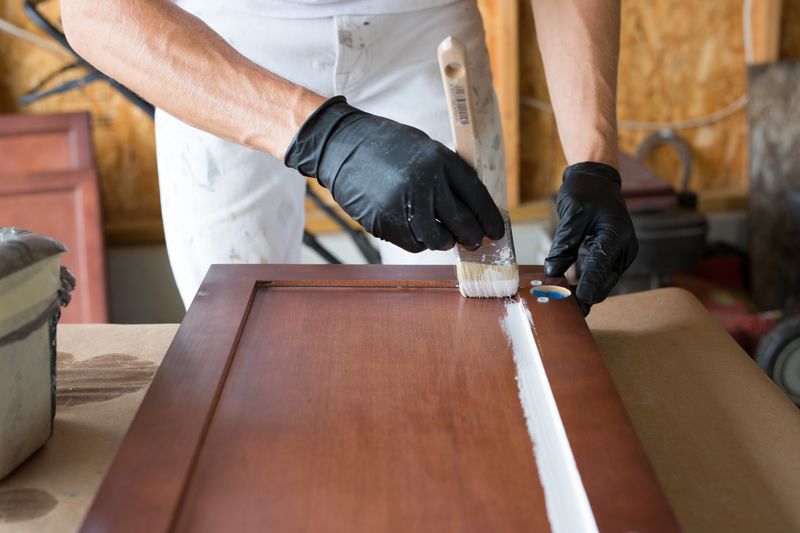
Sanding creates the perfect foundation for your new paint by scuffing glossy surfaces and removing old finish imperfections. I recommend using 120-150 grit sandpaper for initial sanding. You don’t need to remove all the existing finish just create a slightly rough surface for the primer to grip.
Work in the direction of the wood grain whenever possible. For detailed areas and corners, fold the sandpaper or use a sanding sponge. After sanding, wipe everything down with a tack cloth to remove all dust.
If your cabinets have a thick lacquer or varnish coating, you might need to start with a coarser grit before moving to finer paper. Electric sanders speed up flat surfaces, but hand-sanding gives better control on detailed areas.
5. Fill Imperfections
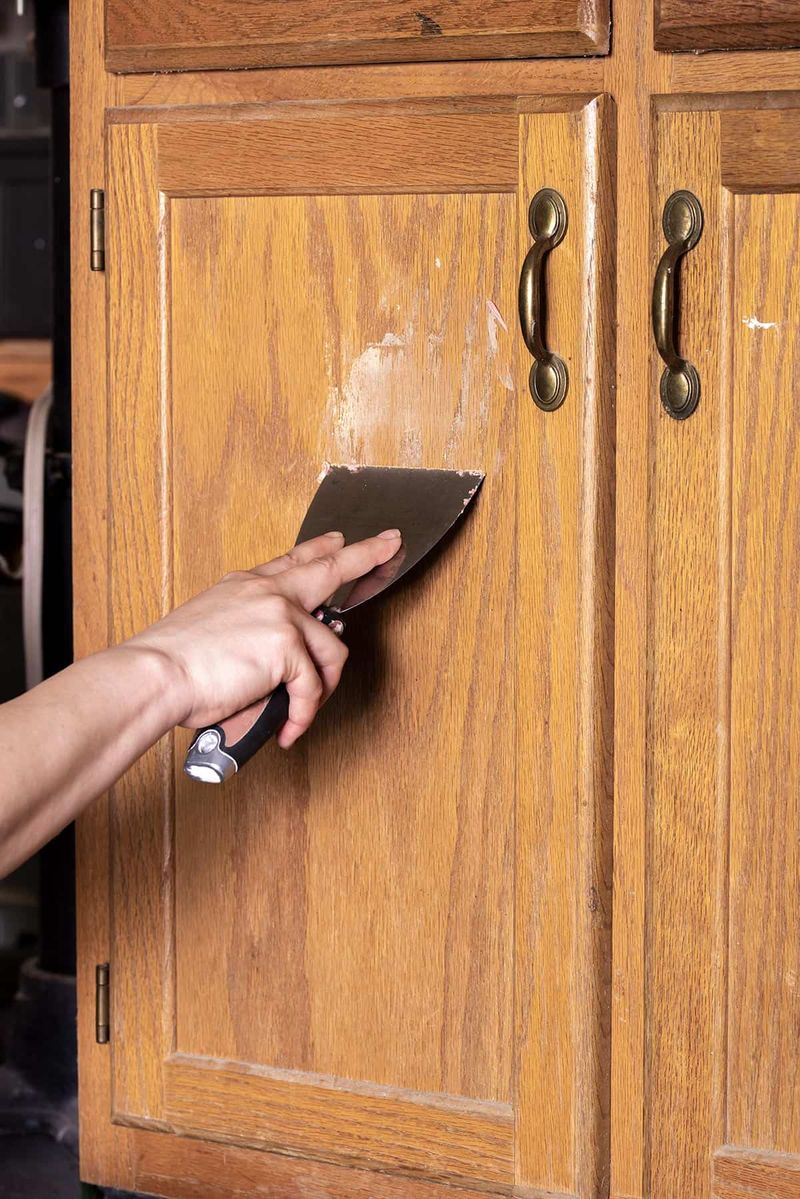
Even well-maintained cabinets develop dings, scratches, and holes over time. Wood filler becomes your best friend during this step. Apply it to any imperfections using a flexible putty knife, slightly overfilling each area since it will shrink as it dries.
For deeper gouges, apply filler in layers, allowing each to dry completely before adding more. Once dry, sand the filled areas flush with the surrounding surface using fine-grit sandpaper (220 grit works well). Run your fingertips over repaired spots to check for smoothness.
This attention to detail makes the difference between obviously patched cabinets and a flawless finish. Don’t forget to fill old hardware holes if you’re planning to use different handles or pulls with different spacing requirements.
6. Apply Primer
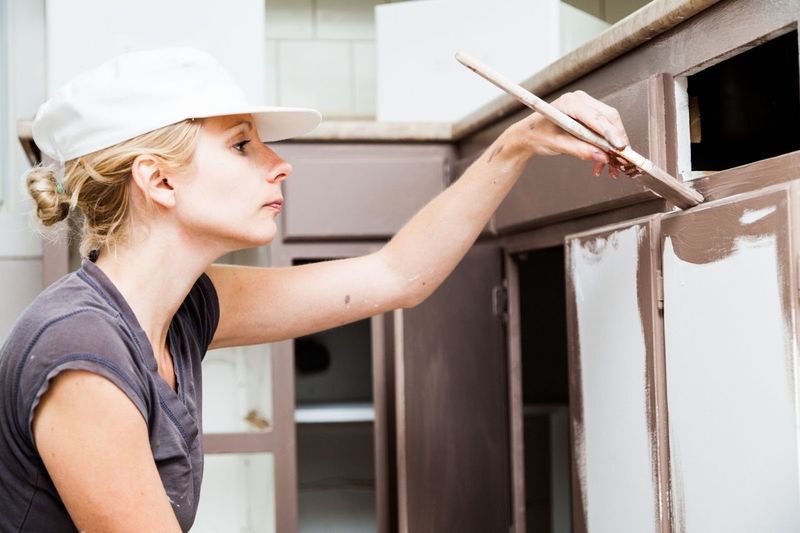
Primer creates the crucial foundation that helps paint stick and look its best. Choose a high-quality primer specifically designed for cabinets I prefer shellac-based primers for their excellent adhesion and stain-blocking properties. Stir thoroughly but gently to avoid creating bubbles.
Apply primer with a high-quality synthetic brush for edges and a foam roller for flat surfaces. Work in thin, even coats rather than thick ones. Allow proper drying time between coats according to the manufacturer’s instructions rushing this step can ruin your results.
When working with dark cabinets that will become light, or when covering stained wood, you might need two coats of primer. The primer should look uniform when dry, providing a consistent base for your paint color.
7. Sand Again
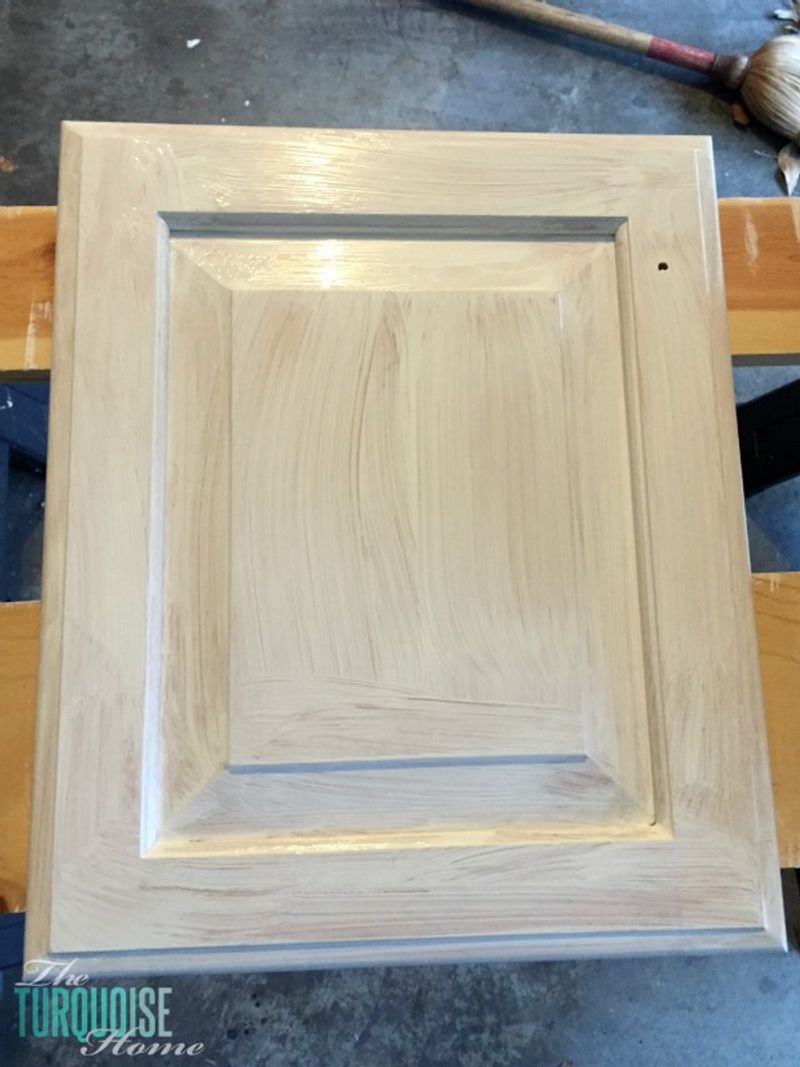
Yep, more sanding! Though it might seem redundant, this intermediate sanding step is what separates amateur results from professional-quality finishes. After your primer has fully dried, lightly sand all surfaces with fine-grit sandpaper (220-320 grit).
The goal isn’t to remove the primer but to smooth out any drips, brush marks, or uneven areas. Sand just enough to create a silky-smooth surface. After sanding, wipe everything with a tack cloth to remove dust particles.
This step takes minimal time but makes a massive difference in your final result. If you find areas where the primer looks uneven or thin after sanding, apply another coat to those spots before proceeding. Your paint will only look as good as the surface beneath it!
8. Paint Cabinets
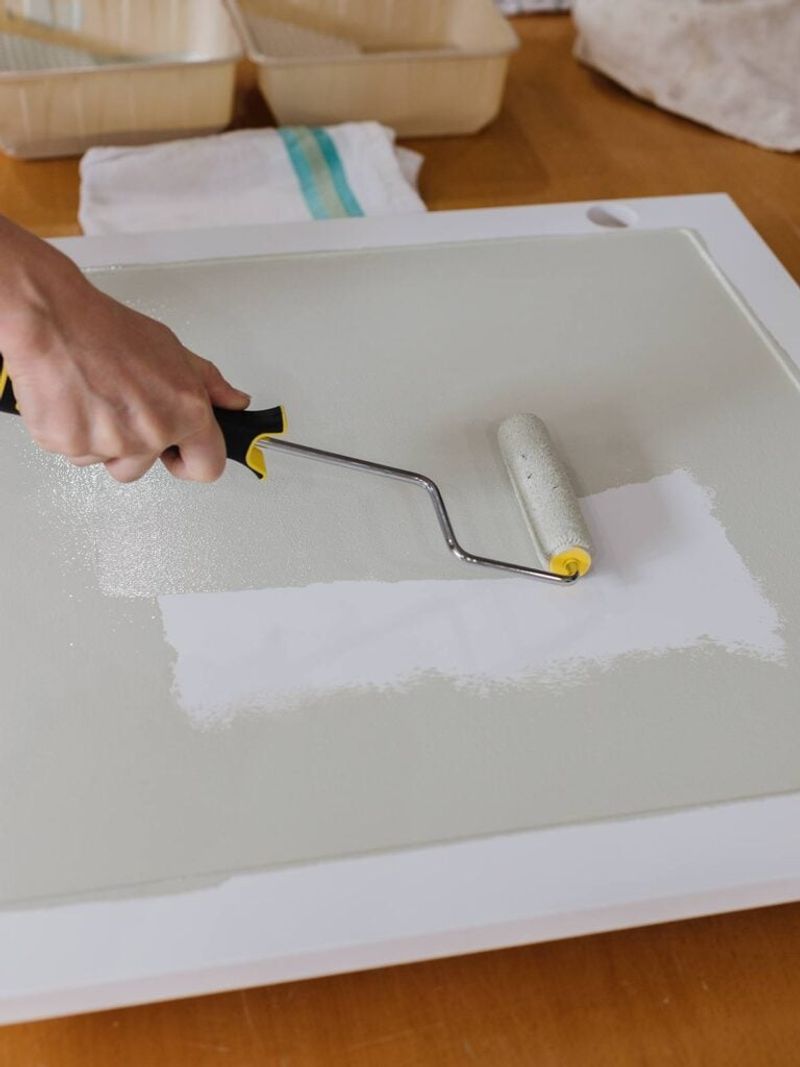
At last the transformation begins! Choose a high-quality cabinet paint in your desired finish (satin or semi-gloss are most popular for kitchens). Cabinet-specific paints offer better durability against cleaning and daily use than standard wall paints.
Start painting the backs of doors first, then move to the fronts after they’re dry. Use a high-quality synthetic brush for edges and detailed areas, and a foam or microfiber roller for flat surfaces to minimize texture. Apply thin, even coats two or three thin coats always look better than one thick one.
Allow proper drying time between coats as specified by the paint manufacturer. Elevate doors on painter’s pyramids or small wooden blocks to paint edges without sticking. Maintain a wet edge when painting to avoid lap marks.
9. Add Topcoat
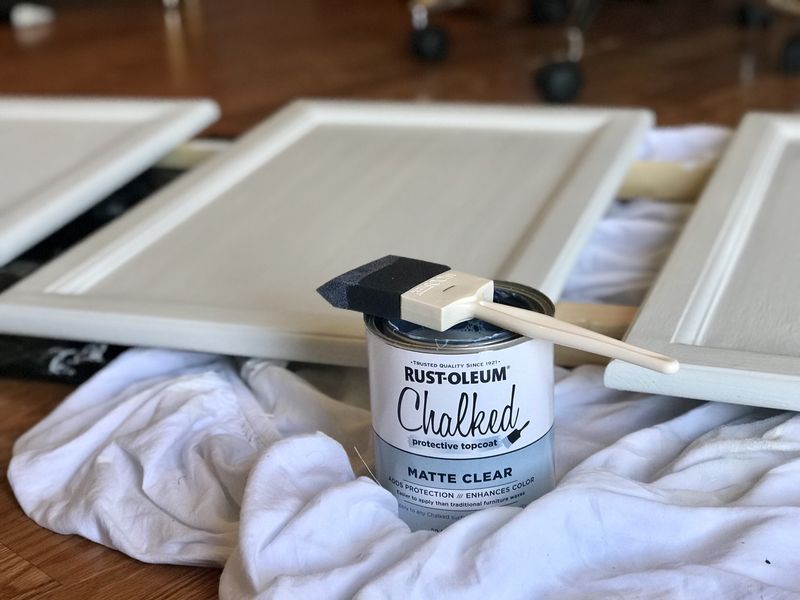
Though some cabinet paints don’t require a separate topcoat, adding one significantly extends the life of your paint job. Water-based polyurethane or polycrylic provides excellent protection without yellowing over time crucial for white or light-colored cabinets.
Apply the topcoat using the same techniques as your paint: brush for detailed areas and a foam roller for flat surfaces. Work quickly but carefully, as topcoats can show brush marks if you overwork the surface. Two thin coats offer better protection than one thick coat.
Wait at least 24 hours after your final paint coat before applying topcoat. This extra layer protects against scratches, moisture, and cleaning products that would otherwise damage your paint. It’s like insurance for all your hard work!
10. Reattach Hardware
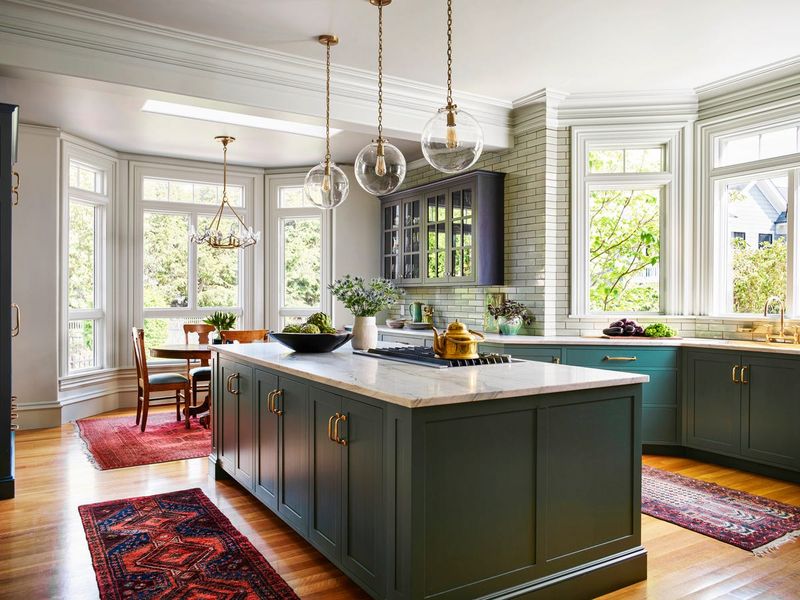
Before reinstalling doors, ensure everything is completely cured I recommend waiting at least 72 hours after your final topcoat. Rushing this step can result in scratches or dents in your fresh finish. When you’re ready, retrieve your labeled hardware and reference photos.
If you’re installing new hardware, use a cabinet hardware jig to ensure perfectly aligned holes. Attach hinges to the doors first, then mount the doors to the cabinet frames. Adjust as needed for proper alignment this often requires patience and minor tweaking.
For the finishing touch, install knobs or pulls using a screwdriver rather than a drill to avoid damaging your new finish. Step back and admire your transformation! A properly executed cabinet painting project can look just as good as new cabinets at a fraction of the cost.

