16 Kitchen Counter Decluttering Strategies
Kitchen counters often become magnets for clutter, making cooking stressful and cleanup harder.
A tidy counter not only looks better but also creates a more functional space where meal prep becomes easier and more enjoyable.
These practical strategies will help you reclaim your counter space and transform your kitchen into the organized heart of your home.
1. Store Appliances You Rarely Use
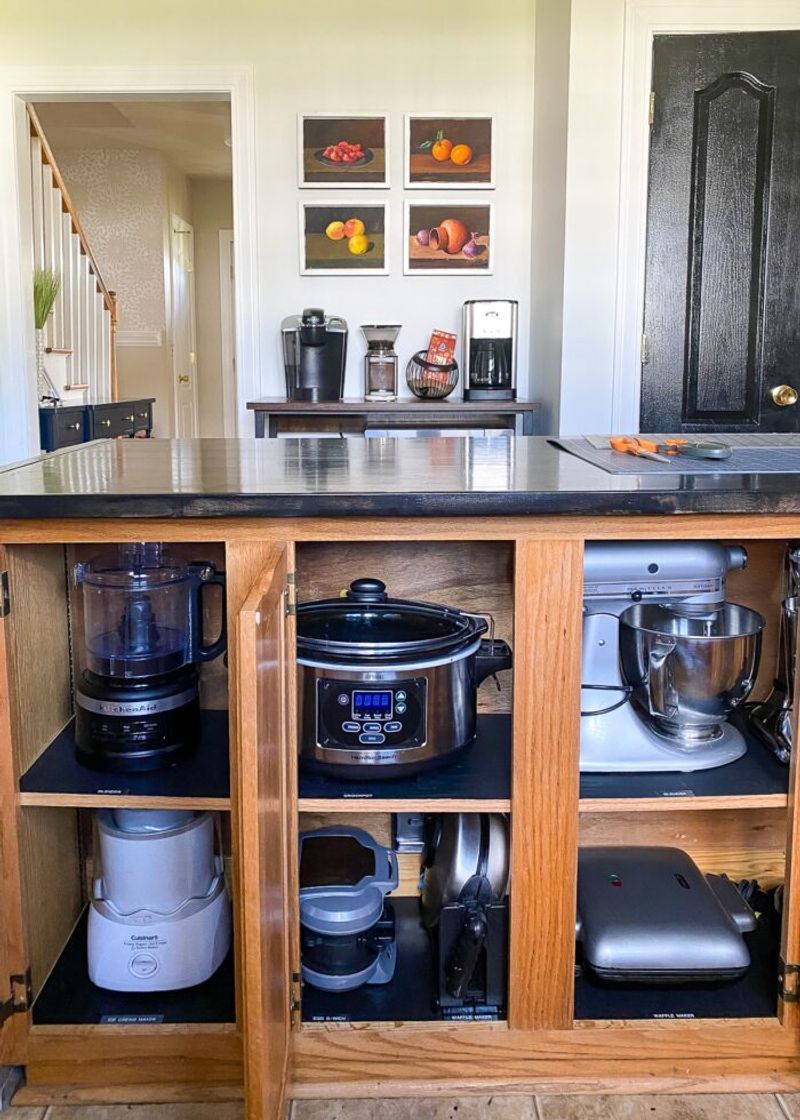
Those bulky appliances hogging precious counter space need a new home if you’re not using them weekly. The bread maker, ice cream machine, and fancy juicer might be wonderful when needed, but they’re stealing valuable real estate the rest of the time.
Find a dedicated cabinet or pantry shelf for these occasional-use items. I keep mine in labeled bins on my top shelves. For super-seasonal items like the turkey roaster, consider basement or garage storage.
When deciding what stays out, follow this rule: if you haven’t used it in a month, it doesn’t deserve counter space. The waffle maker I use every Sunday? That stays. The pasta maker I’ve used twice? Hidden away until pasta night.
2. Use Wall-Mounted Racks for Utensils
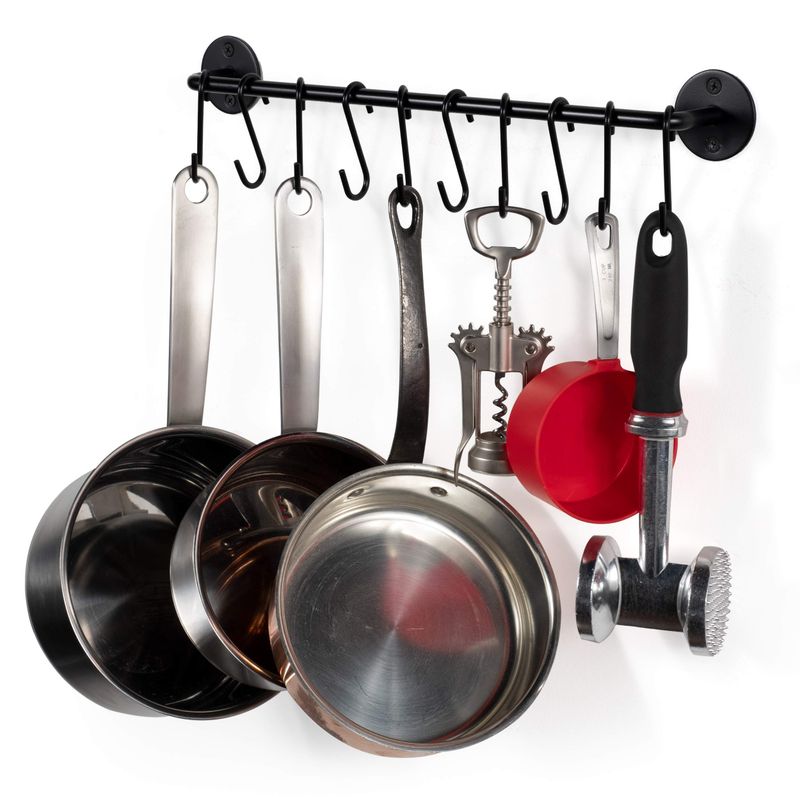
Wall space remains one of the most underutilized areas in most kitchens. Hanging utensils on the wall frees up drawer and counter space while keeping your most-used tools within easy reach.
Simple rail systems with S-hooks work wonderfully for everything from spatulas to measuring cups. I installed mine above the stove for quick access while cooking. The difference was immediate no more digging through drawers with messy hands!
Look for sturdy options that can hold heavier items without sagging. Metal rails tend to last longer than plastic alternatives. As a bonus, your favorite cooking tools become part of your kitchen’s visual appeal rather than hidden clutter.
3. Keep Only Daily Essentials Out
Your kitchen counter isn’t a storage unit – it’s a workspace. Coffee makers, toasters, and perhaps a stand mixer for daily bakers are the only appliances that truly deserve permanent counter residency. Everything else can find homes elsewhere.
When I evaluated my own counters, I realized I had five appliances out but only used two daily. Moving the others created breathing room that made cooking more enjoyable. The kitchen instantly felt larger and more inviting.
Be ruthless with this evaluation if you’re keeping something out because it’s pretty rather than practical, reconsider its place. Counter space is premium real estate in your kitchen, so make every inch count for functionality first.
4. Add a Tray to Corral Small Items
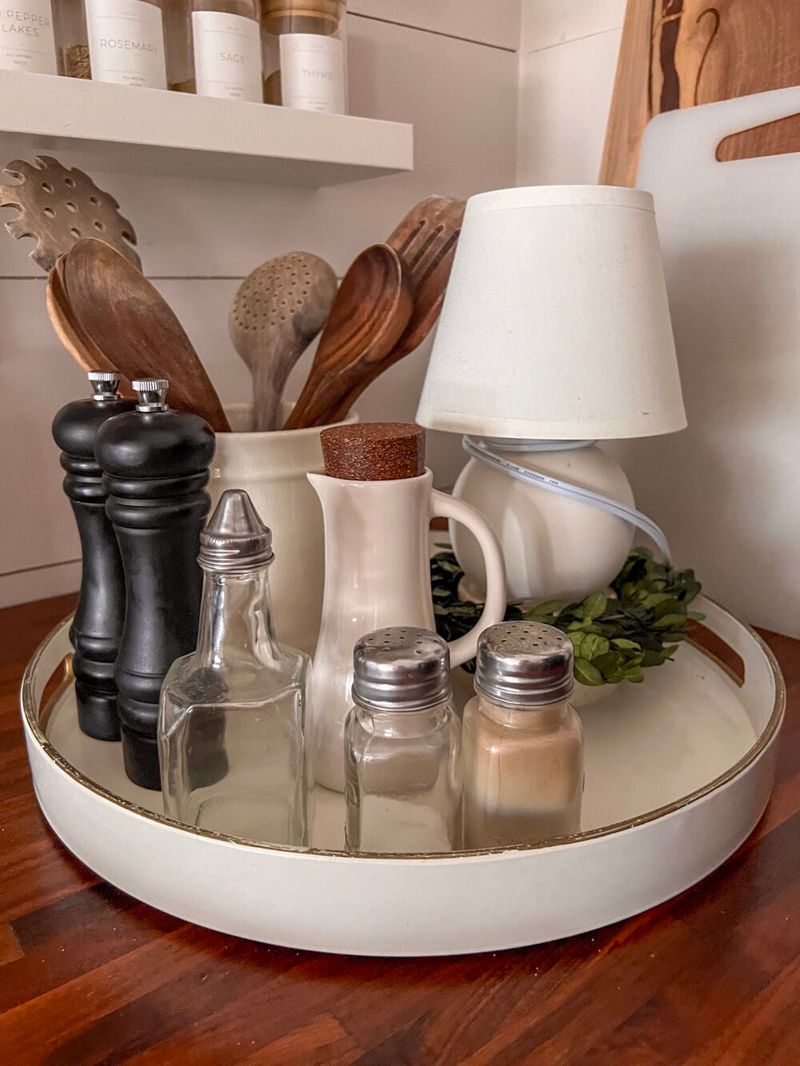
Small items create visual noise when scattered across counters. Corralling them on trays instantly creates order without requiring you to put everything away. My favorite trick is using a beautiful wooden tray for frequently used items like olive oil, salt, and pepper.
The magic happens because your brain registers the tray and its contents as a single unit rather than multiple objects. This psychological trick makes your counter appear less cluttered even when it holds the same number of items.
Choose trays that complement your kitchen style – marble for modern spaces, wood for warmth, or metal for industrial vibes. When cleaning, you can simply lift the entire tray rather than moving each item individually. This strategy brings both function and style to your counter organization.
5. Install Floating Shelves for Storage
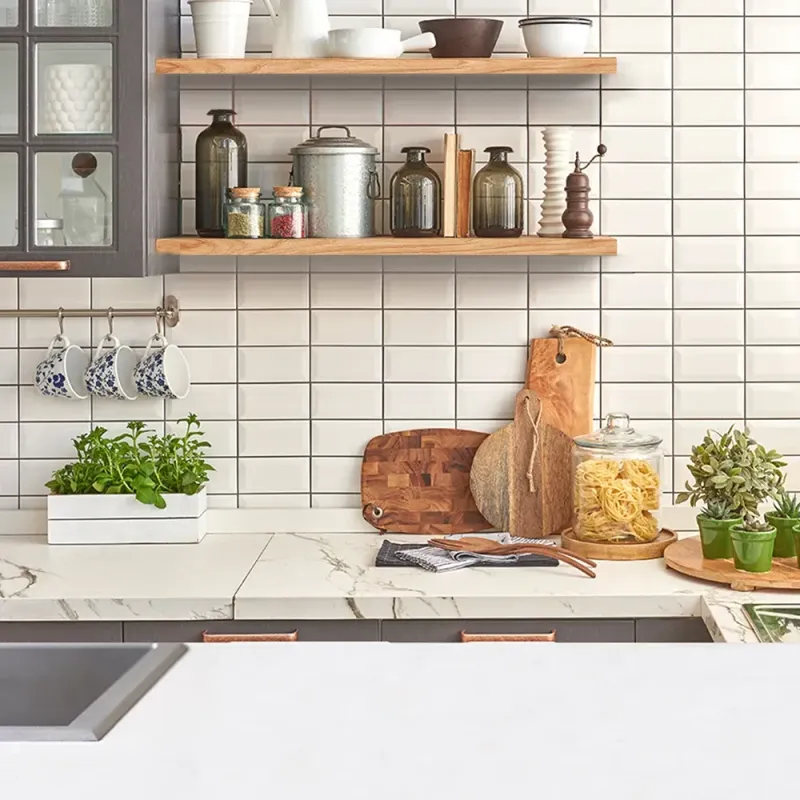
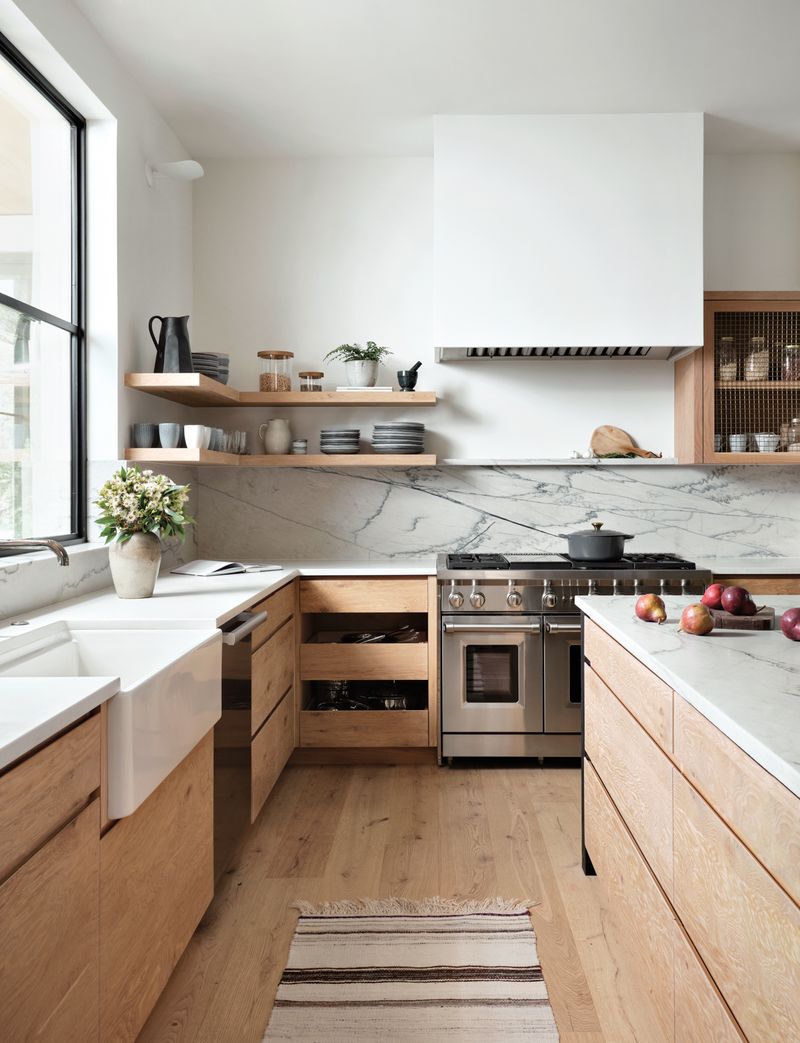
Floating shelves work wonders for creating storage without sacrificing floor space or counter area. When I installed three simple wooden shelves above my coffee station, I freed up nearly two feet of counter space.
These shelves can hold everything from cookbooks and spices to decorative items and coffee mugs. The key is maintaining neat, intentional arrangements rather than allowing them to become cluttered dumping grounds.
For maximum functionality, place your most frequently used items on lower shelves within easy reach. Reserve higher shelves for seasonal or decorative pieces. This vertical storage solution draws the eye upward, making your kitchen feel larger while keeping essentials accessible but off your valuable counter space.
6. Use Drawer Organizers for Tools
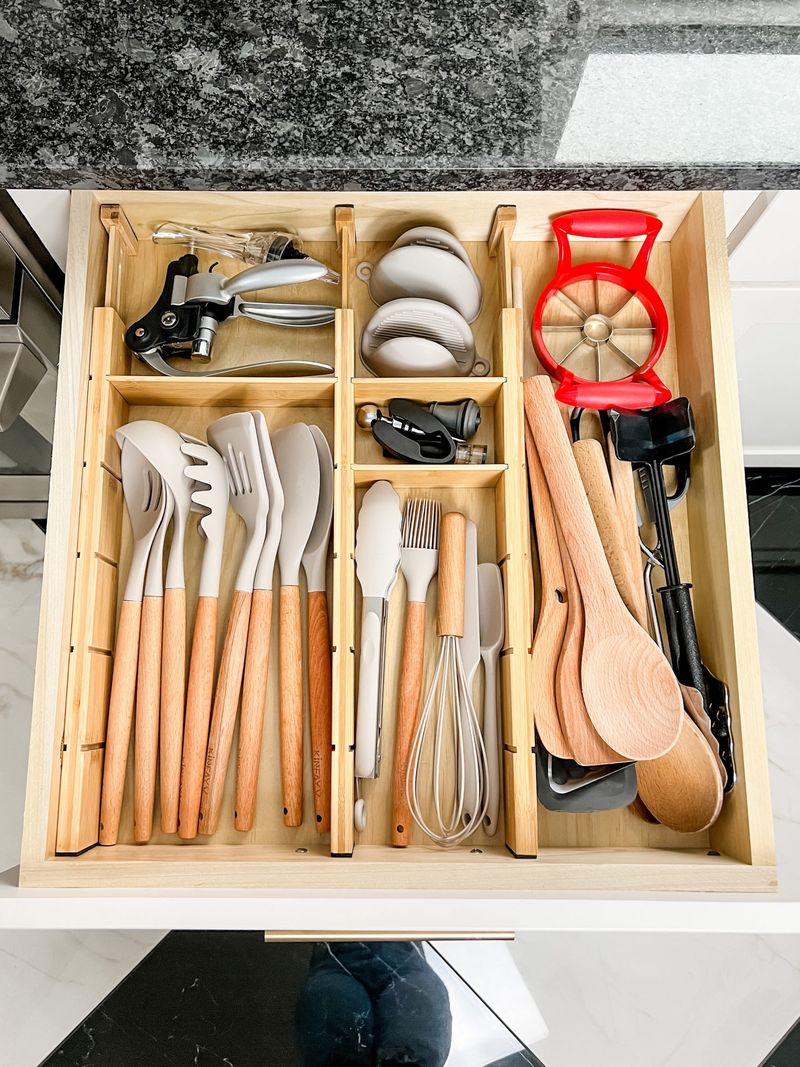
Drawer organizers transform chaotic jumbles of utensils into orderly systems that make cooking more efficient. Instead of leaving spatulas and measuring spoons in countertop crocks, tuck them into well-organized drawers that keep everything accessible but hidden.
Expandable bamboo dividers adapt to different drawer sizes and can be reconfigured as your needs change. I was shocked to discover how much counter space I reclaimed by moving my utensil holder into a drawer. The difference was immediate and dramatic.
When organizing, group similar items together baking tools in one section, everyday cooking utensils in another. This system not only clears counters but also speeds up meal preparation since you’ll know exactly where to find each tool when you need it.
7. Relocate Cookbooks to Shelves
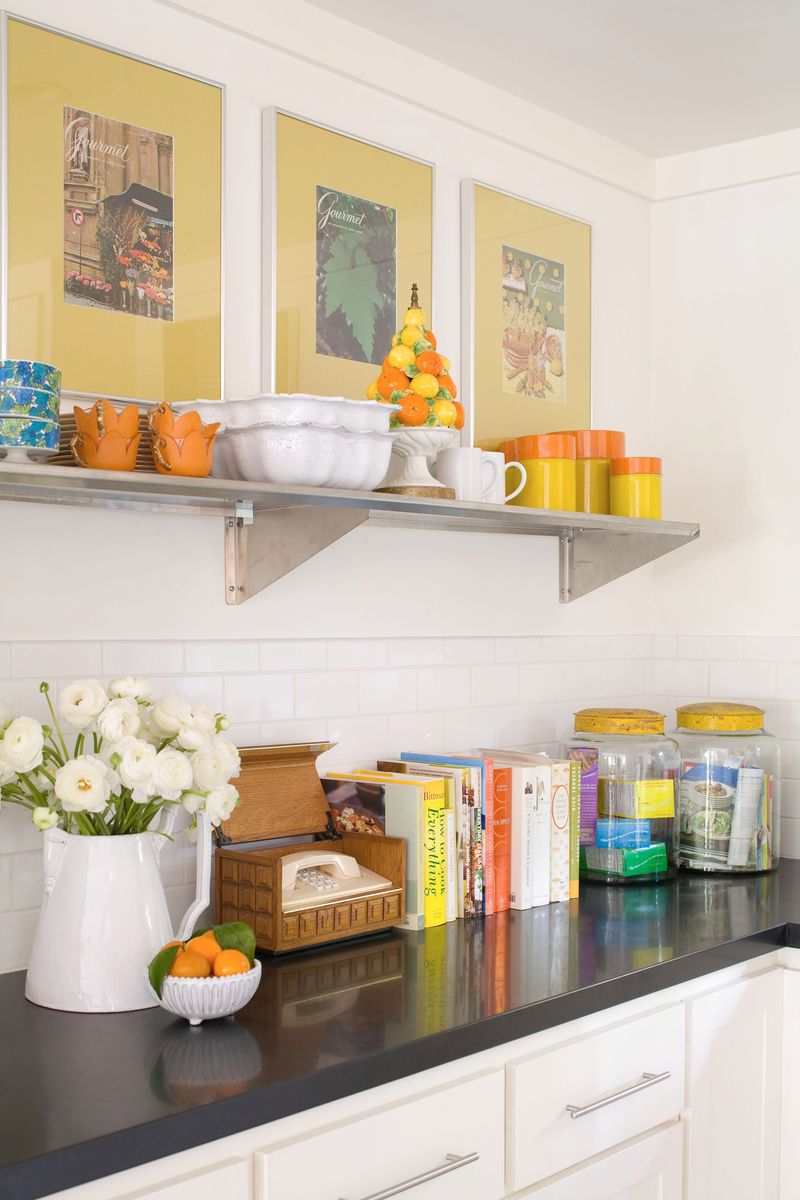
Cookbooks add personality to kitchens but often consume valuable counter space. Moving them to dedicated shelves or bookends preserves their accessibility while freeing up work areas. My solution was installing a narrow shelf specifically sized for standard cookbooks.
If shelf space is limited, consider keeping only your current favorite or seasonal cookbook out and storing the rest elsewhere. Another space-saving option is digitizing recipes from physical books, though many cooks (myself included) still prefer the charm of actual books.
For frequently used recipes, try creating a single binder with laminated pages that can be wiped clean if splattered. This system provides the best of both worlds – your favorite recipes at your fingertips without sacrificing precious counter territory to a stack of rarely-used books.
8. Hang a Magnetic Knife Strip
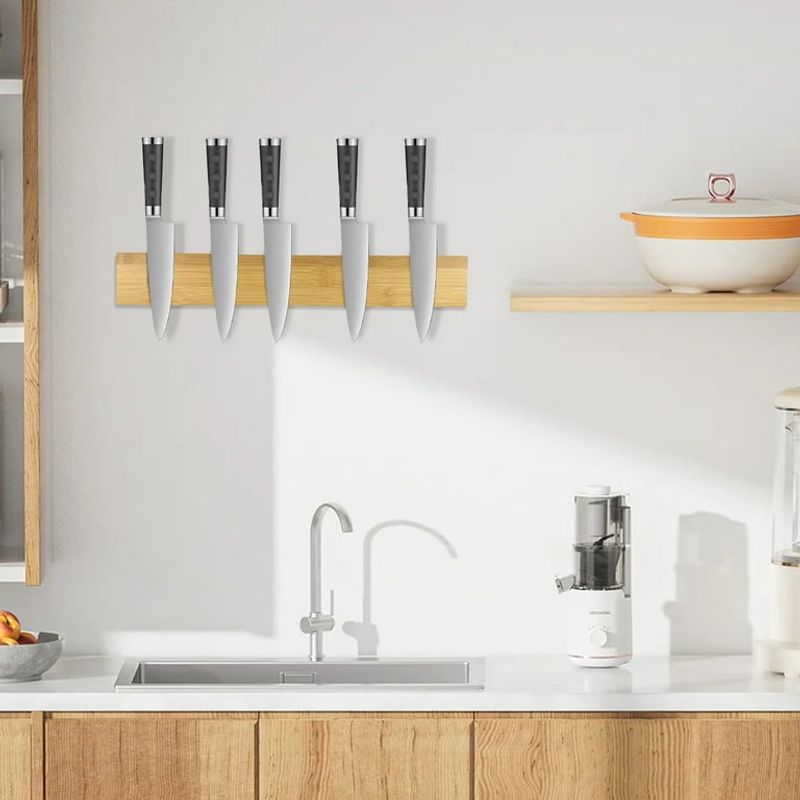
Knife blocks eat up counter space unnecessarily when a simple wall-mounted magnetic strip could do the job better. These strips not only free up valuable counter real estate but also showcase your knives as the beautiful tools they are.
Safety matters with this solution install the strip at adult height if you have young children. I positioned mine above my cutting board area for maximum efficiency. The transformation was remarkable – removing my bulky knife block instantly created space for actual food prep.
Look for strong magnetic strips that hold knives securely without damaging the blades. Wood-covered magnetic strips offer a warmer aesthetic than plain metal versions. As a bonus, knives stored this way dry more thoroughly than when stored in blocks, potentially extending their lifespan.
9. Store Spices in a Drawer or Cabinet
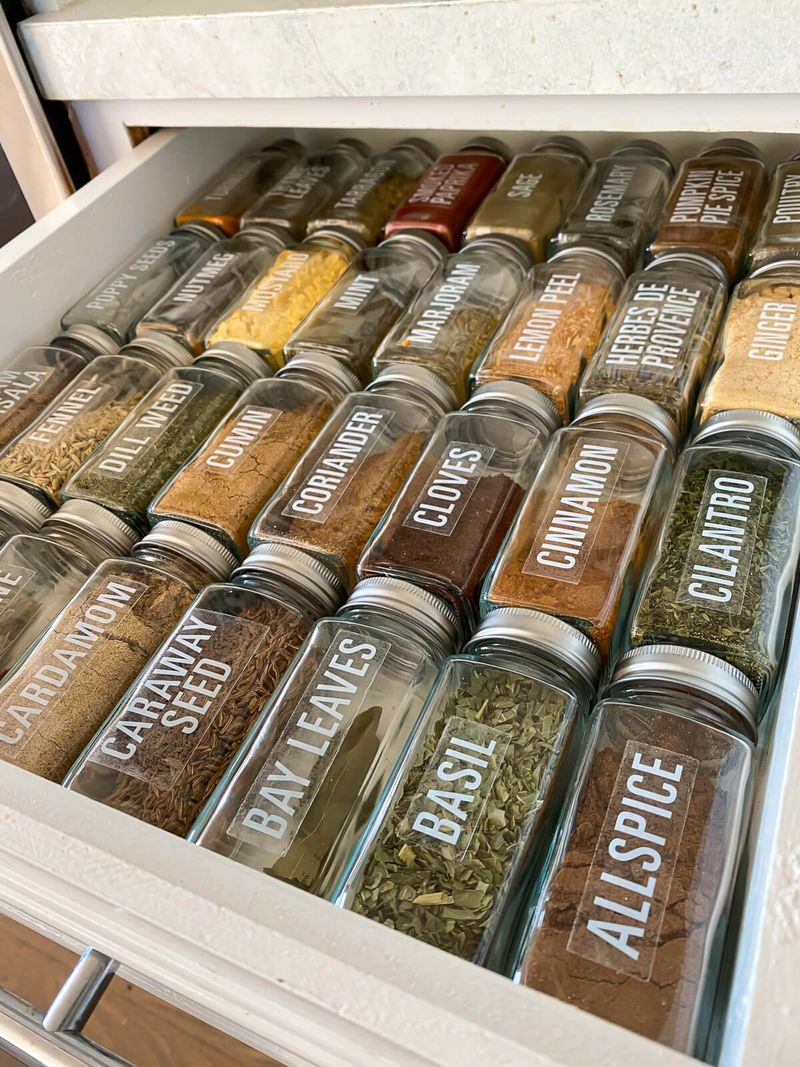
Spice racks on counters might seem convenient but often create visual clutter. Moving spices to a dedicated drawer or cabinet reclaims this space while keeping seasonings organized and accessible. My game-changing solution was a shallow drawer with spice jar inserts.
If drawer space is limited, door-mounted racks or cabinet pull-outs offer excellent alternatives. Tiered shelf organizers inside cabinets make it easier to see all your options at once. The labels become visible rather than just the tops of the containers.
For frequently used spices, consider a small rotating carousel inside a cabinet near your cooking area. This keeps your favorites handy without sacrificing counter space. Remember that spices last longer away from direct sunlight, so counter storage isn’t ideal for preserving flavor anyway.
10. Limit Decorative Items to One or Two
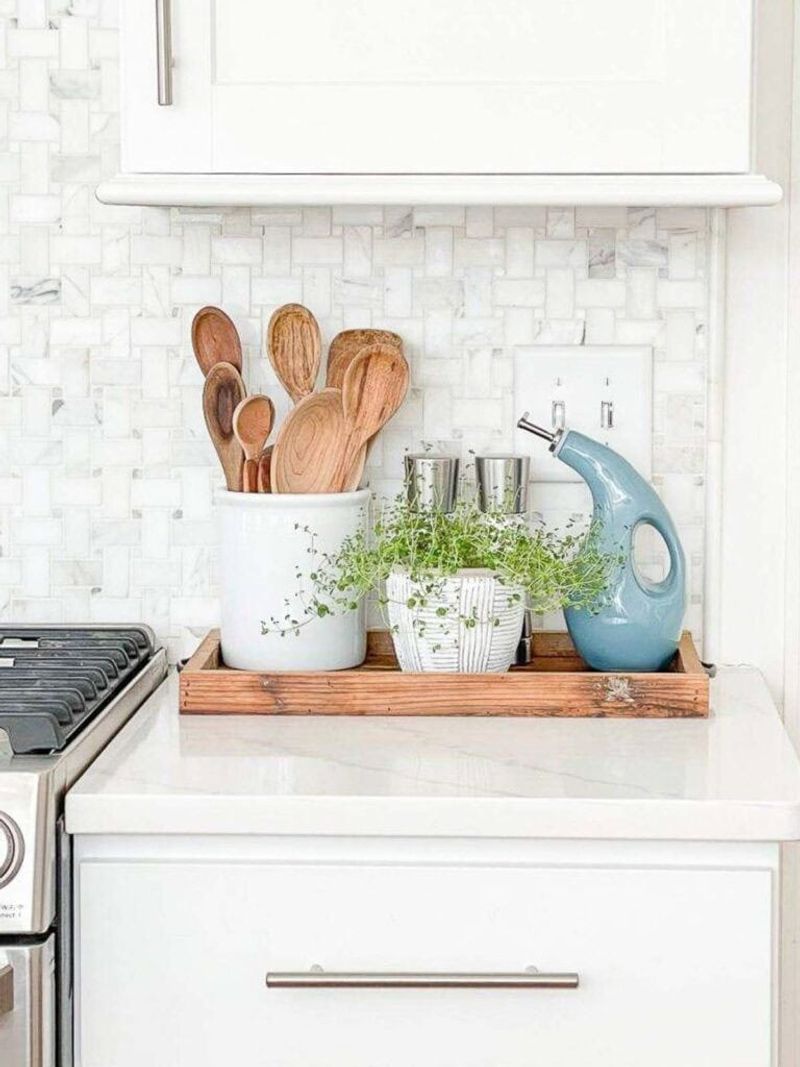
Decorative touches add personality to kitchens, but too many trinkets create visual chaos. Limiting yourself to just one or two statement pieces creates more impact than a dozen small items scattered across counters.
When selecting decorative elements, choose items that serve double duty when possible. A beautiful fruit bowl filled with fresh produce or a stunning olive oil bottle you actually use offer both function and style. I replaced five small decorative items with one gorgeous potted herb plant that both looks beautiful and provides fresh cooking ingredients.
Rotate seasonal decorations rather than adding to what’s already there. This keeps your kitchen feeling fresh without increasing clutter. Remember that empty space itself is decorative – the visual breathing room around a single stunning object often creates more impact than multiple competing pieces.
11. Use Clear Containers for Pantry Staples
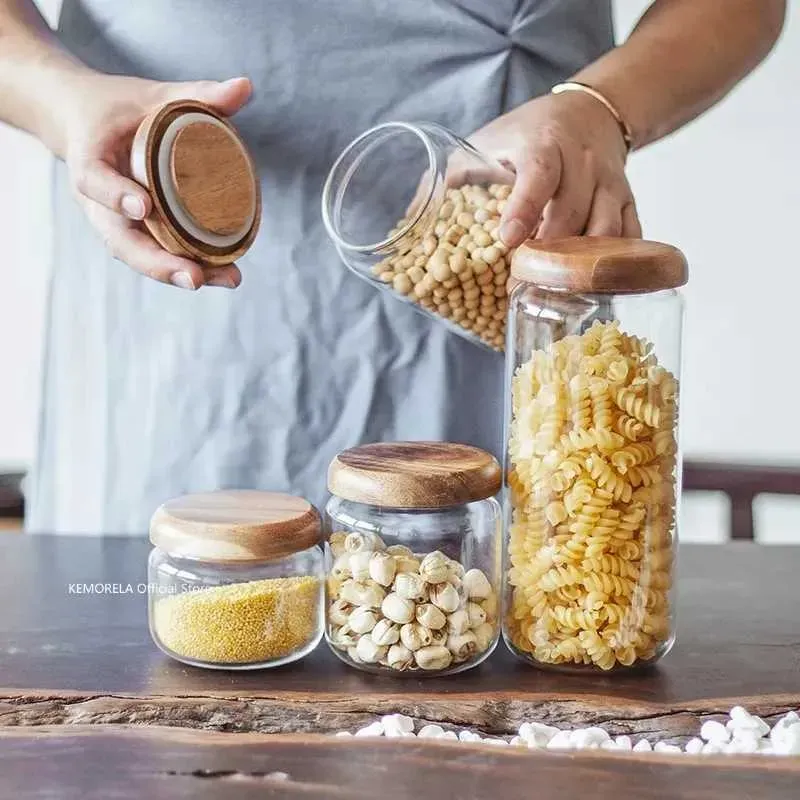
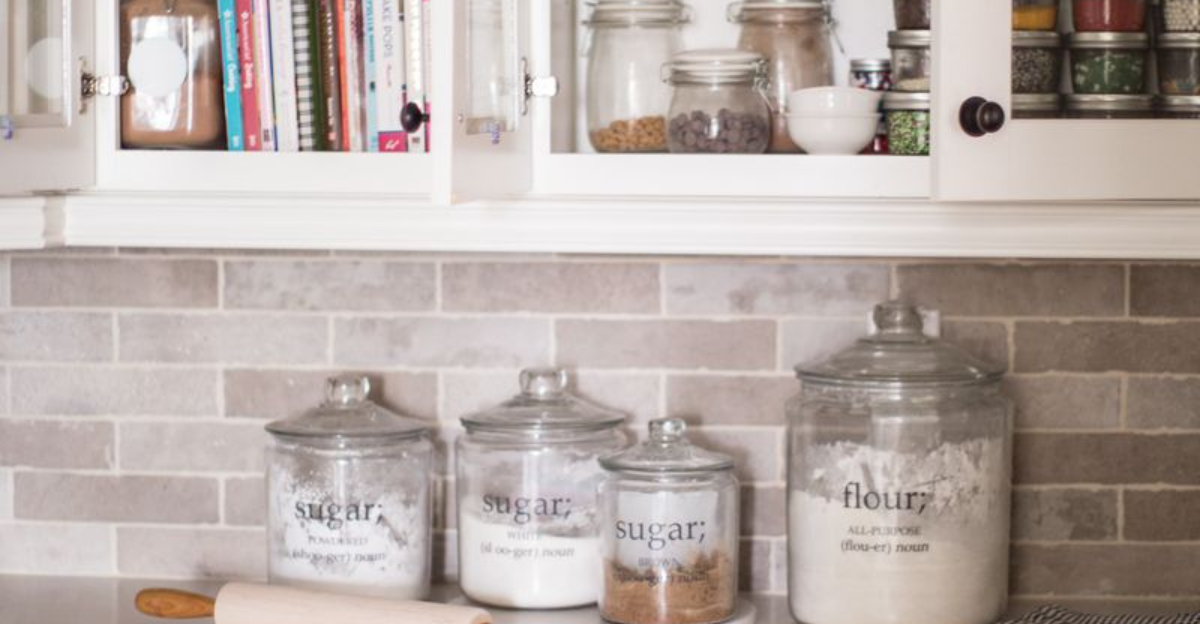
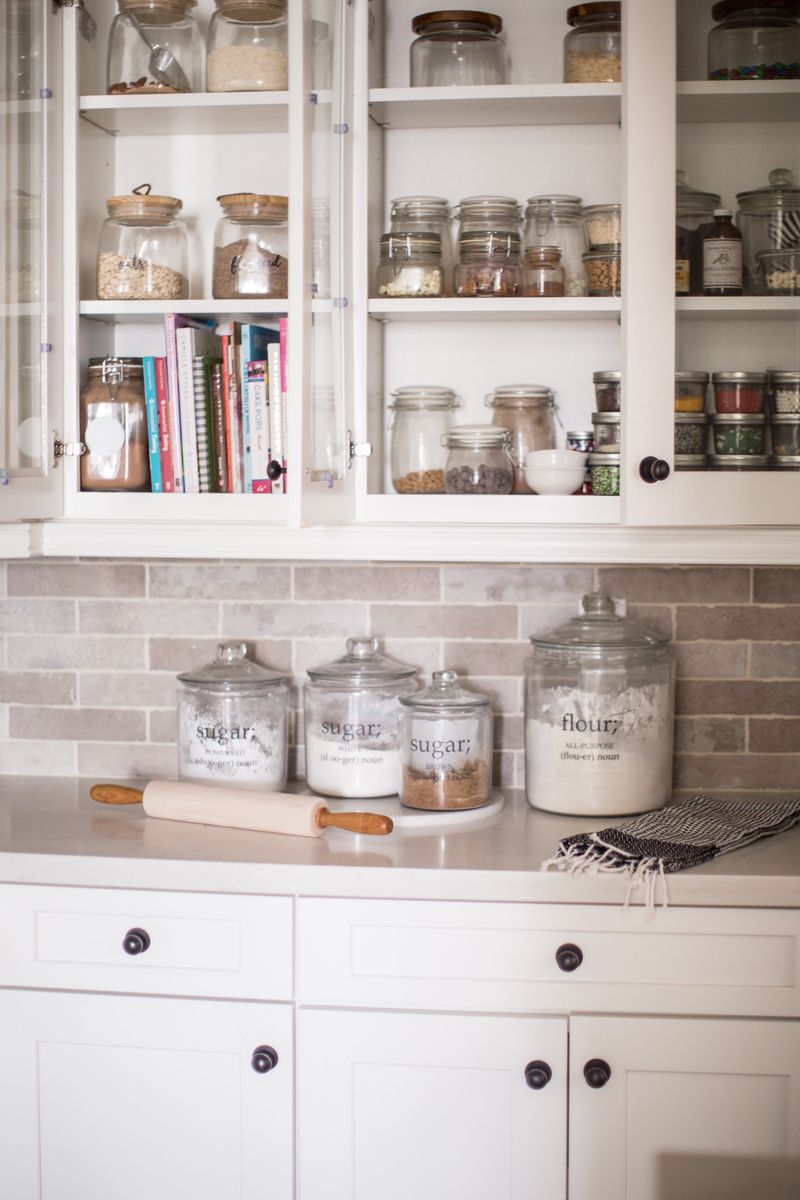
Clear containers transform pantry staples into attractive counter elements while keeping ingredients fresh. For frequently used items like flour, sugar, or coffee beans, uniform containers create visual harmony even when left in sight.
The key is consistency choose one style of container and stick with it. My kitchen transformed when I replaced mismatched packaging with matching glass jars for my baking supplies. The uniform heights and materials created a cohesive look that felt intentional rather than cluttered.
Label each container clearly but elegantly. If you’re worried about forgetting expiration dates, note them on labels on the bottoms of containers. This system works best for items you use at least weekly – anything used less frequently belongs in cabinets or pantry storage rather than taking up valuable counter territory.
12. Designate a Mail and Key Drop Zone Elsewhere
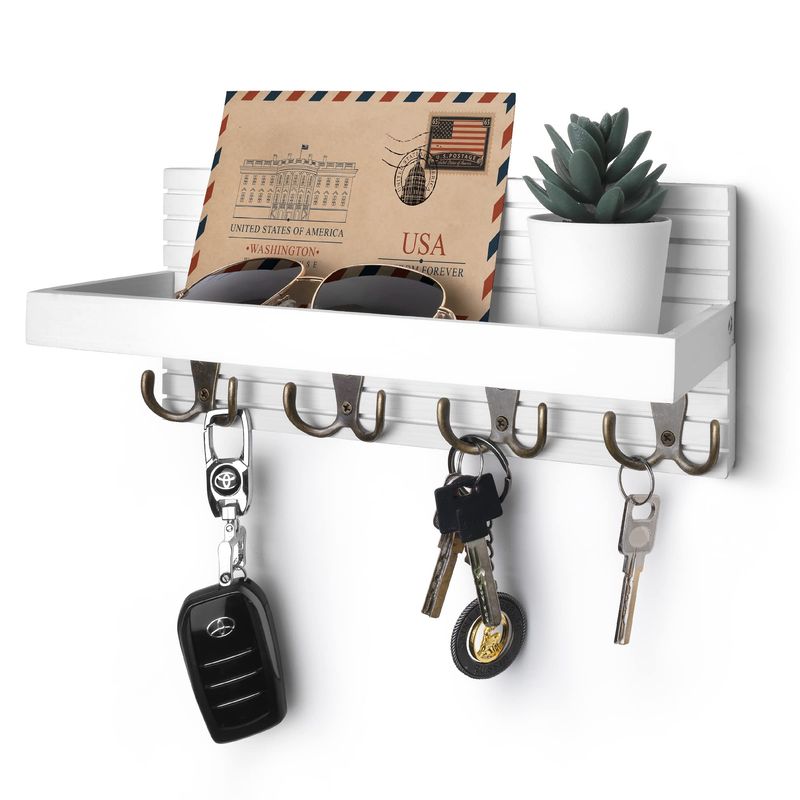
Kitchen counters often become default dumping grounds for mail, keys, and other non-kitchen items. Creating a dedicated drop zone elsewhere in your home prevents this migration of clutter into your cooking space.
A small table or wall-mounted organizer near your home’s entrance works perfectly. I installed a simple shelf with hooks in our entryway, and suddenly my kitchen counters stayed clearer without any additional effort. The impact on my cooking space was immediate and dramatic.
Make this new drop zone appealing and functional with small trays for sorting mail, hooks for keys, and perhaps a small dish for coins or other pocket items. The easier and more attractive this zone is to use, the less likely family members will default to using kitchen counters as their personal dumping ground.
13. Keep Counters Wiped and Clean Daily
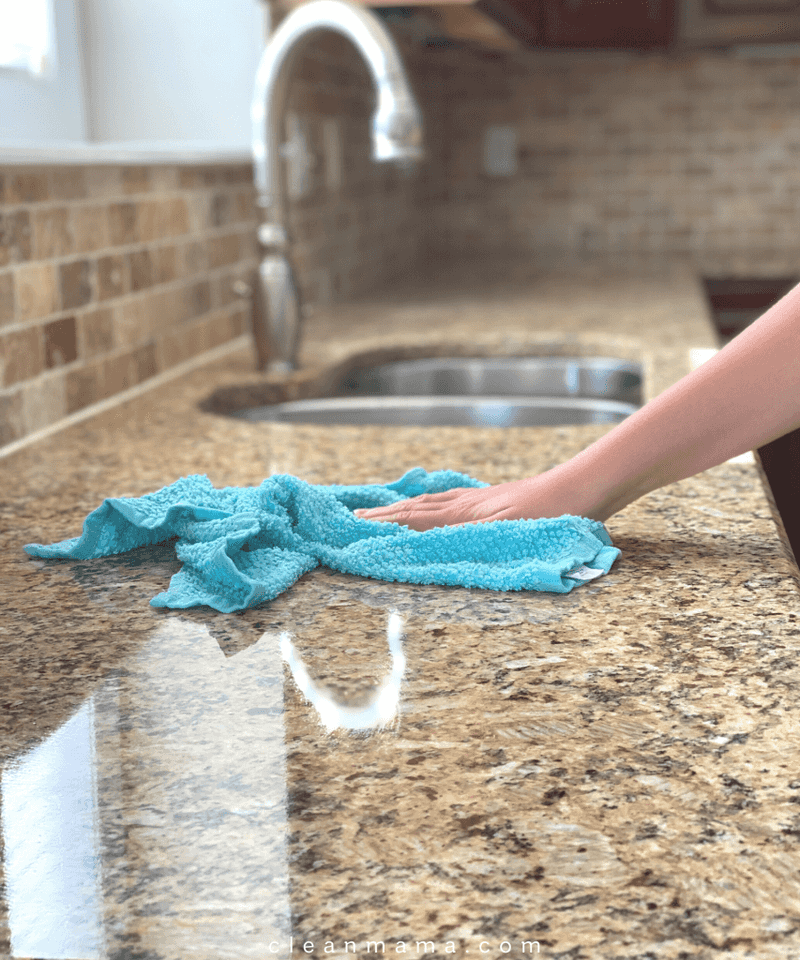
Clean counters naturally discourage clutter accumulation. When surfaces are regularly wiped down, there’s psychological resistance to messing them up with random items. This simple habit creates a powerful ripple effect throughout your kitchen organization.
I keep a dedicated counter cloth hanging nearby for quick wipe-downs throughout the day. After meals, a full cleaning with appropriate cleaner for your counter material maintains the space. The clean surface becomes a visual cue that influences behavior both yours and your family’s.
This strategy works because clutter attracts more clutter. A counter with three random items quickly collects ten more, while a completely clear counter tends to stay that way. Make cleaning so convenient that it becomes automatic rather than a chore, and you’ll find your counters naturally remain clearer.
14. Add Hooks Under Cabinets for Mugs
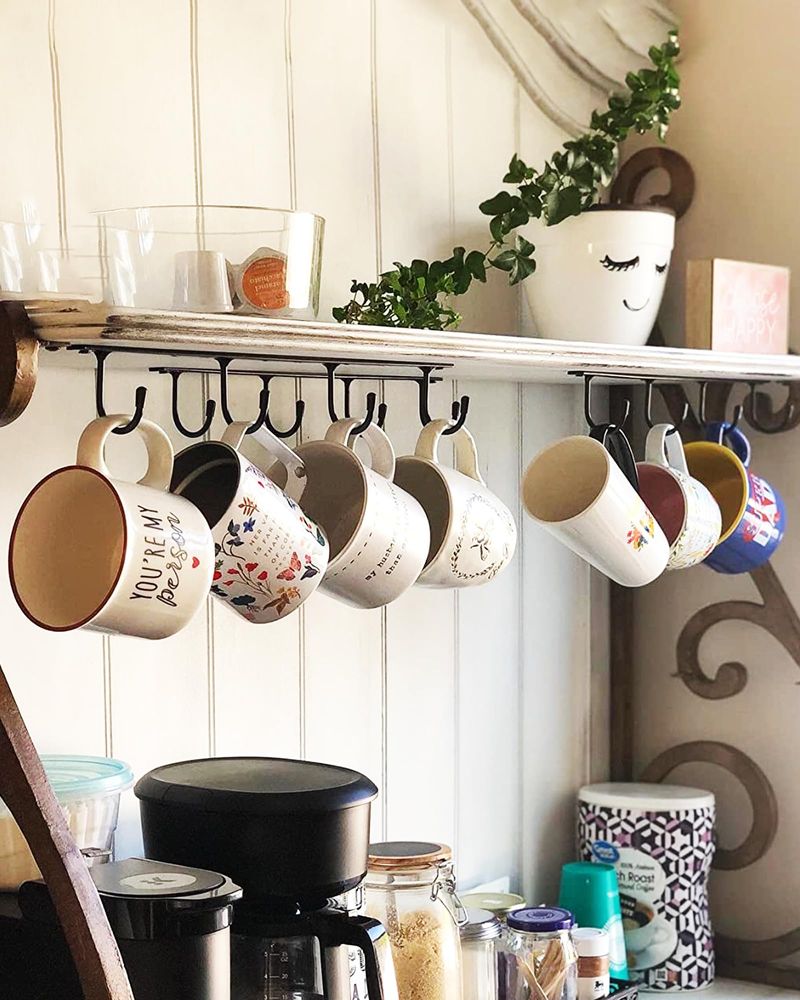
Under-cabinet hooks utilize overlooked space while freeing up both counters and cabinets. Coffee mugs, measuring cups, and small utensils hang neatly underneath, accessible but out of the way.
Installation is typically simple most options screw directly into cabinet bottoms or use adhesive for rental-friendly solutions. I added a row of hooks under my cabinets near the coffee maker, and suddenly I had space for a fruit bowl where the mug tree once stood.
Choose hooks strong enough for your items but not so large they become visually intrusive. Arrange them with enough space between to prevent overcrowding. This strategy works especially well in coffee stations or baking areas where specific tools are frequently needed but don’t require counter placement.
15. Group Items by Function for Easy Access
Creating functional zones transforms kitchen efficiency while naturally controlling counter clutter. Coffee stations, baking areas, and food prep zones keep related items together while preventing sprawl across all counters.
Each zone should contain only what’s needed for that specific function. My coffee station includes just the machine, grinder, and canister of beans nothing else. The baking zone houses the stand mixer and measuring tools but no unrelated items.
This approach prevents the common problem of items migrating across counters. When everything has a logical home based on function, it’s easier to maintain order. As a bonus, these zones speed up cooking and other kitchen tasks since everything needed for a particular activity is already grouped together. Function-based organization creates both beauty and efficiency.
16. Rotate Seasonal Decor Off the Counters
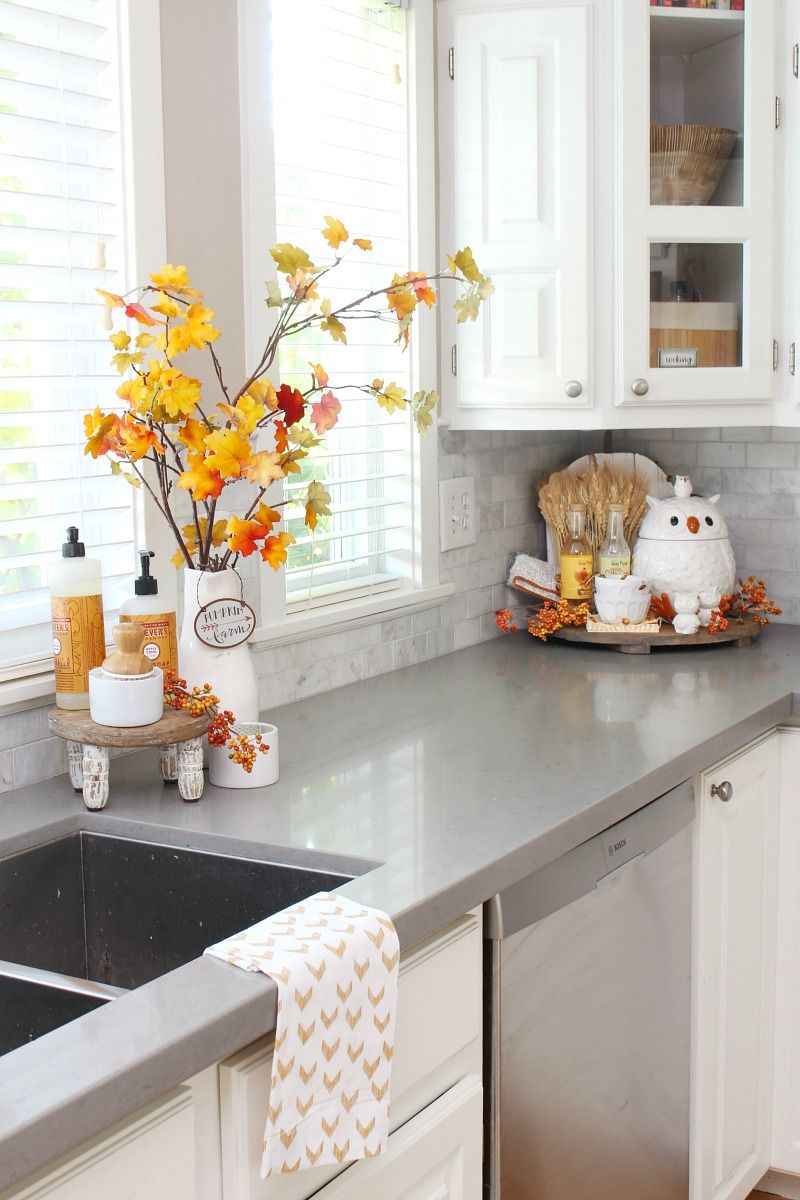
Seasonal decorations bring joy but can quickly overwhelm counters if not managed thoughtfully. Instead of adding holiday items to already-full surfaces, rotate decorations by temporarily storing everyday items to make room for seasonal pieces.
Holiday-specific kitchen tools like cookie cutters or themed serving pieces should live in cabinets until needed. If counter space is tight, consider decorating open shelving or walls instead. I maintain a “one in, one out” policy – for each seasonal item I display, something else gets stored away temporarily.
This rotation system prevents accumulation while still allowing for festive touches. It also creates natural opportunities to clean and reassess your counter organization throughout the year. Seasonal changes become moments to refresh your space rather than opportunities to add more clutter.

