20 Budget Friendly Ideas To Refresh Your Cooking Space
Is your kitchen feeling dull and uninspiring? You don’t need to spend thousands on a full renovation to breathe new life into your cooking space. With some creativity and a small budget, you can transform your kitchen into a fresh, inviting area that makes meal prep enjoyable again.
Here are twenty affordable ways to give your kitchen the makeover it deserves without breaking the bank.
1. Paint Cabinet Doors
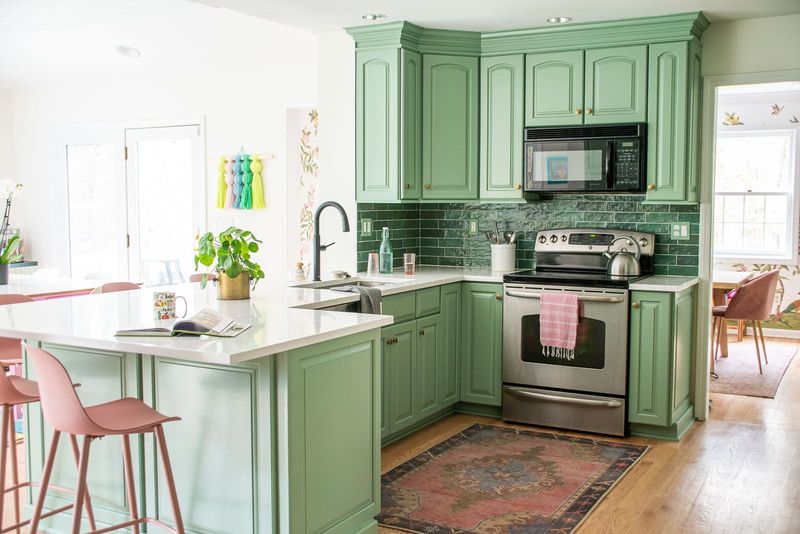
Fresh paint works wonders on tired cabinets! I chose a soft sage green for mine last year, and visitors always think I installed brand new cabinetry. All you need is some sandpaper, primer, paint, and a weekend of work.
Remove the doors first, then sand lightly before applying primer. Two coats of quality paint later, my kitchen had a completely different personality. The total cost? Less than $50 for a transformation that looks like it cost thousands.
2. Add Stick-On Backsplash Tiles
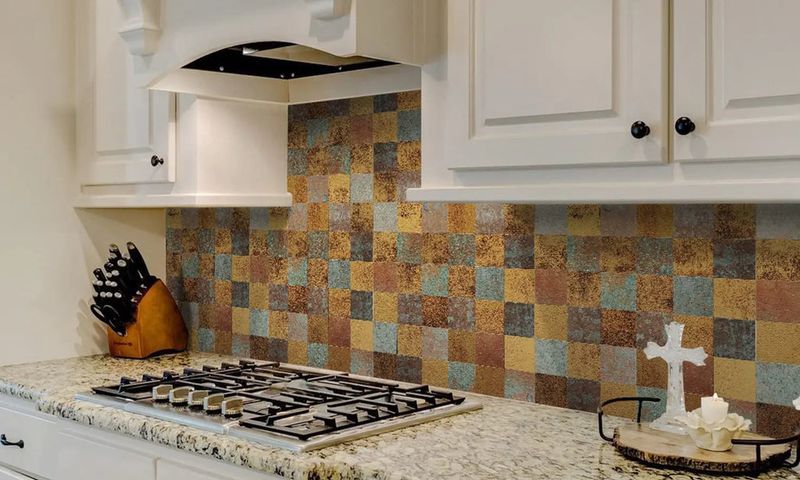
Peel-and-stick backsplash tiles changed my kitchen’s entire vibe in just one afternoon. These ingenious products mimic the look of ceramic, subway, or mosaic tiles without the mess of mortar or grout.
Simply measure your space, cut the tiles to fit, and press them onto a clean wall. They’re heat and moisture resistant, making them perfect behind a stove. The best part? When you’re ready for a change or if you’re renting, they peel right off without damaging the wall.
3. Replace Cabinet Hardware
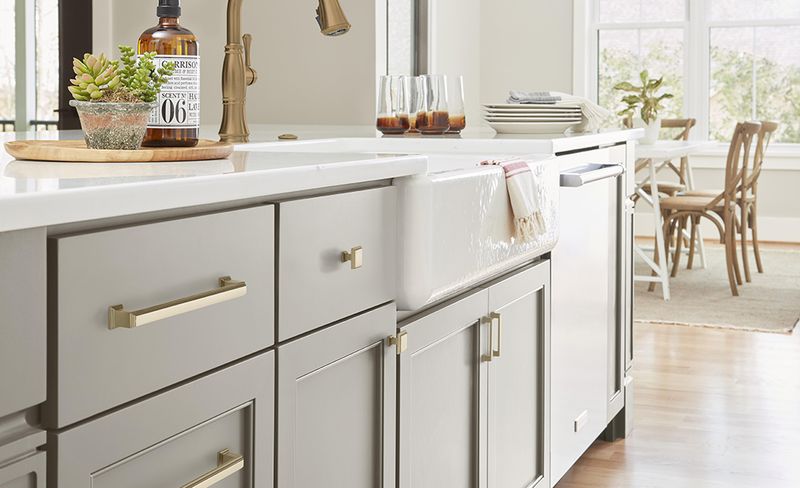
Swapping out those dated knobs and pulls feels like giving your kitchen instant jewelry! I found gorgeous brass handles for just $2-3 each at a home improvement store, instantly elevating my basic white cabinets.
Make sure to measure the distance between screw holes on your existing pulls before shopping. Bring an old piece with you to compare. For a cohesive look, I chose matching knobs for my upper cabinets and horizontal pulls for drawers and lower cabinets.
4. Install Under-Cabinet Lighting
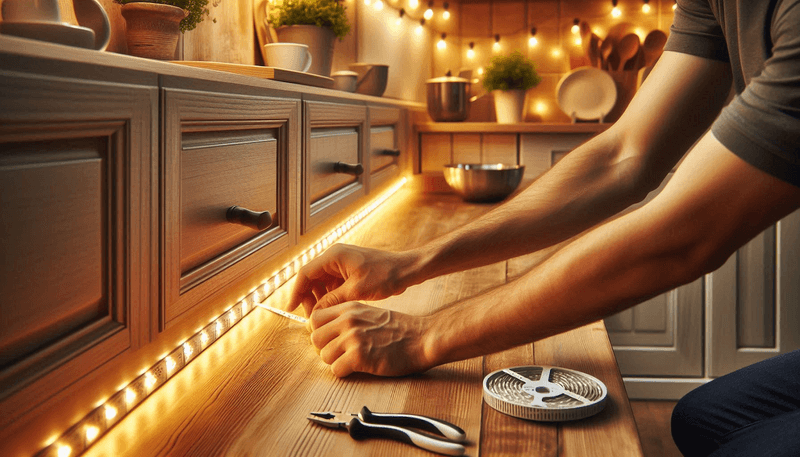
Battery-powered LED strip lights transformed my dark countertops into functional workspace. No electrician needed! The strips come with adhesive backing – I simply stuck them underneath my upper cabinets in about 15 minutes.
The warm glow makes food prep easier and creates cozy ambiance for evening gatherings. Many options come with remote controls to adjust brightness or even change colors. My favorite feature? The motion-sensor option that lights up when I enter the kitchen for midnight snacks!
5. Create Open Shelving
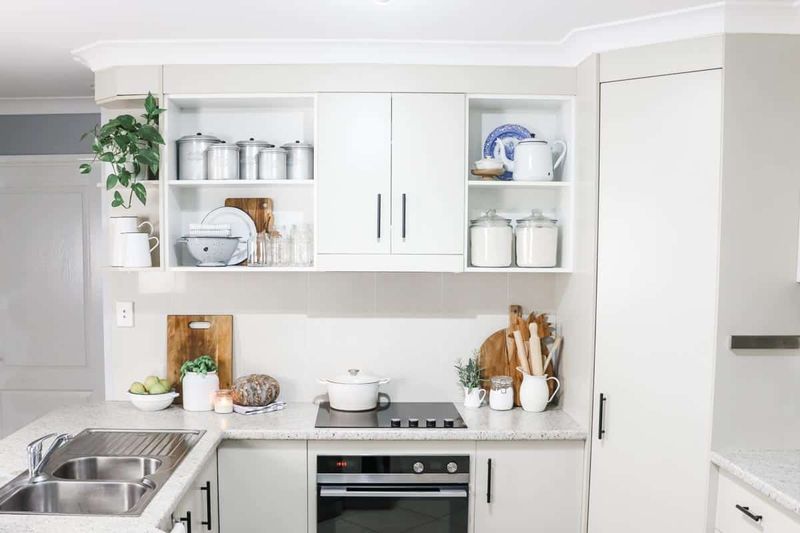
Removing a few cabinet doors instantly modernized my kitchen! I unscrewed the doors, filled the hinge holes with wood filler, and painted the inside of the cabinets to match the exterior. The whole project cost under $10.
Now my pretty dishes and colorful cookbooks are on display, adding personality to the space. The key is careful arrangement – I group similar items by color and keep it uncluttered. This trick works especially well for small kitchens, making them feel more open and airy.
6. Hang a Pegboard Wall
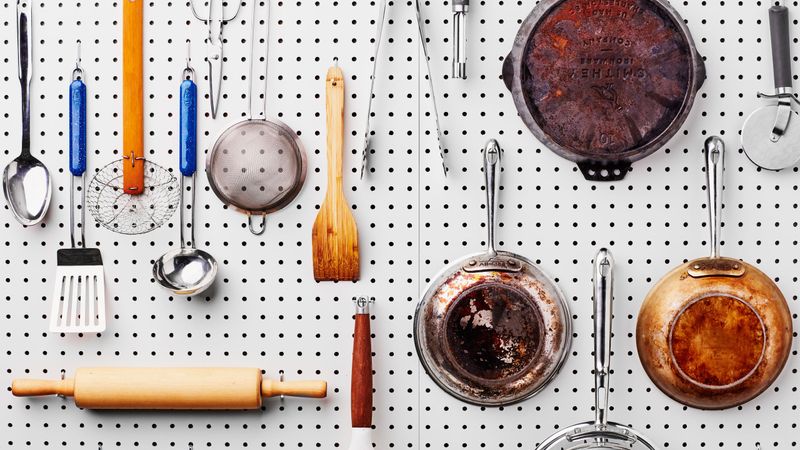
My Julia Child-inspired pegboard organizer holds everything from pots to utensils! A 2×4 foot pegboard cost just $15 at the hardware store. I painted it a cheerful yellow to match my kitchen accents.
Mounting it was simple – just attach furring strips to the wall first to create space behind the board for the hooks. Now my cooking tools hang in plain sight, freeing up valuable drawer space. I rearrange the configuration whenever I need to, making this storage solution incredibly versatile.
7. Refresh Countertops with Contact Paper
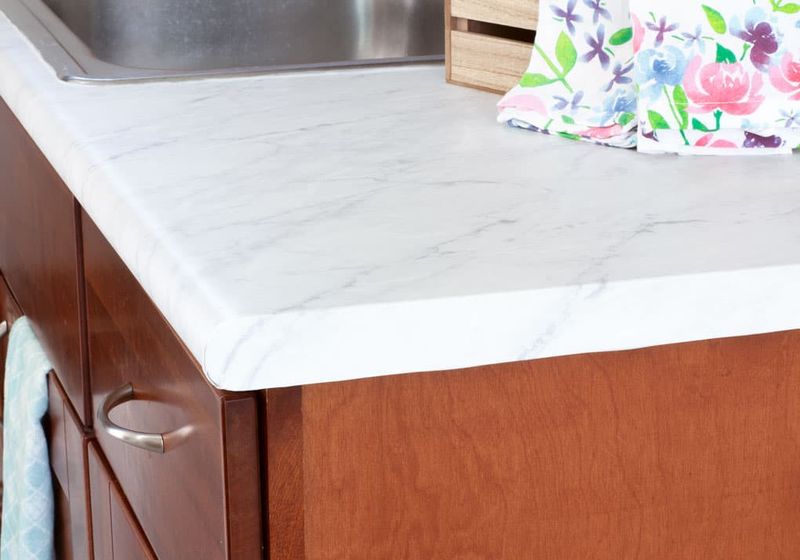
Marble-look contact paper gave my laminate countertops an incredible makeover for just $30! The adhesive vinyl comes in dozens of patterns mimicking expensive materials like granite, marble, and butcher block.
Application requires patience – I worked in small sections, smoothing out bubbles with a credit card as I went. The finish is surprisingly durable against spills and light scratches. While not permanent, it’s held up beautifully for over a year now. For renters especially, this reversible upgrade delivers major impact.
8. Create a Magnetic Spice Wall
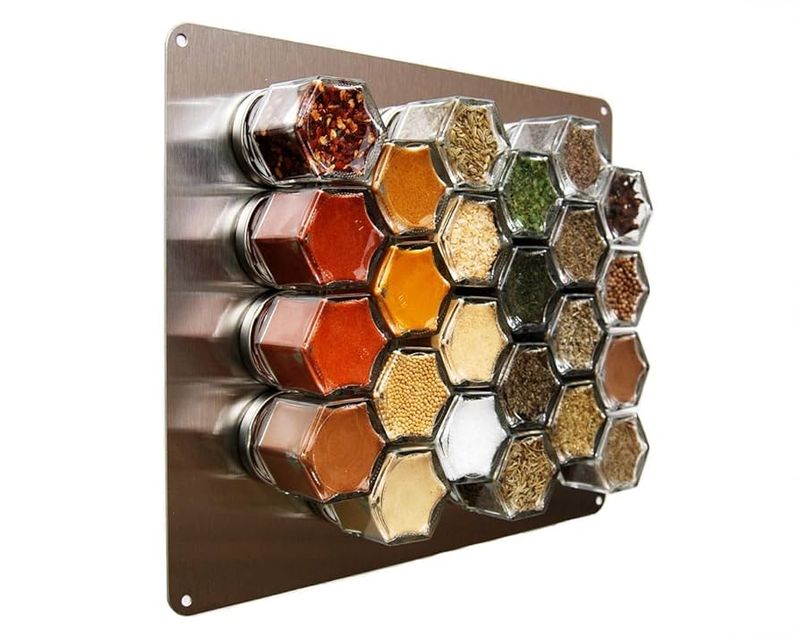
Small magnetic spice containers freed up an entire cabinet in my kitchen! I purchased matching glass jars with magnetic lids and attached a metal sheet to my wall. The entire project cost under $40.
Filling each jar with colorful spices created a functional art piece. I labeled the lids for easy identification. Beyond spices, this system works great for small items like paper clips in a home office or bobby pins in a bathroom. The uniform containers bring satisfying organization to previously cluttered spaces.
9. Add a Rolling Cart
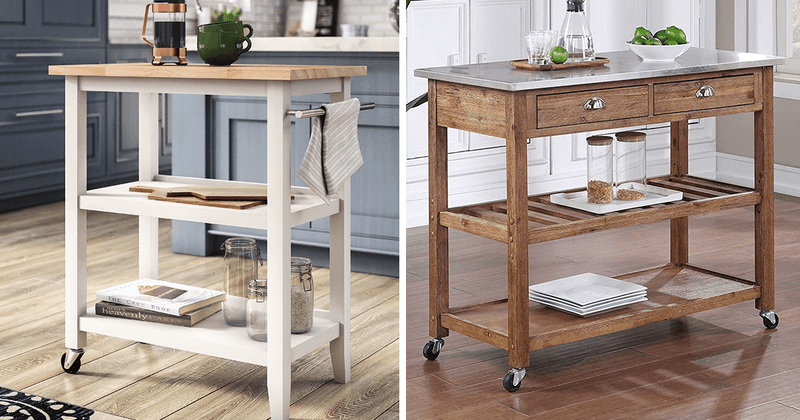
My $30 rolling cart serves as a coffee station, freeing valuable counter space! This versatile piece slides between the refrigerator and wall when not in use, making it perfect for small kitchens.
The top shelf holds my coffee maker and beans, while lower shelves store mugs and accessories. During parties, it transforms into a bar cart or dessert station. Look for models with locking wheels if you have uneven floors. Many affordable options come in fun colors to add a pop to neutral kitchens.
10. Install a New Faucet
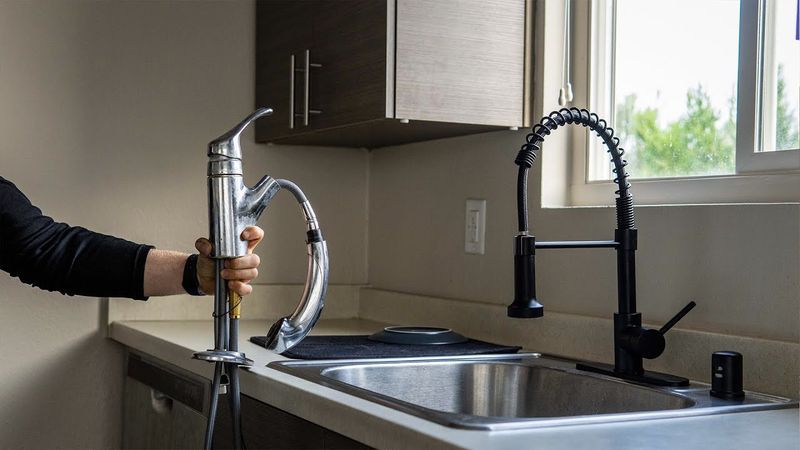
Replacing my builder-grade faucet with a sleek pull-down model made washing dishes almost enjoyable! Modern faucets have come down in price dramatically – I found mine on sale for $75.
The installation was surprisingly simple with basic tools and YouTube guidance. The hardest part was lying awkwardly under the sink to disconnect the old one. My new faucet’s higher arc provides better clearance for tall pots, and the pull-down sprayer makes cleaning a breeze. This single upgrade instantly modernized my entire sink area.
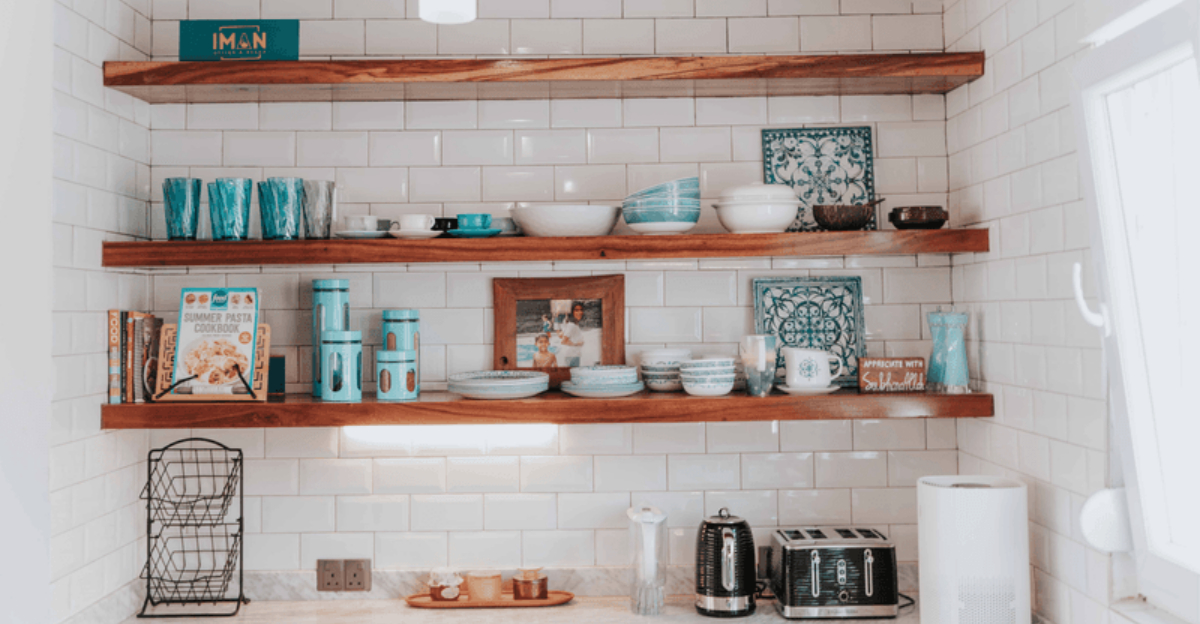
11. Hang Floating Shelves
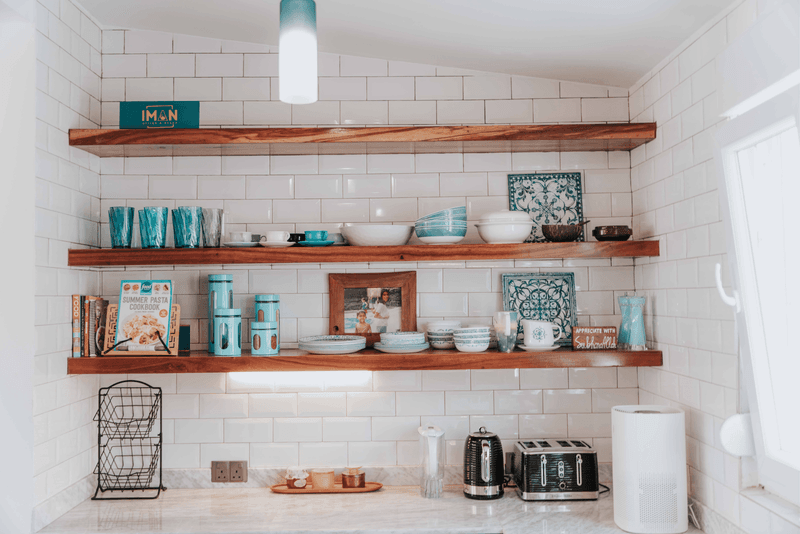
Three wooden floating shelves transformed my blank kitchen wall into a stylish display area for just $40. I found unfinished pine shelves and stained them to match my cabinets.
Installation required finding wall studs for secure mounting – a stud finder is essential here! Now the shelves display my cookbook collection, potted herbs, and favorite serving pieces. For a cohesive look, I limited my display items to a specific color palette. The shelves add storage while making the kitchen feel more personal and lived-in.
12. Paint the Walls
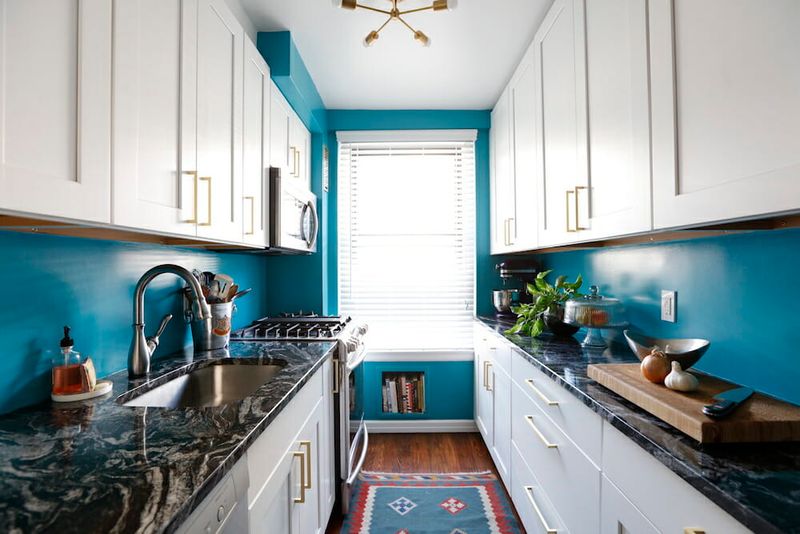
A gallon of sunny yellow paint brightened my kitchen more than any other change! The transformation cost just $35 and took one Saturday morning. I chose a semi-gloss finish that stands up to cooking splashes and wipes clean easily.
Don’t be afraid of color in the kitchen – this space can handle bold choices better than most rooms. If painting all walls feels overwhelming, try just one accent wall behind the dining area. Remember to use painter’s tape for clean edges and remove switch plates first for professional results.
13. Upgrade Cabinet Interiors
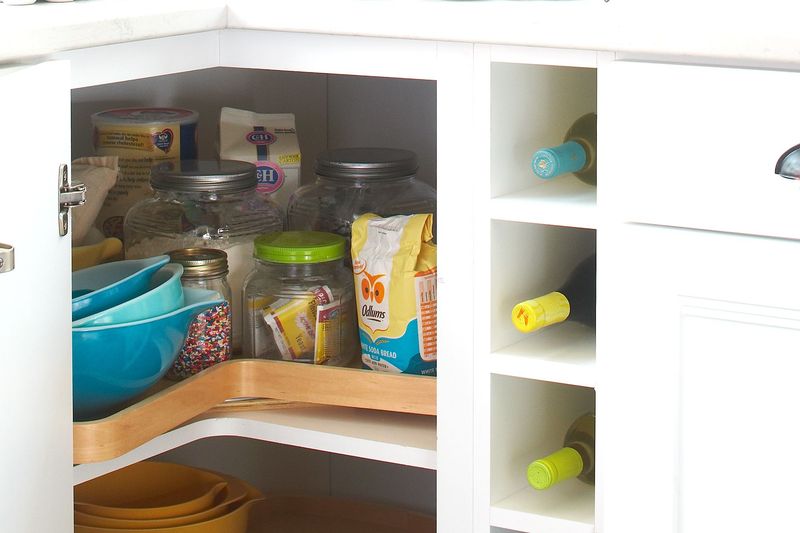
Drawer dividers and cabinet organizers doubled my storage capacity without any construction! I found adjustable bamboo dividers for my utensil drawers and stackable wire shelves for cabinets.
My favorite addition was a $12 lazy susan for the corner cabinet that previously swallowed items into its depths. Now everything rotates into view with a gentle spin. Under-shelf baskets that hook onto existing shelves created new storage zones in tall cabinets. These simple organizers maximize every inch of space.
14. Add a Rug or Runner
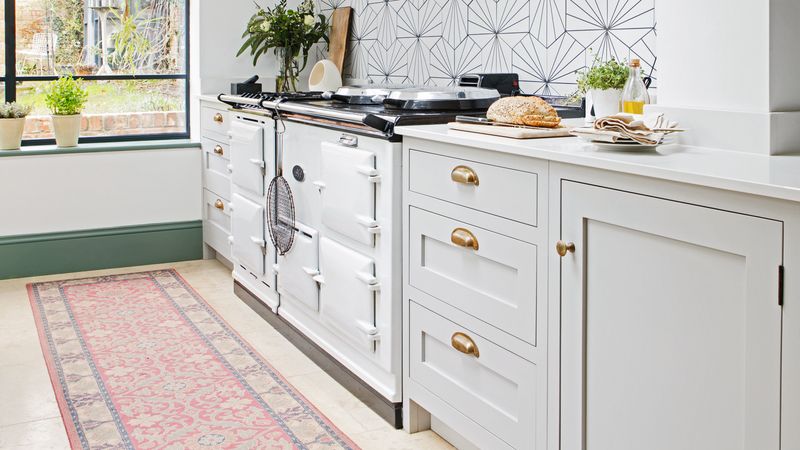
A colorful kitchen runner softened the hard surfaces in my cooking space and made standing more comfortable. Washable options have revolutionized kitchen floor coverings – mine goes straight into the washing machine after cooking spills.
Look for flat-weave styles that won’t trip you up while moving around. I chose a pattern that incorporates my kitchen accent colors for a pulled-together look. Beyond aesthetics, the cushioning really helps during long cooking sessions. Add a non-slip pad underneath to prevent shifting on slick floors.
15. Create a Coffee Corner
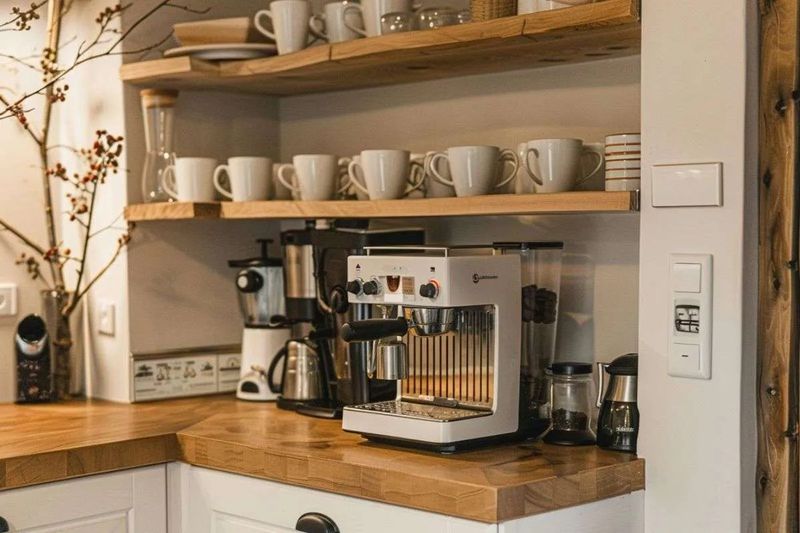
Carving out a dedicated coffee station made my mornings infinitely better! I cleared one counter corner and added a small shelf above for mugs and supplies.
A thrift store tray corrals the coffee maker, grinder, and canisters, making the grouping feel intentional rather than cluttered. I hung favorite mugs on hooks underneath the shelf to save space. This zone now serves as both functional station and decorative vignette. The same concept works wonderfully for tea setups or small bar areas.
16. Refresh Grout Lines
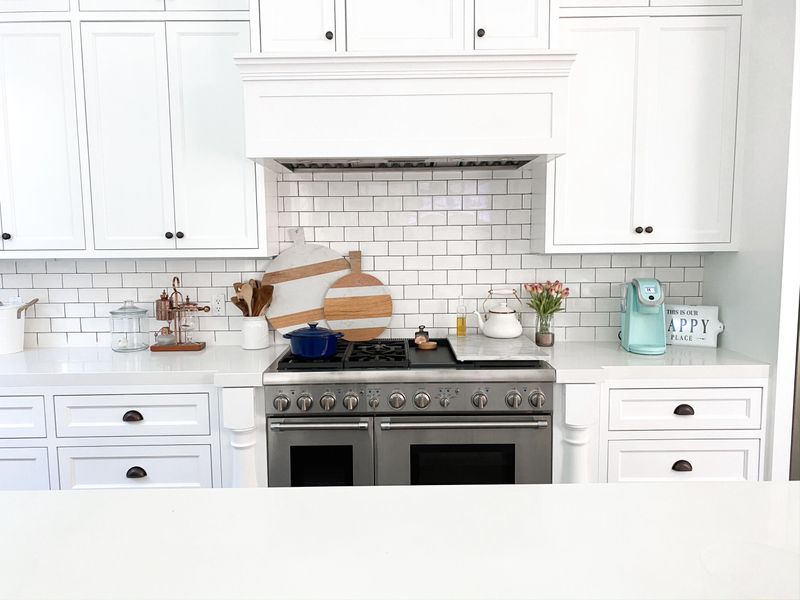
Grout pens transformed my dingy tile backsplash into what looks like a brand-new installation! For under $10, these markers let me “paint” fresh white grout lines between my existing tiles.
The process was meditative – I worked in small sections during evening TV time. The difference was dramatic, especially in my 15-year-old kitchen where cooking oils had discolored the original grout. For even more impact, you can change the grout color entirely – dark grout with white tiles creates a striking modern contrast.
17. Add Under-Sink Organization
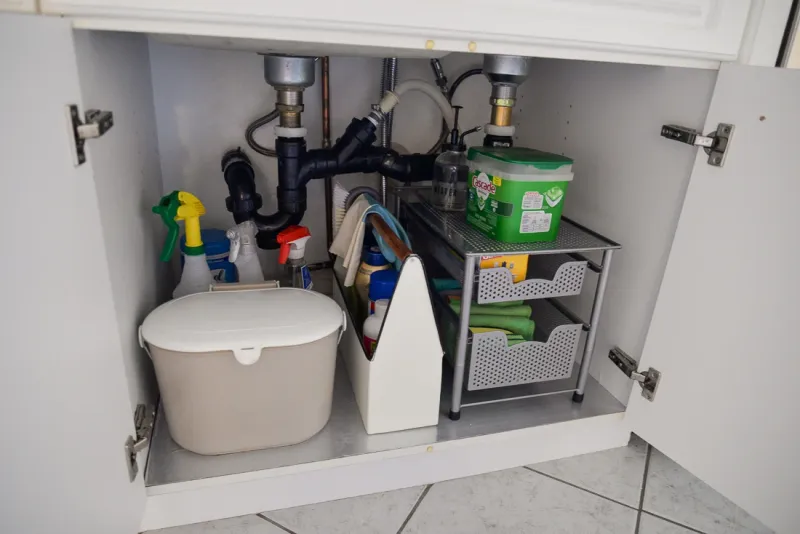
Expandable shelving transformed my under-sink cabinet from chaotic black hole to organized storage heaven! The $15 unit works around pipes by adjusting in width and height.
I added small bins on each shelf to categorize cleaning supplies by type. A tension rod near the top holds spray bottles, freeing up valuable shelf space below. The clear plastic mat lining the bottom protects against inevitable leaks. This organization system makes finding supplies quick and prevents forgotten products from expiring unused in the back.
18. Hang Artwork or Photos
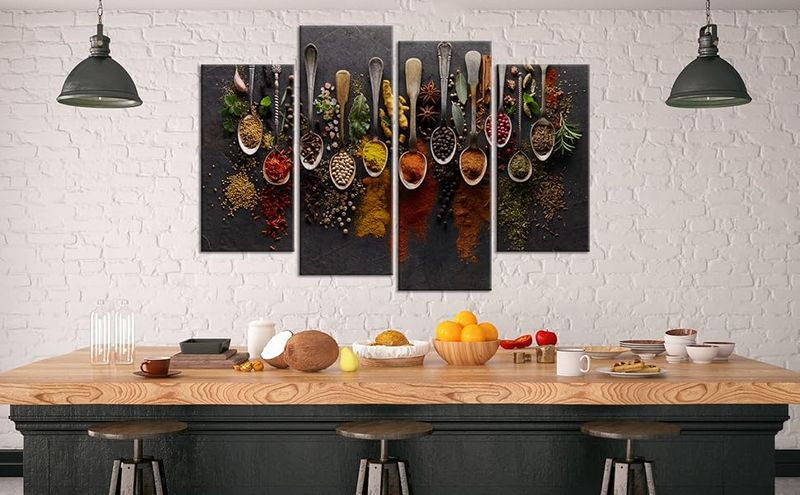
Framed vintage food advertisements added personality to my kitchen walls for just $20! I found free printable images online and placed them in inexpensive frames from a discount store.
The colorful produce crate labels bring cheerful energy to my cooking space. Consider food-themed prints, family recipes, or even children’s artwork for personal touches. I hung mine in a small grouping near the dining area, but a single large piece can make an equally strong statement. This simple addition makes the kitchen feel like a thoughtfully designed room rather than just a functional space.
19. Upgrade Light Fixtures
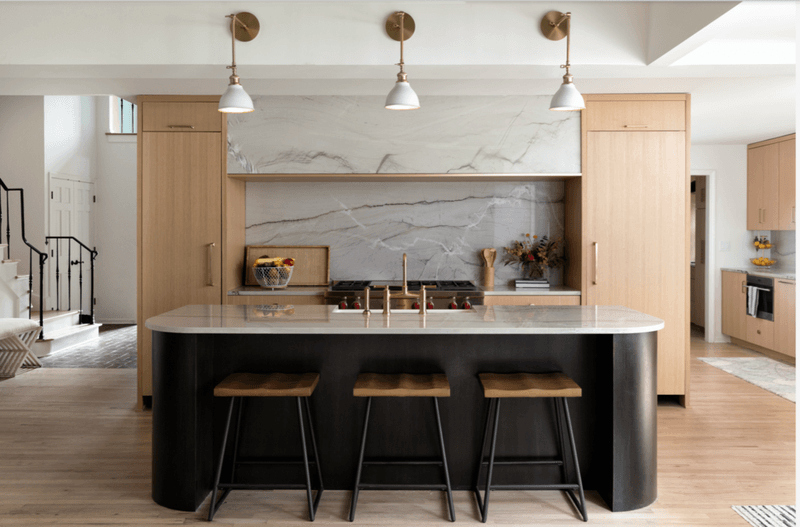
Replacing my builder-grade flush mount with a $40 pendant light instantly elevated my kitchen’s style! The swap took just 30 minutes after turning off power at the breaker box.
The new fixture hangs at the perfect height above my island, creating a focal point and improving task lighting. Many affordable options come with adjustable cord lengths to suit any ceiling height. For renters, consider plug-in pendant lights that hang from hooks without requiring electrical work. This simple change delivers incredible bang for your decorating buck.
20. Create a Herb Garden Window
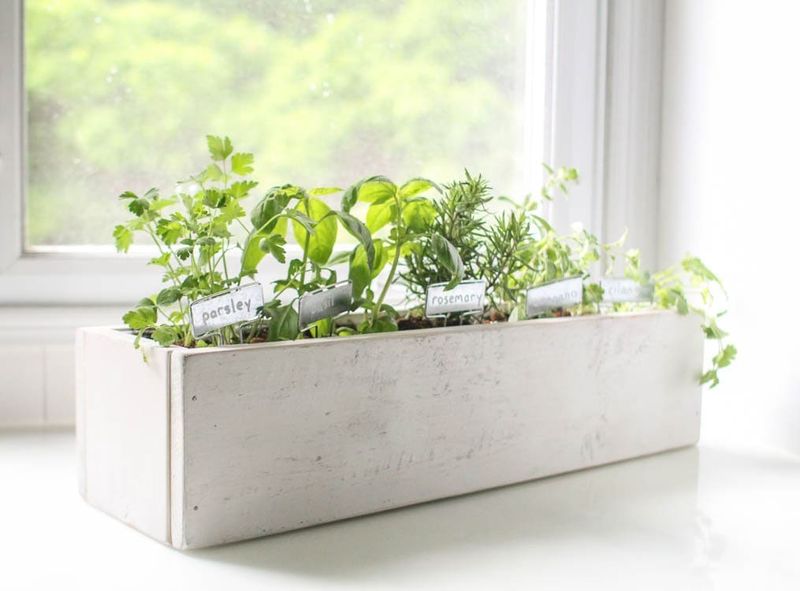
My $25 windowsill herb garden provides fresh cooking ingredients and brings life to my kitchen! I found small terracotta pots and painted the rims in coordinating colors for a cohesive look.
Basil, thyme, and mint thrive in my sunny window, perfuming the room when I brush past them. Beyond cooking benefits, the greenery adds a refreshing element to the space. For windows with limited sills, try a hanging system with S-hooks and small containers. Even apartment dwellers with minimal natural light can grow herbs with inexpensive grow lights.


