Rustoleum Milk Paint Review – is it worth it?

This post contains affiliate links, which means we may earn a small commission if you purchase through them — at no additional cost to you. Please see our policy page for more details.
I did something a little bit crazy.
Remember that sideboard I painted a while ago? Well, I repainted it. And I moved it to our dining room.
In this post, see the before and after transformation and read my detailed Rustoleum Milk Paint Review.
Sideboard Before
Here’s a quick peek at this sideboard. I picked this up for $175 from our local ReStore thrift store.

Then, I painted it gray to match with our kitchen cabinets, because I had this sitting in our eat in kitchen nook. You can read about how I painted it, and changed the hardware, step by step, in this post here.
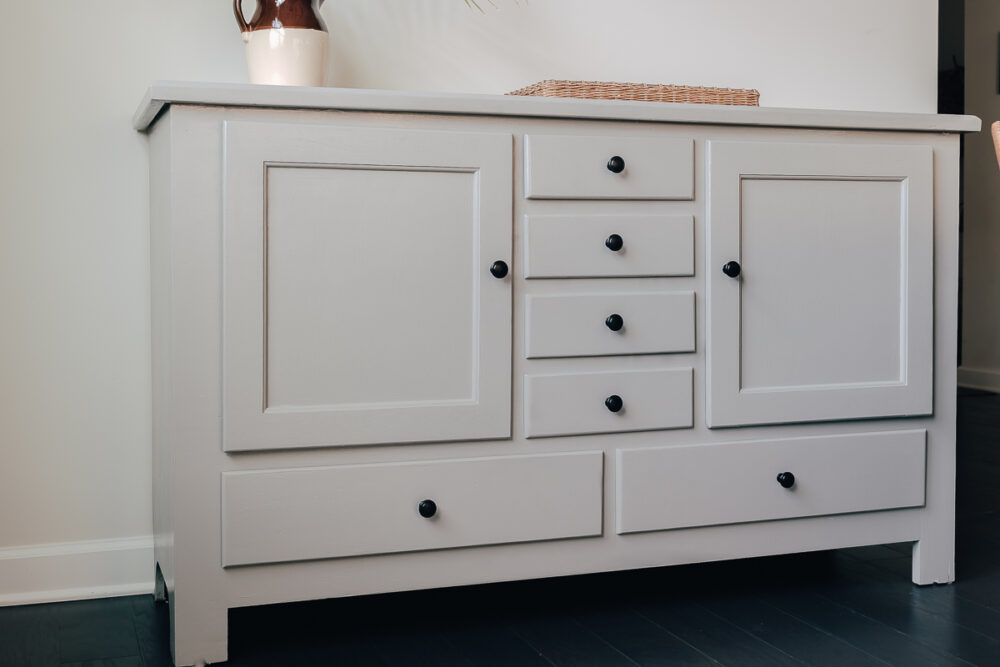
I also chose matte black knobs to match with our existing kitchen cabinet hardware.
What is Milk Paint?
If you’ve never heard of Milk Paint, let me give a brief run down. Milk Paint is a type of latex paint that contains milk protein. It dries clear and provides excellent coverage. It also offers good resistance to staining and mildew.

Real milk paint actual comes in a powder form, and you need to mix it together yourself before using. It has more of a “milky” finish, and has exploded in popularity recently for it’s rustic look. It’s also pretty clean as far as paint goes. It contains no VOCs, is water based and non toxic. Miss Mustard Seed and Real Milk Paint are a popular brand of milk paint (not to be confused with Chalk Paint – which is thicker and comes pre-mixed).

It’s important to note that Rustoleum Milk Paint is not “real milk paint”. However, they have developed a paint formula that gives you the milk paint look without all the prep work involved. It comes pre-mixed in a can like any other paint, so you can literally open the can and get to painting.
Do you need to sand before using milk paint?
To sand or not to sand. That is the question. And I wish I had a simple answer for this, but I’m going to be annoying and give you the dreaded “It depends” answer.

- Is your furniture piece damaged, rough or dinged up? You should sand first.
- Does it have a shiny varnish on it? You should sand OR degloss first.
- Are you going from a dark paint color to a light paint color? You should prime first.
- Is the piece in pretty rough shape, with multiple layers of peeling paint? You should use a paint stripper, like Citristrip.
- Is the piece in good shape, painted a light color and you are repainting it a dark color? You can probably just paint it!
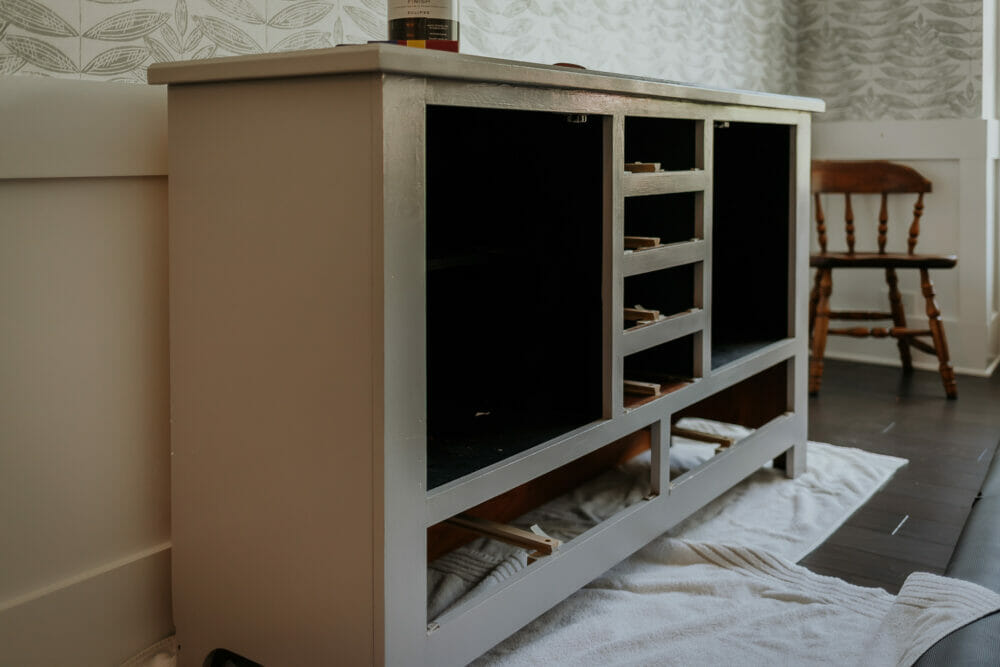
I’m no expert in furniture painting, but I’ve painted enough pieces to know enough. I always give my projects a quick sanding (180 or 220 grit sandpaper) before painting. I just find that the new paint adheres better this way. You also want to remove any doors and drawers to make it easier to paint.
How to Apply Milk Paint
Apply milk paint with a natural bristle brush. I’ve come to love my Wooster Brushes. They are so comfortable to hold and last a long time and clean up easily.

Here’s the thing about painting with milk paint. It’s thinner (especially compared to something like a chalk paint). So, it’s going to take a number of coats to get it to an opaque finish.

Milk paint is extremely easy to apply. It goes on like buttah. And it dries incredibly fast! 30 minutes between coats and 1 hour until it’s dry to the touch.

I didn’t even move my sideboard to the garage for this project, I painted it right in the dining room and opened the windows and turned on a fan. Hardly any fumes either. My dog Sasha has the most sensitive nose and she napped in the foyer the entire time – totally oblivious.

I applied a total of 3 coats of Rustoleum Milk Paint in Eclipse. You can see the progression between coats in the photos below.

Truth? I even applied a 4th coat on some areas that were still showing a bit of gray through it.


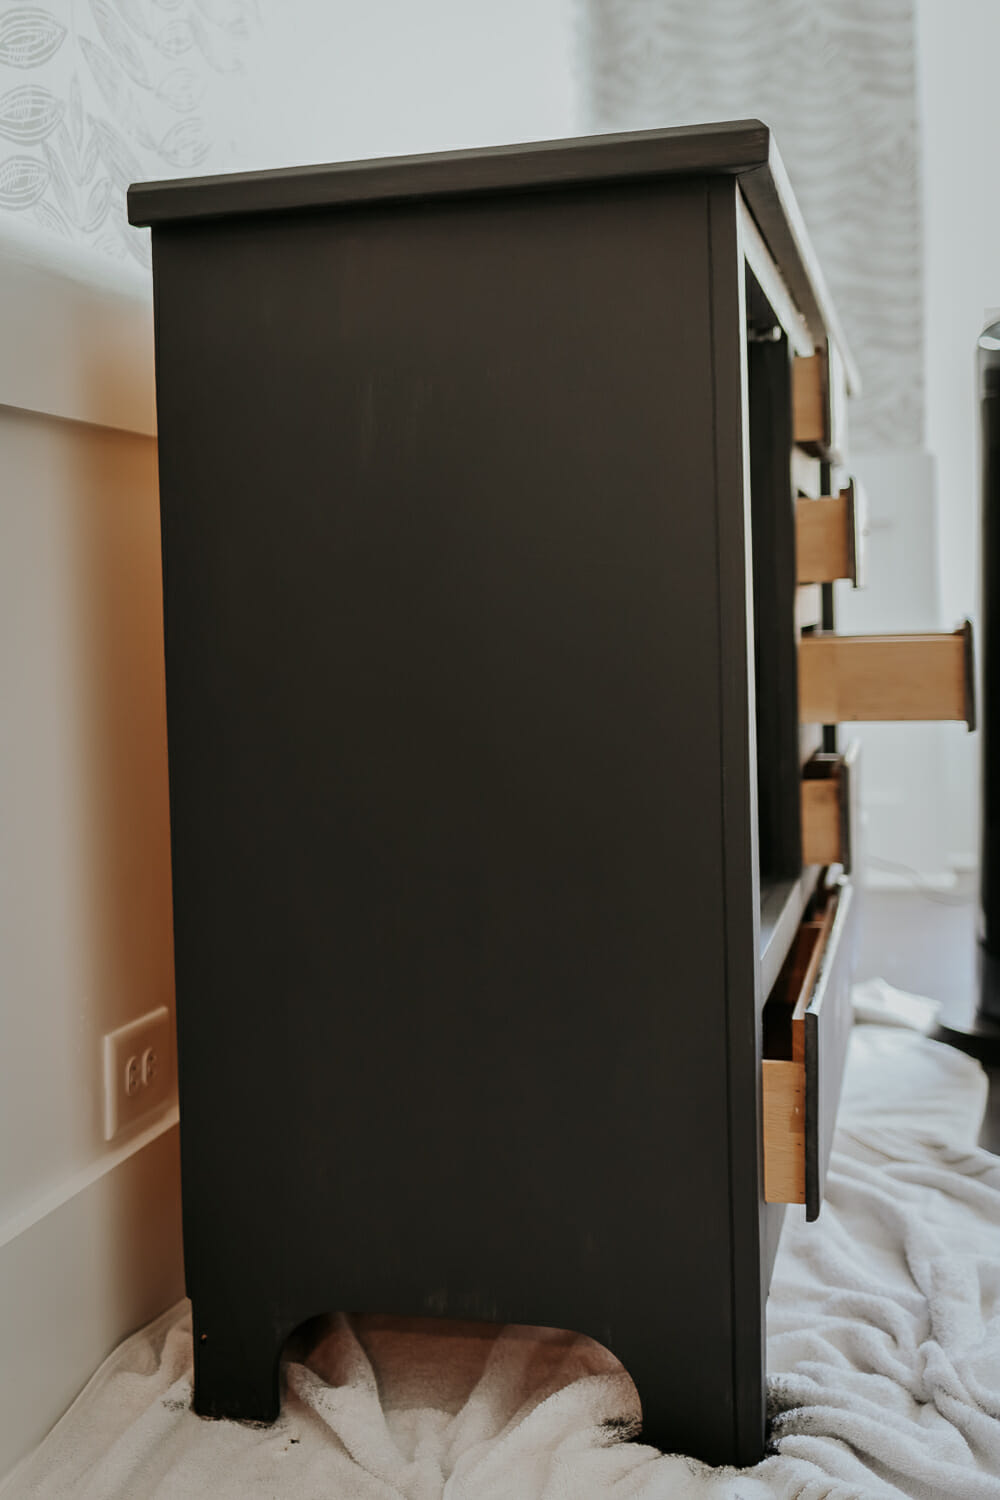
However, even with the 4(ish) coats, I still have half a can of paint left! I thought for sure I was going to need a second can. This stuff really stretches which is great.
Rustoleum Milk Paint Review: Pros and Cons
Do I love the final result? YES! It’s a beautiful piece, and the black Eclipse paint color just really pops against the gold knobs. (I also spray painted my knobs gold, then sanded them so they looked aged.)


However, in certain light, you can see a bit of splotches. This could be user error (again I’m no expert), but it’s something to keep in mind. The finish is very matte and a bit textured, so touching it almost feels like you are getting paint (or chalk) on your hands (even though you aren’t).
You can see some of the splotchy looking spots in these photos.
Does it bother me? A little bit. But not enough for me to not like the paint. Like I said – it could have been me. And this paint is specifically formulated to kind of texturize and age your pieces. It’s not meant to look perfect in my eyes.
(And for the record, NOTHING I do is every perfect. And that’s ok.)
Here’s a pros and cons list.
→ Pros
- Easy to Apply
- Paint really stretches – I still have half a can left after several coats.
- Beautiful Finish for furniture with real milk paint “look”
- No prep involved – already pre-mixed
- Low odor and water based
- Dries very quick
- Creates a cool matte, textured look.
- Great for adding character to a piece of furniture (it will look somewhat aged after a couple coats)
- Available at a variety of stores and online.
→ Cons
- Expensive for the size of the can.
- Takes multiple coats to acheive an opaque finish (as opposed to chalk paint).
- Only available in 6 colors.
- Can be a little splotchy (might be user error)
- Feels texturized under your hands (could be a pro or con)
Final Thoughts
Here’s how our sideboard looks today! As you can see, I still need a bit of touch up in some areas.


A few final considerations. How will it hold up? I don’t know yet. But I’ll be sure to update this post after a few months. The sideboard is sitting in our dining room which doesn’t get heavily used, but it would be good to see what happens over time with this paint.

I’m wondering if I could have acheived the same look using a black chalk paint, less expensive and less coats. I guess I’ll never know at this point.

Overall, I would use this paint again. I love the way my furniture turned out and highly recommend you give it a try.
Thanks for visiting today!
xo Karen


