DIY Storage Cabinet
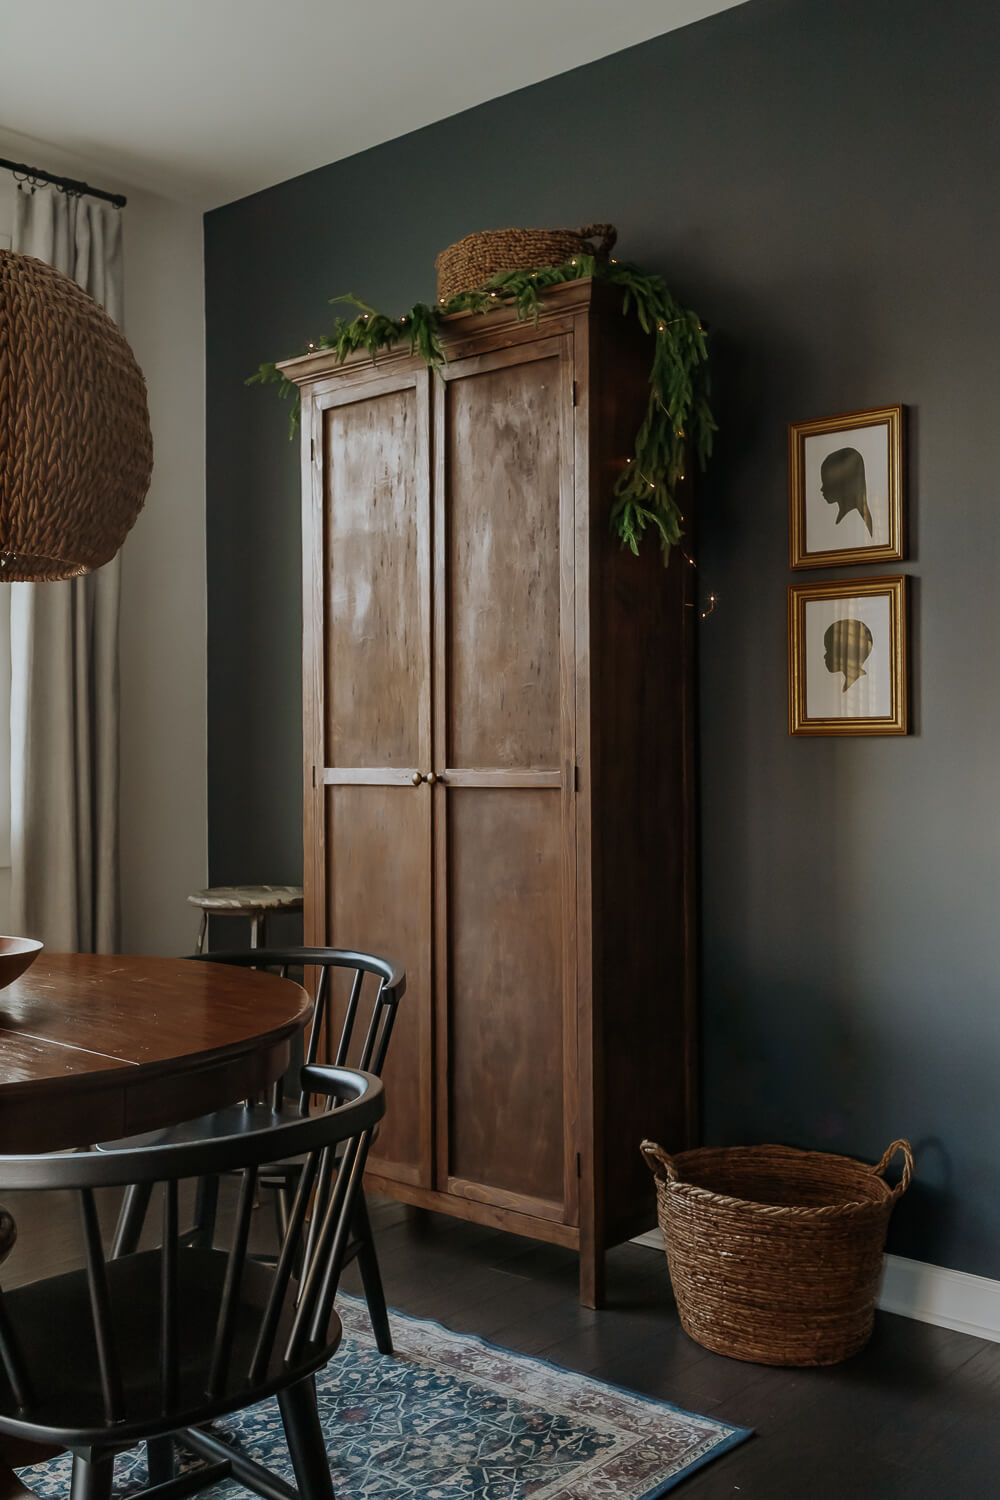
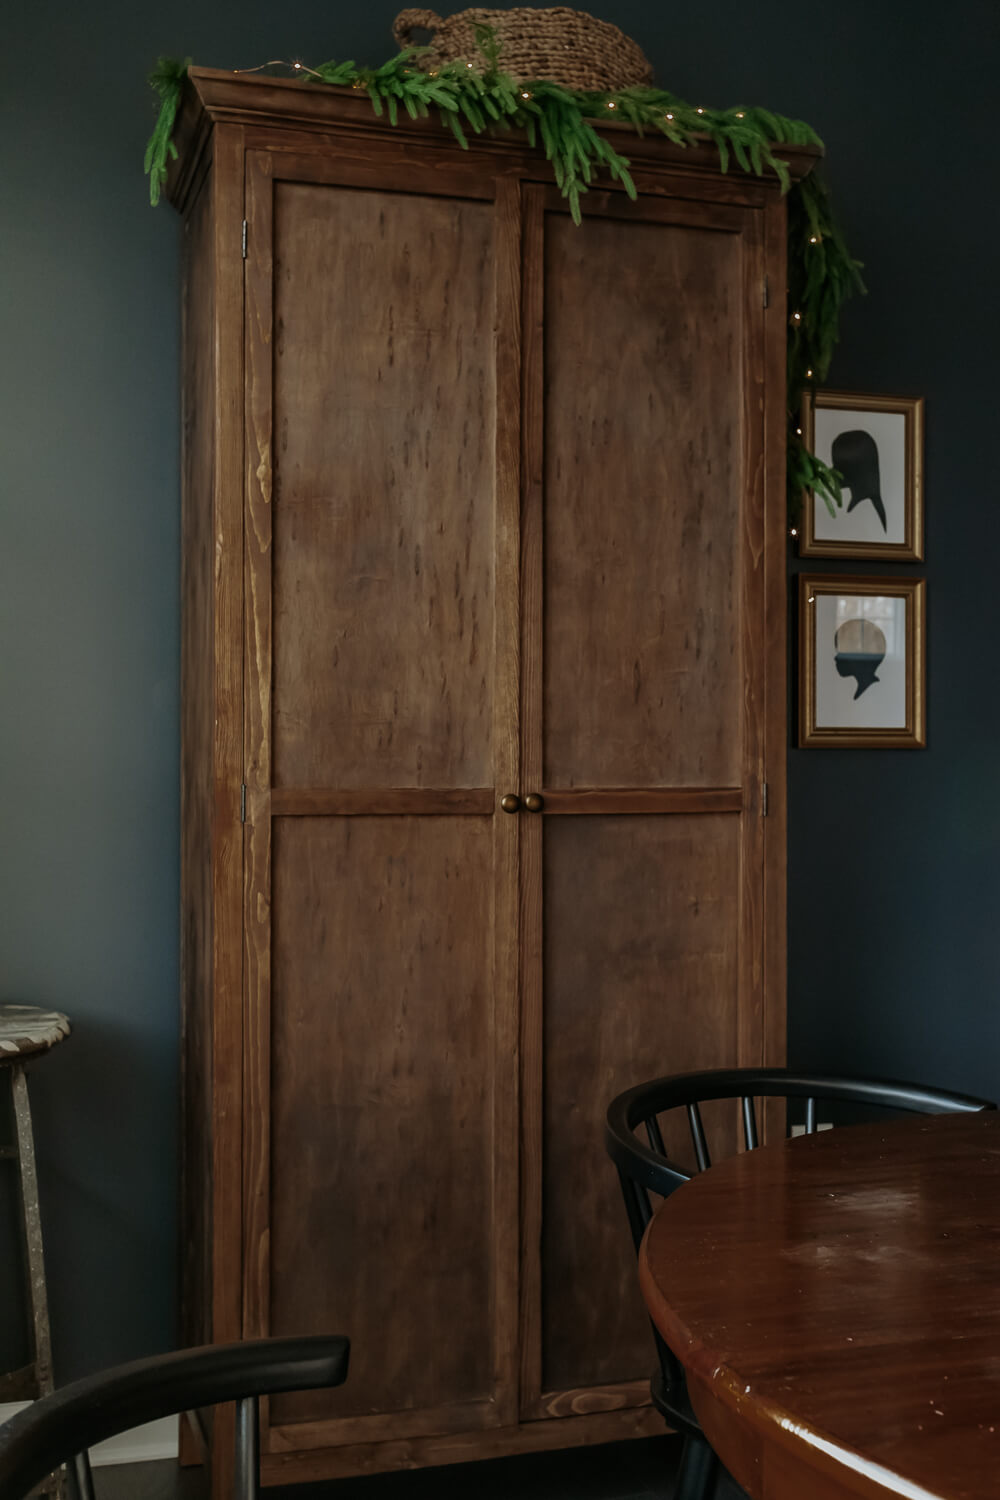
This DIY storage cabinet (aka Dad’s Hutch) is very near and dear to my heart. My Dad and I like to work on a wood project each time we get together and this was our biggest project to date! The end result is beautiful. And in today’s post; I’ll be sharing the details so you can make your own.

You might be wondering; where do these project ideas come from? Well, they don’t come out of nowhere. First, I see something I want (in this case, I was inspired by these wood armoires). Then I draw it out on paper. I figure out how to make the project work using only pine wood and pocket hole joinery. I like to keep things inexpensive and simple.
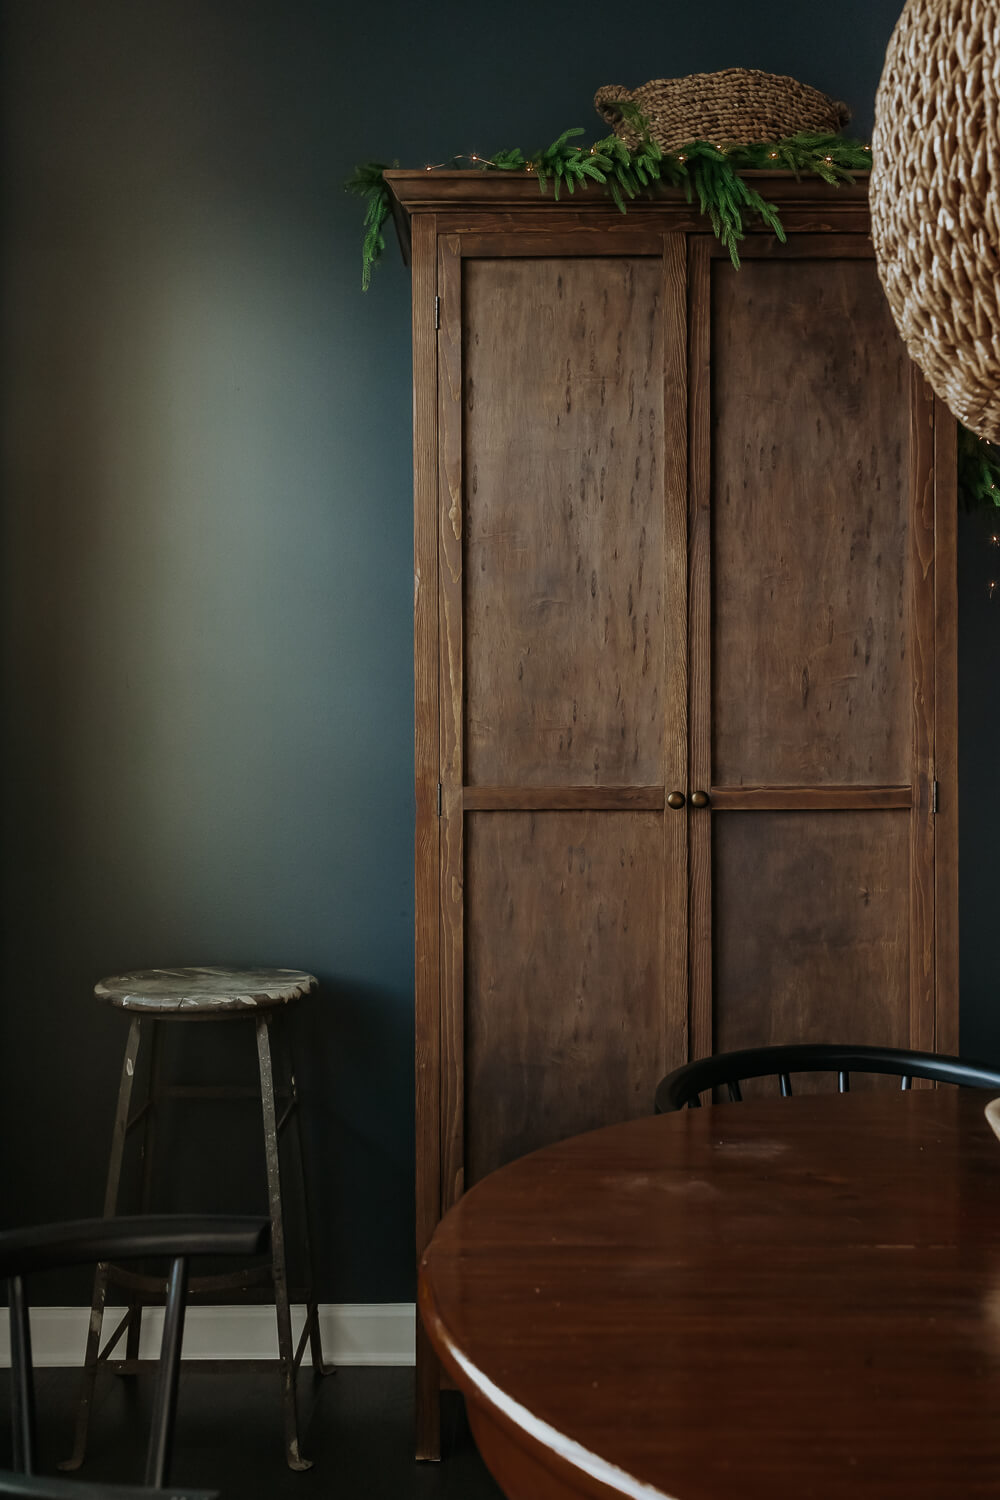
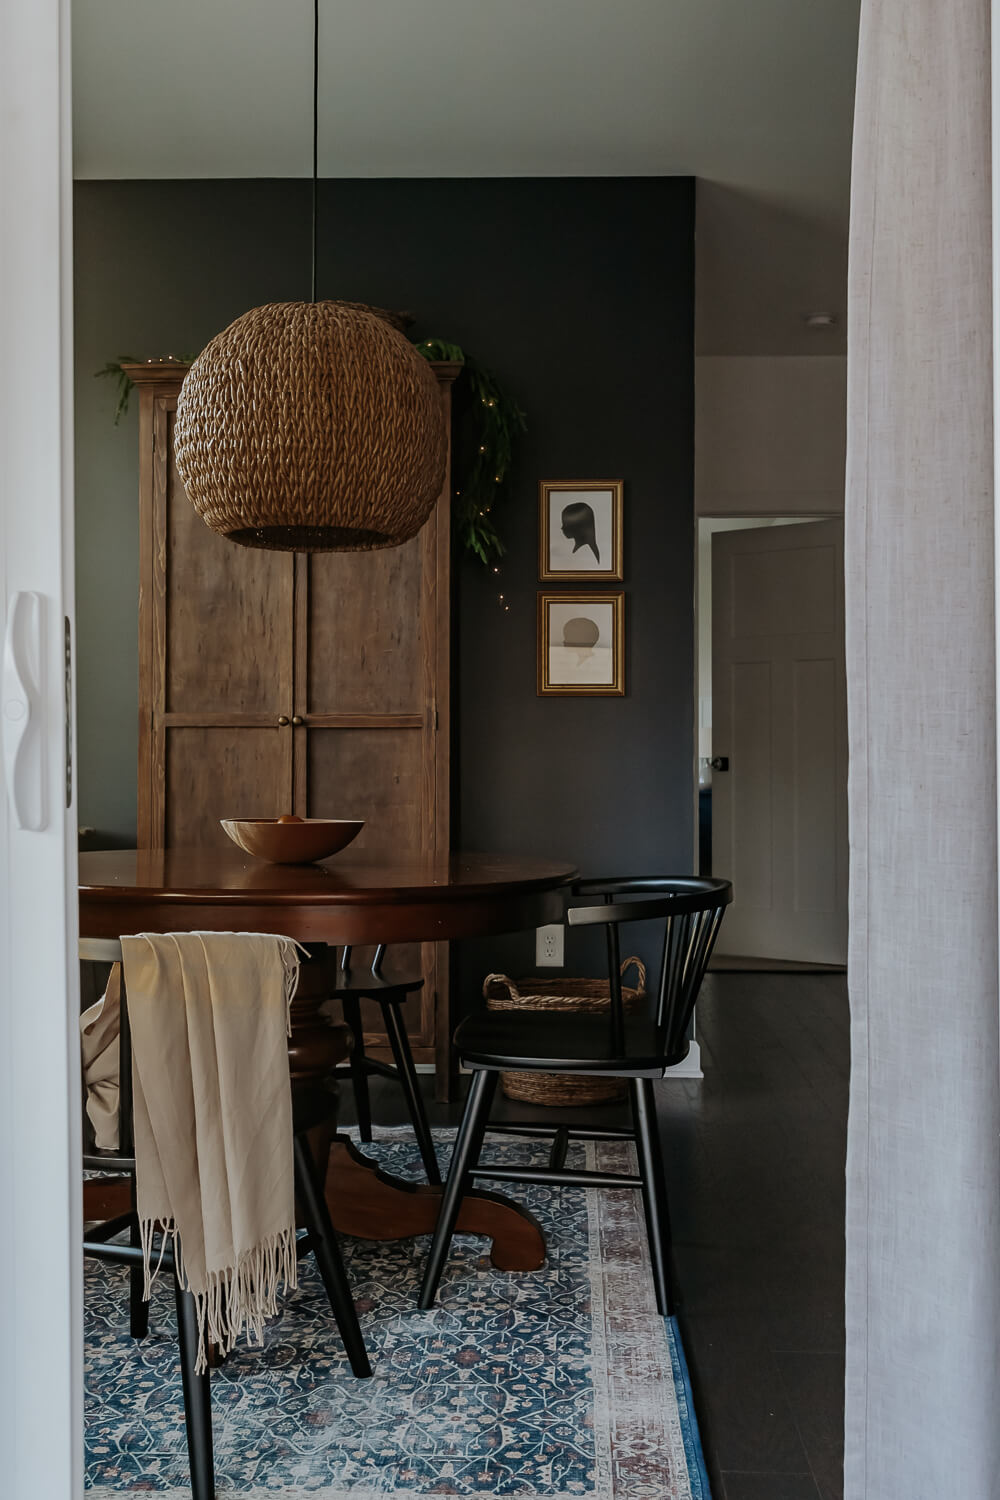
This storage cabinet was no exception. It was fully constructed with a little over $200 in wood and materials. And nothing more than wood glue and pocket holes holding it all together. In fact, the shell of this cabinet is constructed of nothing more than ripped 2x4s, with plywood doors, a plywood top and bottom, and 1×12 sides. The back of the cabinet is tongue and groove, and this was the most expensive part of this whole project but it dressed it up quite a bit and was well worth the cost.
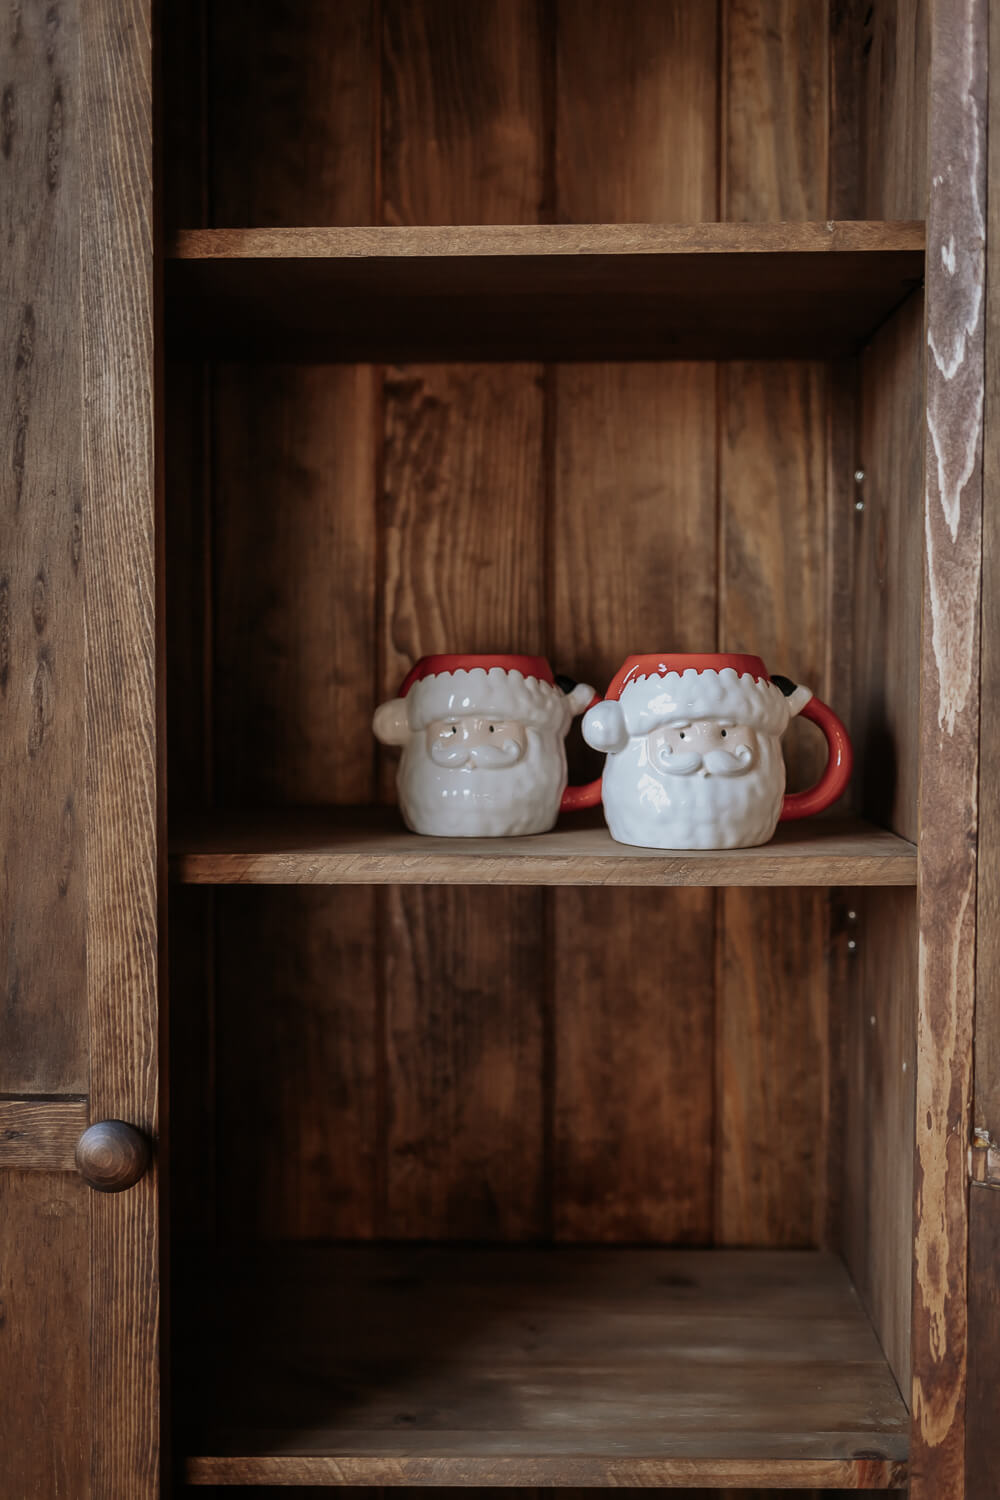
You can obviously go much fancier with this project or make this even more simple. That’s the beauty of woodworking. Either way, I hope this project inspires you to get one going; however fancy or simplistic you like it!
Tools You’ll Need
- Table Saw or Miter Saw
- Orbital Sander
- Polyurethane or Polycrylic
- Wood Stain
- Wood Glue
- Brad Nailer and Brad Nails
- Kreg Pocket Hole Jig
- Pocket Hole Screws
- Jigsaw (for cutting notches for cabinet bottom)
- Chisels (for creating a notch for hinges)
- Tape Measure
- Router
- 4 Door Hinges
- Shelf Pins
- Drill
- Clamps
- 2 Cabinet Knobs
- Magnetic Catch for cabinet door (optional)
- Anti-tip Furniture Anchors
Cut List
Overall dimensions and cut list are approximate.
→ I bought FIVE – (2 x 4 x 12s) and ripped them in half as best I could using my DeWalt Saw. You’ll need 4 of these ripped 2x4s cut to 80 inches long, another 4 cut to 12 inches long, and another 2 pieces cut to 32 inches long.
→ TWO full 2 x 4s cut to 32 inches long for the back frame of the cabinet (this is what the tongue and groove gets nailed into, we wanted wider wood in the back.)
→ TWO – 1 x 12 x 6 feet boards for the sides of the cabinet.
→ I used furring strips for the door frames, you’ll need 4 boards cut to 72 inches long, and another 6 boards cut to 13 inches long.
→ FIVE 1 x 12 boards cut to 11.75 inches
→ 3/4 inch plywood pieces for the top and bottom of the cabinet, cut to 35 inches long and about 15 inches wide.
→ 1/4 plywood panels cut to 13.5 inches wide and cut to length to fit inset.
→ (optional) crown molding piece for the top at least 70 inches long (we bought extra for potential mistakes)
→ (optional) 1x6x12 inch tongue and groove boards for the back of the cabinet. You can also just use a piece of plywood here, or pine boards.
overall Cabinet Dimensions
these are approximate measurements:
- Height – 80 inches (not including crown molding)
- Width – approx 35 inches wide
- Depth – 15 inches deep (roughly)
DIY Storage Cabinet – Step by Step
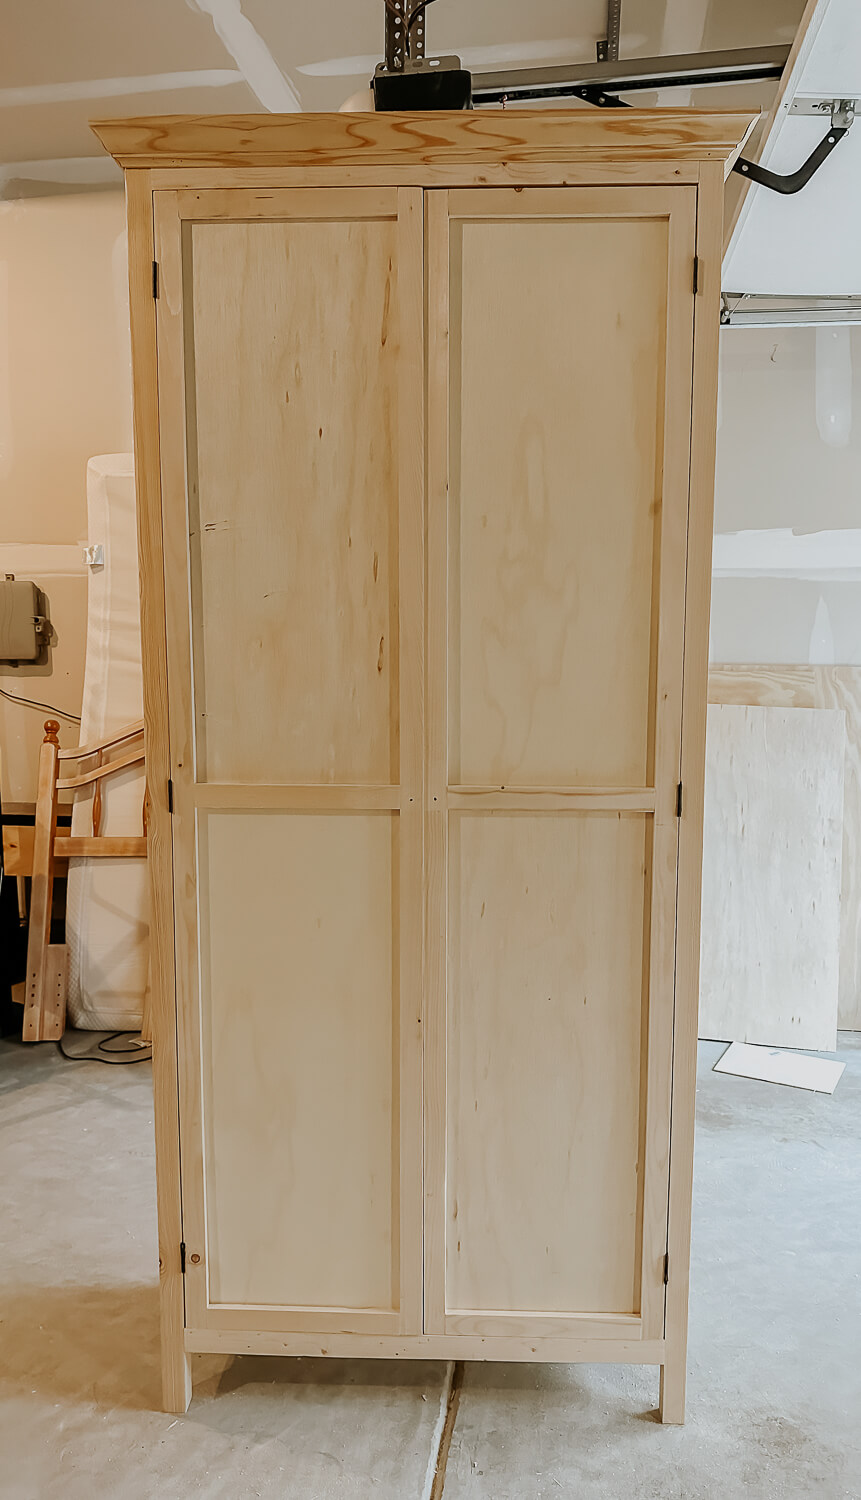
How to Build a DIY Storage Cabinet with pine wood and pocket hole joinery.
Total time: 5 days
-
Drill Pocket Holes

This entire project is put together with wood glue and pocket screws. You’ll be drilling a lot of pocket holes and it’s easier to do this all in one step once you have wood pieces cut to length. You’ll want to drill 3 or 4 pocket holes spaced down the entire length of the 1×12 on each side, plus a couple at the top and bottom of each 1×12.
-
Assemble Cabinet Sides

Use pocket screws to connect the 1×12 to each 80 inch board, leaving 4.5 inches for legs as shown in the photo. Use more pocket screws to connect the 12 inch pieces to the 1×12 at the top and bottom.
-
Connect Top & Bottom Frame

Use pocket screws to connect the 32 inch pieces to each side of the cabinet. NOTE: We ended up using full 2×4 pieces for the back side, to give us more wood to nail the tongue and groove into.
-
Assemble Door Frames & hinges

Use pocket screws to assemble each cabinet door frames as shown. Use clamps to ensure your pocket screws are nice and flush and even.
-
Router Door Edge and Attach Panels

Use a router to create a lip on the inside of the back of the doors, this is going to fit out plywood panels later. To attach the door hinges, we measured about 4 inches in from the top and bottom of the cabinet door, and created a pencil outline. Then, we used a chisel to create a notch to fit our hinges flush with the cabinet door.
-
Attach Cabinet Doors

Use some cardboard shims on the top and bottom of the doors to create a small gap. Then, using a pencil, draw an outline of where each hinge will attach to the cabinet. You can see my light pencil marks above. Repeat for the remaining three hinges. Use a chisel to create a notch at each one of these hinge marks (the same process as attaching them to the doors). Then use a drill to attach the hinges to the cabinet base on each side in these notches.
-
Attach Top And Bottom Pieces Of Cabinet

We used a jigsaw to cut 4 little corners so our bottom would fit flush with the inside of the cabinet, as shown in the picture above. We just laid the cabinet bottom in there. We attached the plywood top using brad nails. This top will sit totally flush with the cabinet (you can see a photo 2 steps down).
-
Install Tongue and Groove

Use a router to create a small lip around the back of the cabinet for the tongue and groove to fit. Then, start installing the boards in the middle back of the cabinet (use a level to ensure the first piece is perfectly straight) and work your way outward, cutting the boards to fit. You may have to use a mallet to hammer in those last couple boards for a tight fit. Then, brad nail the tongue and groove to the back 2x4s.
-
Install Crown Molding

The crown molding step is optional, but it really dresses up the cabinet. Here’s a good tutorial for how to do this. We attached it using brad nails, then I cleaned it up with stainable wood filler.
-
Install Shelf Pins & Shelves
I cut five equal shelves to fit on the inside using my DeWalt saw. Then, I used a drill bit roughly the same size as my shelf pins, with a masking tape mark stop mark taped on it. This prevented me from going through the other side of the cabinet, and it made the hole just the right size for the shelf pin. I used two shelf pins on each side, and each shelf is roughly 13 inches apart. I used a mallet to gently hammer the shelf pins in place, and placed each shelf board on top, using a level to ensure they were perfectly straight.
-
Sand Cabinet
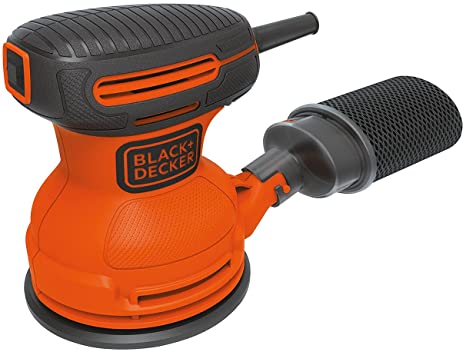
Use an orbital sander to sand the entire cabinet, then follow up with a vacuum or tack cloth to clear the sanding debris.
-
Precondition and stain

You can stain right away, or precondition the wood first for a more even application. Pine can be a bit tricky to stain sometimes. I followed with a coat of wood stain in the color Provincial.
-
Apply Polyurethane or Polycrylic

Final step! Choose a matte or satin or semi-gloss poly and apply several coats to the cabinet. I waited at least a week to bring the furniture indoors to prevent the strong odor, and even then, my family could smell the stain and poly. It’s going to take at least a few weeks for the smell to dissipate.
-
install Anti-tip Furniture anchors

For safety, it’s best to anchor a tall large cabinet to the wall, so kids and adults alike don’t pull it over on top of them. We used a heavy duty ani-tip furniture anchor kit. We also installed magnetic catches for the doors.
Additional Construction Photos
Here are some additional photos of the assembly.


We are so thrilled with how this came out! And to think, this is just your basic pine wood and pocket holes screws. It’s quite a sturdy cabinet, and it’s a beautiful addition to our eat in kitchen area.



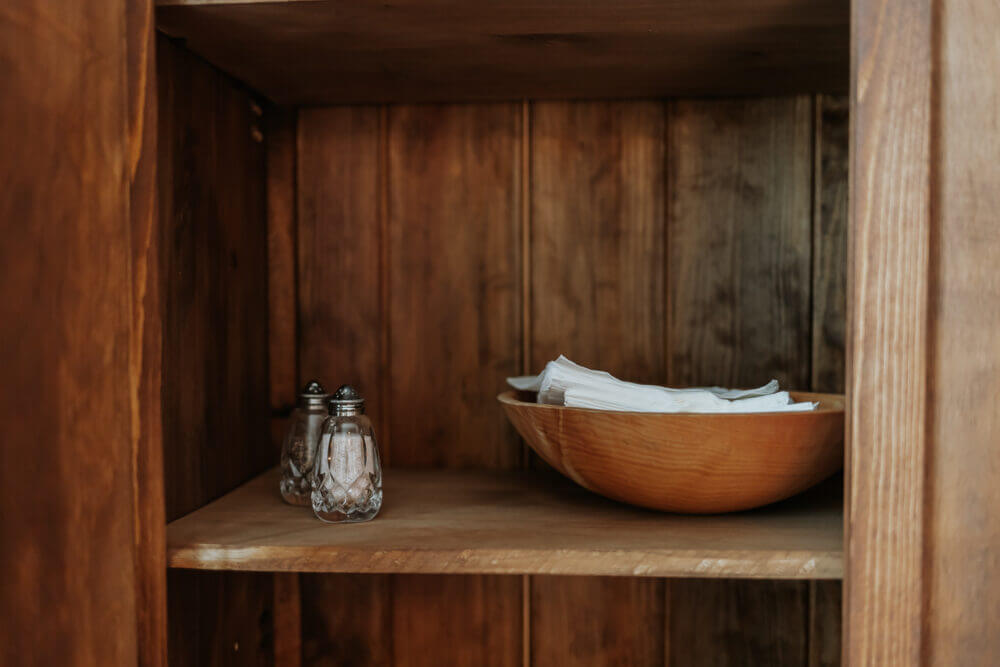
Most importantly, it’s something my Dad and I did together with our two (four) hands. I learned a lot that I’ll take with me on my wood working journey, and someday I’ll pass this wisdom (and this cabinet) to my own children.
I hope you enjoyed this tutorial for this DIY storage cabinet. Thanks for visiting.
xo,
Karen

