How to Make a Charming Christmas Village
This post contains affiliate links, which means we may earn a small commission if you purchase through them — at no additional cost to you. Please see our policy page for more details.
There’s something so magical about little Christmas villages. They instantly add a festive touch to your home and feel oh-so-cozy when lit up at night.
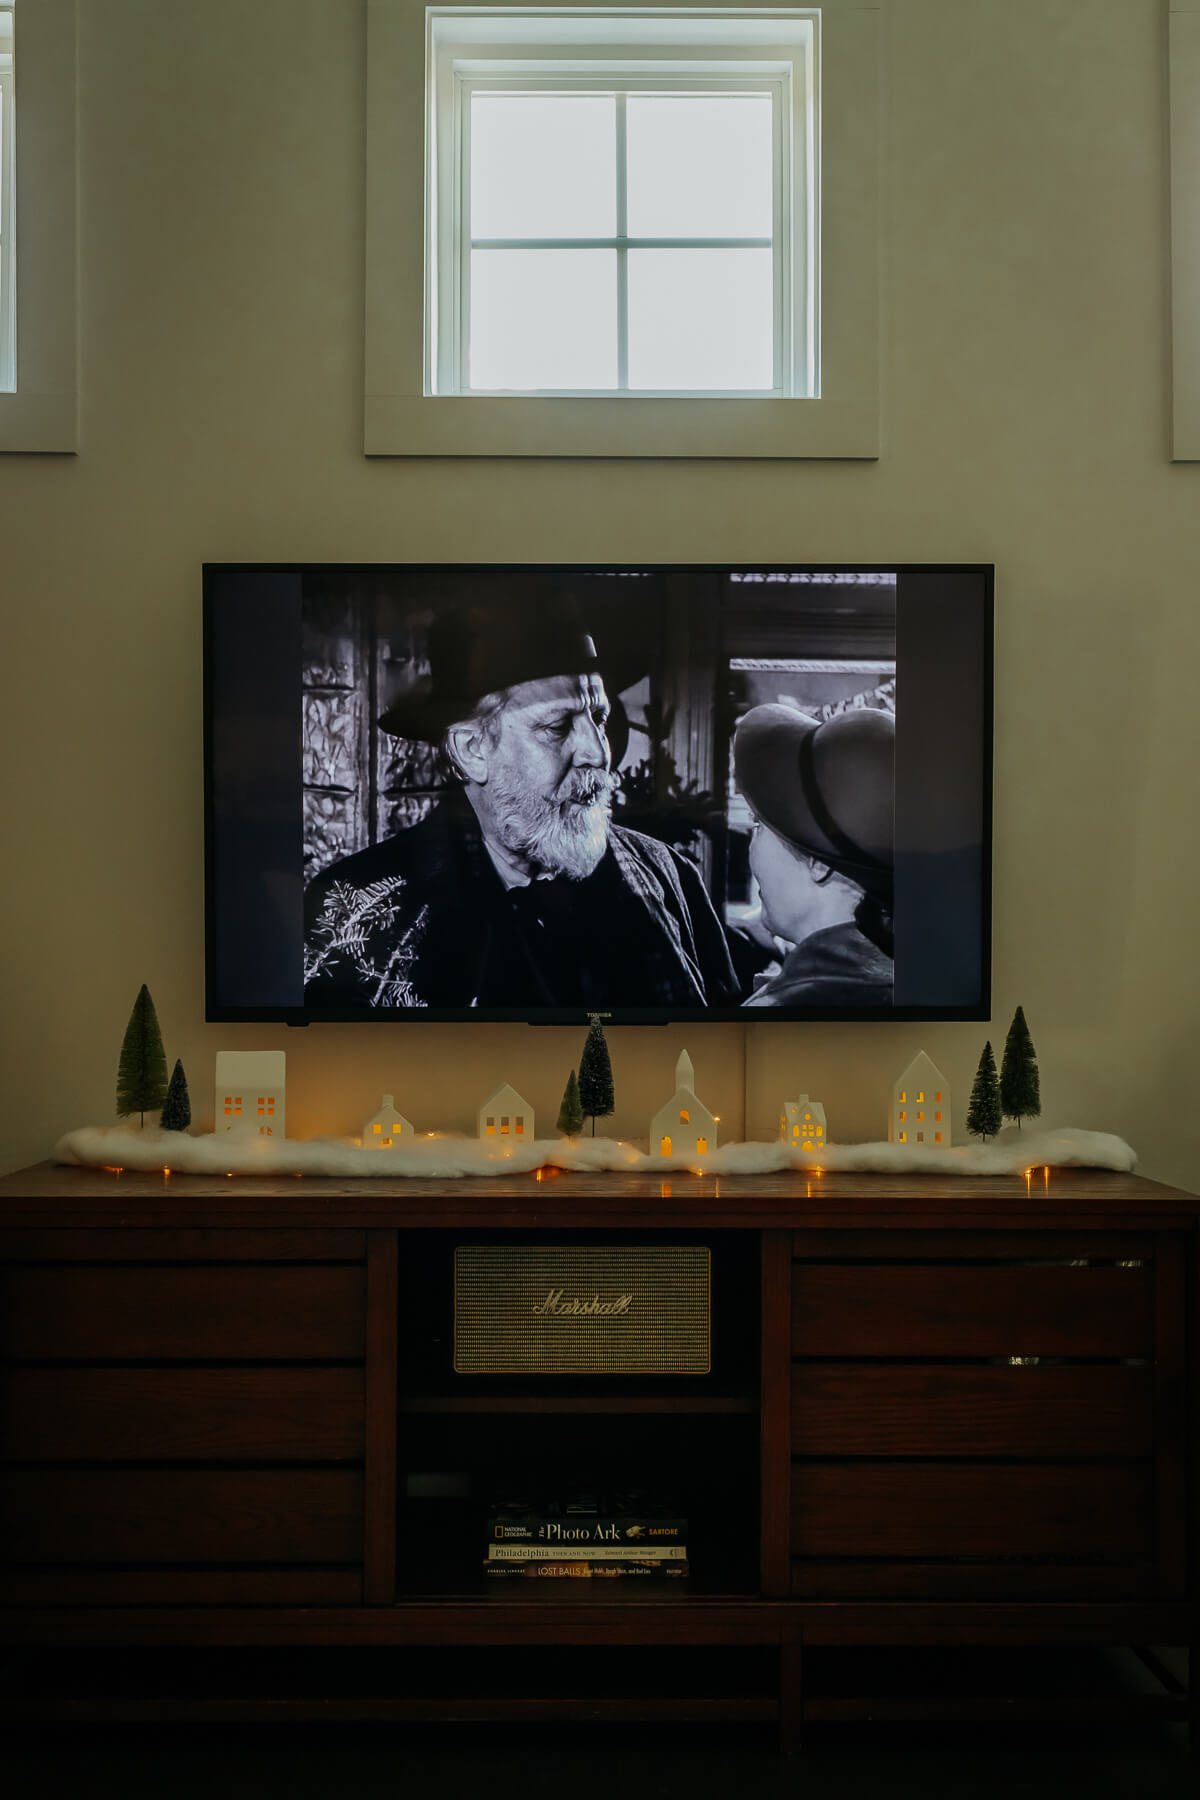
Today, I’m going to show you how to make your own Christmas village. It’s easy, budget-friendly, and perfect for under your TV, on a mantel, or even as a centerpiece for your holiday table.
Things You’ll Need:
- Mini village houses (here’s a roundup!)
- Bottle brush trees
- Fairy lights (battery-operated ones work best)
- Fake snow (cotton batting or sparkly faux snow from the craft store)
- Scissors
- Quake Hold (otherwise known as museum putty)

Shop the Post
1. Pick the Perfect Spot
Decide where your little village will live. Under the TV? On your mantel? Wherever it’s going, ensure it’s a flat surface and near an outlet if your fairy lights aren’t battery-operated.
2. Lay Down the Snow
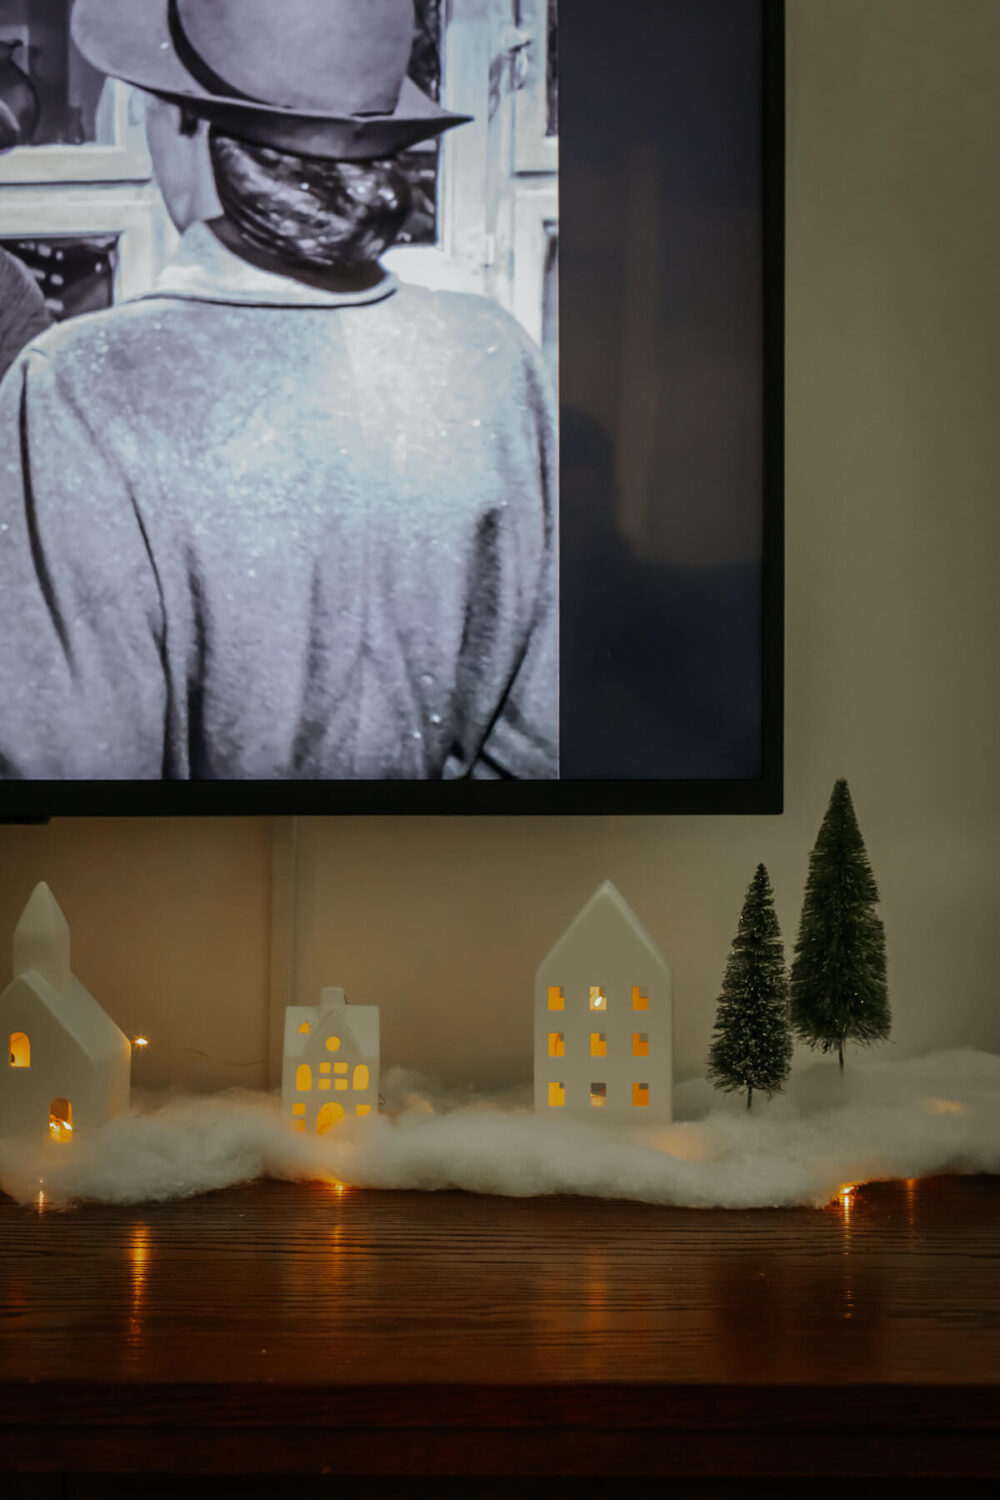
Take your fake snow and fluff it up to give it volume. Pull it apart if you’re using cotton batting so it looks more like a soft, snowy blanket. Lay this down as the base of your village, and then cut away the excess as you desire. You want it to look natural, so don’t stress if it’s uneven. The more texture, the better!
3. Place Your Houses
Now for the fun part—arranging your village houses! I put my bigger houses on the side and filled the middle in from there. Play around with the placement until it feels right.
4. Add the Bottle Brush Trees
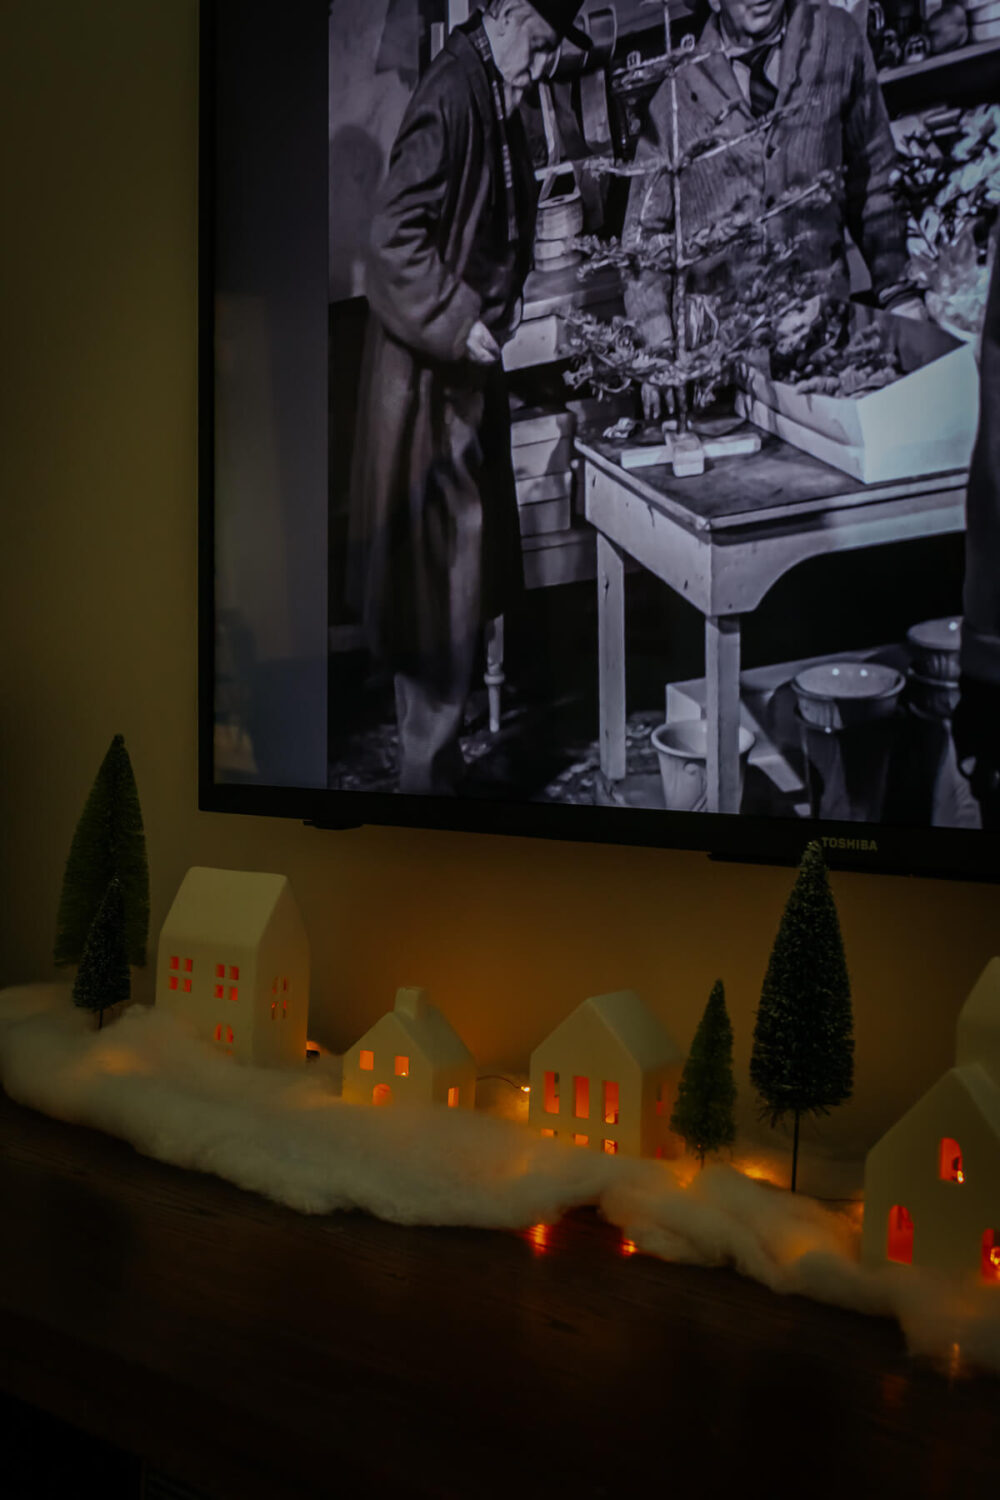
Next, sprinkle in those adorable bottle brush trees. These are like the cherry on top! Place them around the houses to create a whimsical, forest-like vibe. Mix up the sizes for a more natural look. I didn’t want to go overboard, so I did two on each end and two in the middle, at varying heights.
5. Thread the Fairy Lights
Fairy lights bring the magic. Carefully weave them through the houses and trees, hiding the wires as much as possible. If your houses have little openings for lights, tuck some inside to make them glow. Don’t forget to leave the battery pack or plug easily accessible.
6. Light It Up
The moment of truth—turn on the fairy lights and watch your little village come to life. There’s nothing better than that warm glow on a chilly winter evening.

Hot Tip!
If you’re working with kids, let them help place the houses and trees—it’s a fun holiday activity!
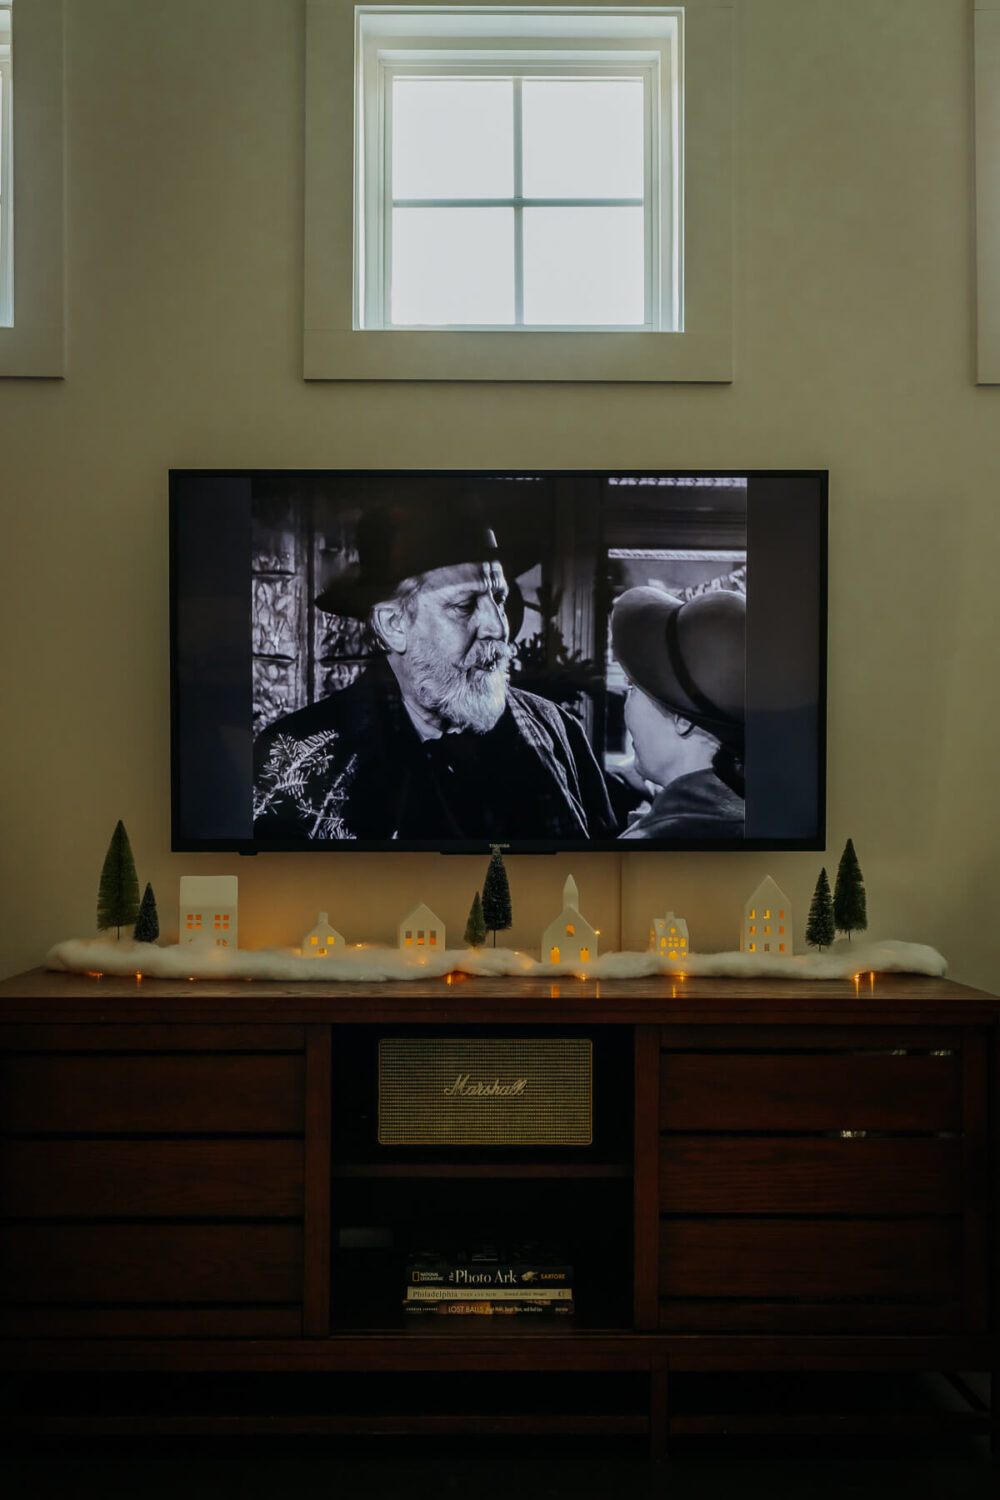
And that’s it! Your Christmas village is ready to steal the show. Not only is this project simple, but it’s also a great way to use items you already have or snag some budget-friendly finds at your favorite stores. Plus, it’s easy to move around and change up each year.


