Inexpensive DIY Wood Curtain Rods

This post contains affiliate links, which means we may earn a small commission if you purchase through them — at no additional cost to you. Please see our policy page for more details.
As soon as I saw these wood curtain rods, I knew this was a project I could complete myself. You can buy the wood dowels at local hardware stores and even cut them in-store before leaving!
If you are looking for a way to add a rustic feel to your window treatments, give this project a try. It won’t break the bank. Most wood dowels are inexpensive and available in Poplar, a beautiful, light-colored wood. Poplar is considered a hardwood and readily accepts paint or stains. You can also find these dowels in Pine or Oak.

Inspiration
The inspiration for this wood project came from these wood curtain rods I saw on Etsy. I linked them below and a few other wood rod choices to see how pretty these look on your windows. Not into wood rods? Try these DIY conduit curtain rods instead.
Things You’ll Need
- 3/4 – 1 inch Wood Dowels (see notes before purchase)
- Saw (or cut them in-store)
- Curtain Brackets
- Drill
- Stud Finder
- 180 grit Sandpaper
- Tape Measure (see how to read to a tape measure)
- Curtain Rings (optional, but they make it easier to open and close your curtains)
- Optional (paint or stain)
Notes: Determine the length of your curtain rod. This will determine the length of wood dowel to purchase. Curtains should be hung high and wide (at least a few inches past the window frame). If you are using curtain rings, ensure the dowel is appropriately sized for your rings. I used 1-inch curtain rings and a 3/4-inch wood dowel. The thicker the wood dowel, the more sturdy it is, so keep this in mind if you hang heavier, lined curtains.
How to Make DIY Wood Curtain Rods

How to Make Simple, DIY Wood Curtain Rods.
Total time: 1 hour
-
Cut Dowel to Size & Sand

You’ll need to determine the length of your curtain dowel. Remember that not all hardware stores carry long lengths, but I’ve seen them up to 72 inches long. Most hardware stores have a cutting station with a hand saw. You can also take the dowels home to cut with your own saw. Then, lightly sand the ends to remove any rough wood.
-
Paint or Stain Wood Dowel (optional)

If you want to paint or stain your wood dowel, now is the time. Lightly sand your wood dowels and then apply your preferred treatment. I think Poplar is beautiful, so I chose to keep it as-is. Make sure your dowel is completely dry before hanging.
-
Hang Curtain Brackets
Hanging curtain brackets is a breeze when you use a cardboard template. Hold your curtain bracket up to the wall where you want it to go, then mark the holes with a pencil. Make sure the brackets are spaced appropriately to accommodate the size of your wood dowel curtain rods. Use a drill to make a pilot hole, and if the location is not in a stud, install wall anchors. Then, use a screwdriver bit to attach the brackets to the wall.
-
Hang Curtains!
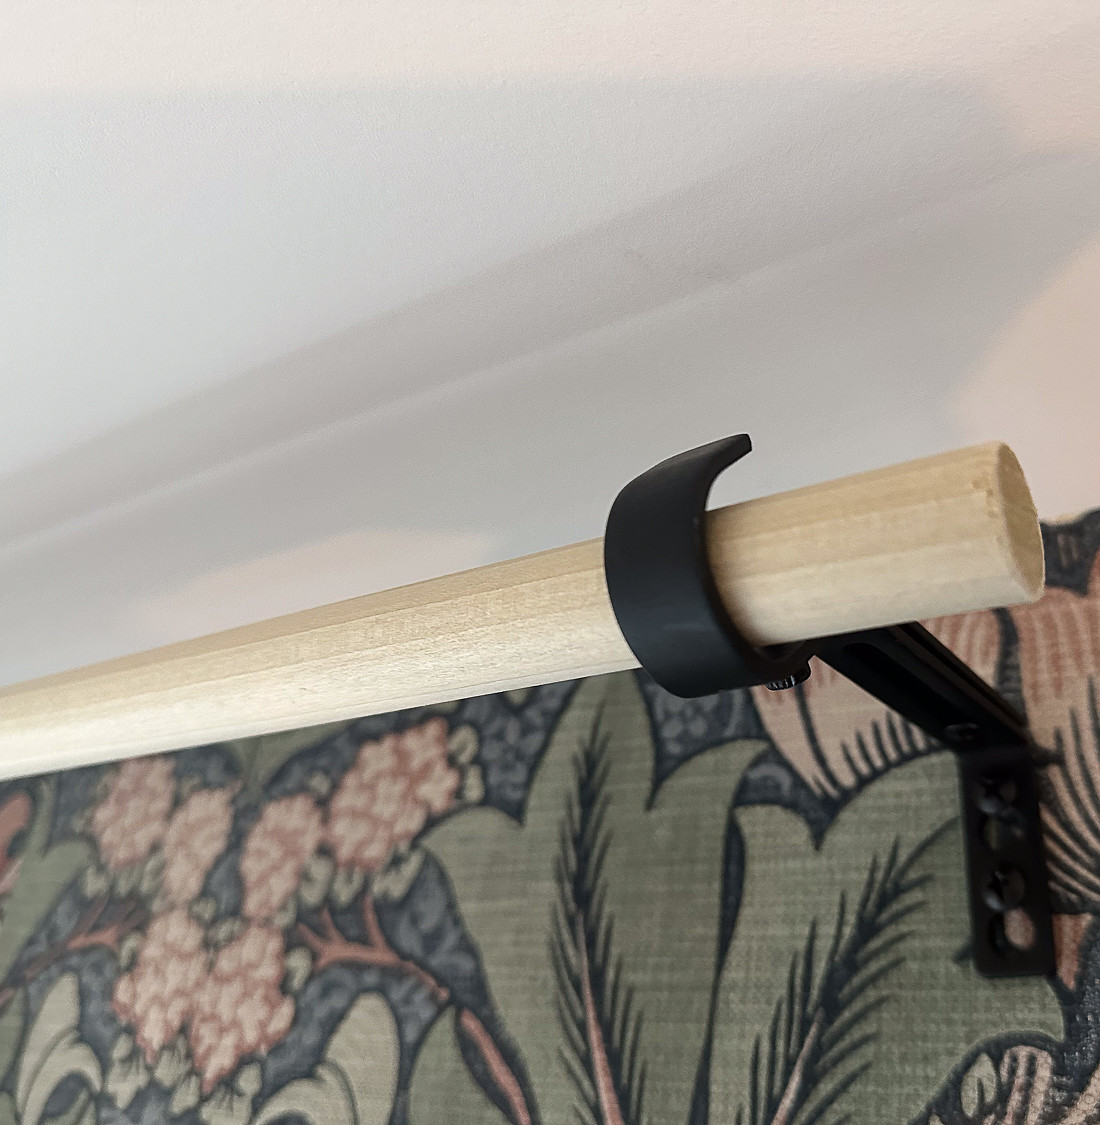
Place your wood dowel on the curtain brackets. If you use rod pocket curtains, place those curtains on the rod before hanging them. Here’s how I hang curtains with curtain clips.
-
Secure Rod to Brackets

After hanging your curtain on the rod, ensure your rod is stable on each bracket. The little nail with the bracket will likely be all you need to secure your rod. However, you can also use a rubber band to secure the rod to the bracket.
These wood curtain rods are sitting in my guest room, which I’m sprucing up.

I went with these Inovaday blackout curtains from Amazon and can say I’m impressed with them! They’re heavy and neutral and even come with curtain clips.


