How to Pinch Pleat IKEA Curtains

This post contains affiliate links, which means we may earn a small commission if you purchase through them — at no additional cost to you. Please see our policy page for more details.
A quick tutorial for how to pinch pleat IKEA curtains.
There’s a lot of chatter on Instagram about these gorgeous TwoPages pinch pleated drapery. And trust me, I am in LOVE with them. These are on my best affordable curtains post because for what you are getting – these custom drapes are an incredible deal, even at $100/panel. The TwoPages drapery rival Shade Store and Smith & Noble, which ask upwards of $250 PER panel.

BUT. But, $100 a panel is still a lot of money. And if you really want long curtains with a pinch pleat style on a budget – what do you do? Well, I’ll tell you. You go to IKEA and you buy their curtains. Most IKEA curtains comes in a width of 57 inches, and in a length of 98 or 118 inches. That’s pretty generous!
Did you also know that most IKEA curtains come with the
Things You’ll Need


- IKEA Curtains (double check they have the pleating tape sewn in, it should be on the .)
- Toothpicks
- Pleat Hooks – I use
these 4 prong hooks from Amazon but IKEA also sells them. - (Optional – needle and thread the same color as your curtain.)
How to Pinch Pleat IKEA Curtains
I’ll go through this process step by step here.
Get Materials Ready
Open your IKEA Curtains and lay them out flat. Flip the curtain to the back if you haven’t already so the pleat tape is facing you.

You will notice stringy things, and then small vertical loop rows on the pleat tape. It’s easier to get pleated curtains if you first mark which holes you will be inserting your pleat hooks into.
How do we mark them? With toothpicks!
Insert Toothpicks First Like This…
I learned this little trick through my Grandmother who was a professional seamstress for a very long time.
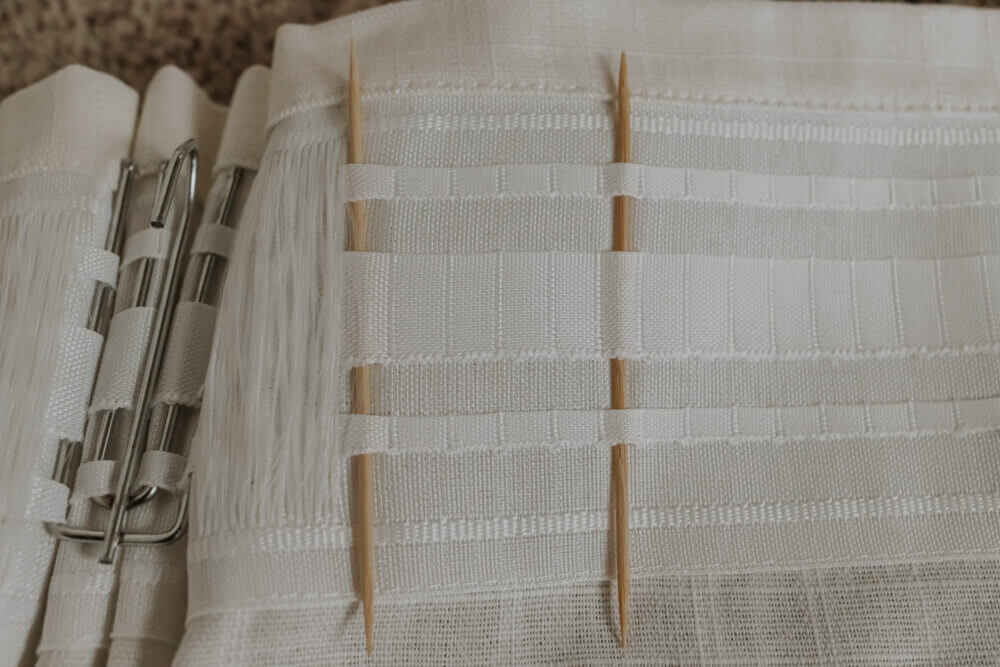
In order to get that pleated look, I chose to insert my pleat hooks in every third or fourth hole on the pleat tape. (I used this same method on both the Ritva and the Hilja Curtains). You can test one out and determine if you prefer 3 or 4 row spacing.
I inserted my toothpicks carefully in each hole as a place holder. Another bonus to this method is that the toothpicks help open up the loops a bit more.

Insert Pleat Hooks
Now that we know where each prong on the pleat hook is going, we just have to put them in.
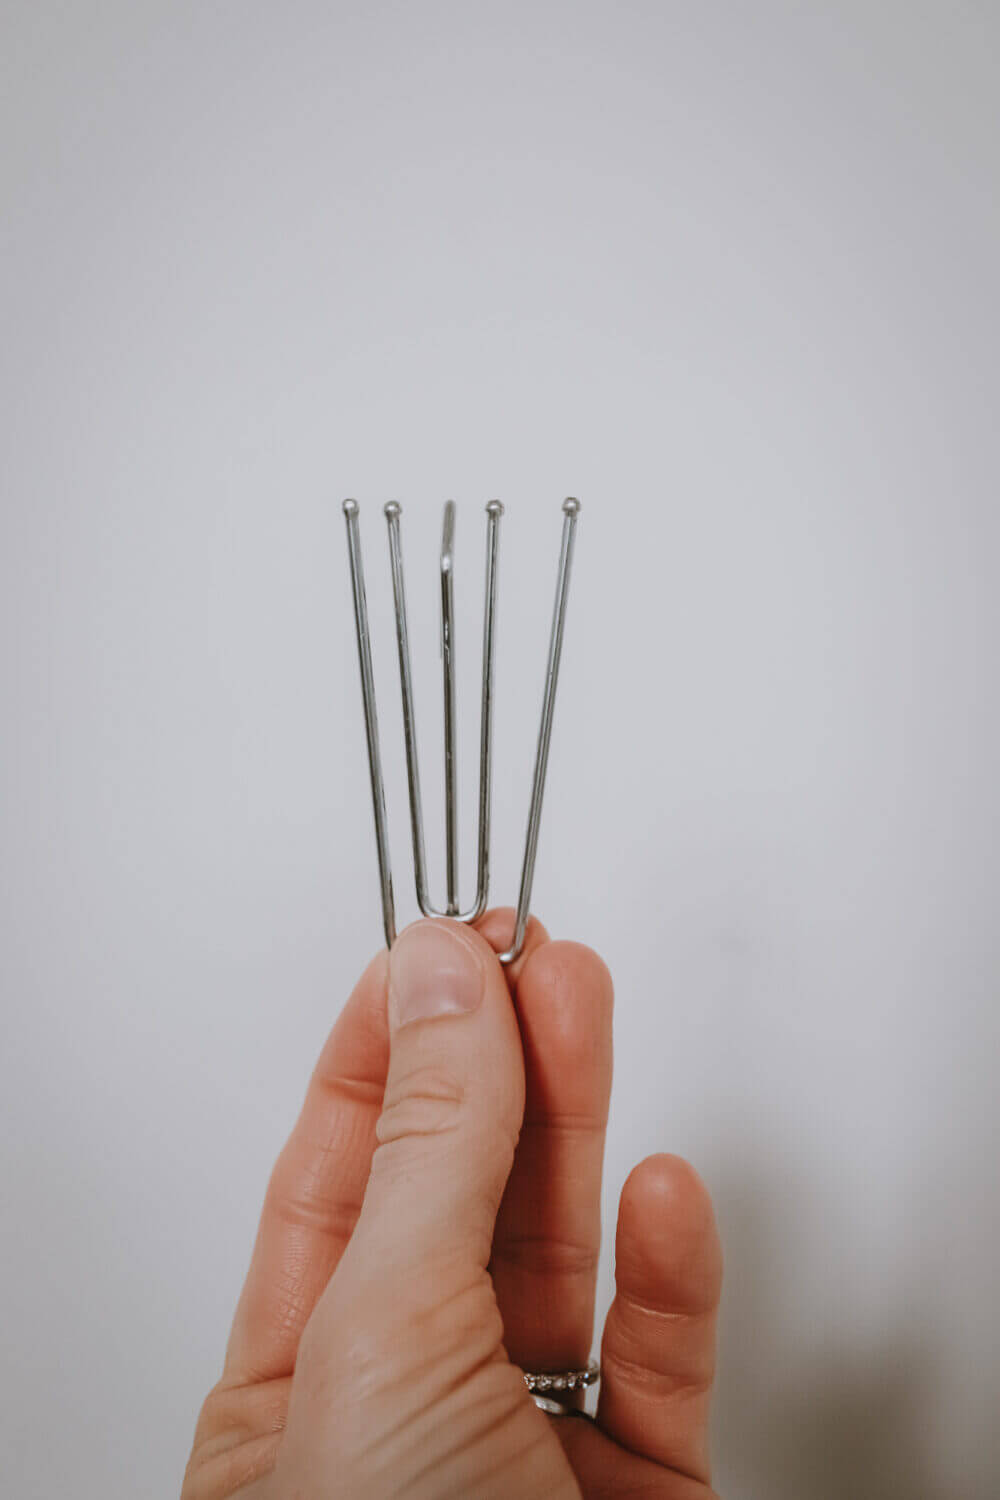

First, make sure your pleat hook is facing the right way. The hook should be at the top, facing out.
You will then have to squeeze the fabric together and kind of maneuver the pleat hook prongs in there. It’s a bit tricky but totally doable and gets easier as you move along.
Another trick if you are struggling? Spread the pleat hook apart a bit, then squeeze it back together once you got all 4 prongs in.

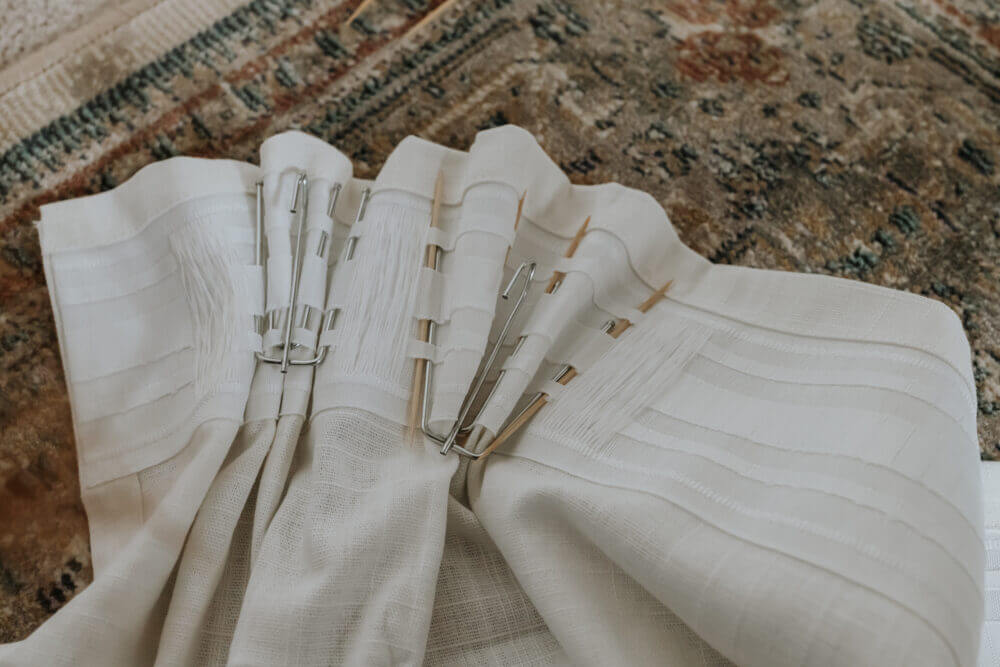
Once you get the pleat hook inserted, you can remove the toothpicks and zhush up the pleat so it looks perfect.

You should have a beautiful looking pleat now! You can certainly stop here if you are happy. If you want to take this a step further, keep reading.


Optional Step – Tighten up the Pleat
Have you ever noticed that professionally pleated curtains have a small stitch at the bottom of each pleat. This helps tighten up the pleat and create more of that V shape pleat that’s super popular. All you need to do is thread up a needle and sew a small stitch at the bottom of every pleat. Again, this step is optional but it can create really pretty pleats if that’s what you’re going for.
How to Hang Pleated Curtains
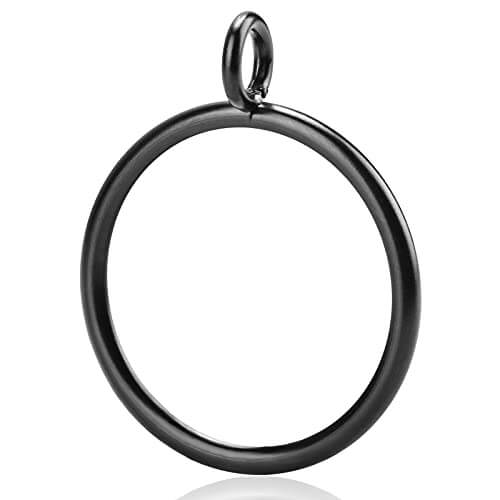
Hanging pleated curtains couldn’t be easier! First, put your curtain rings on the curtain rod. You will need as many curtain rings as you have pleat hooks. Remember that little hook on the back of the pleat hook? Just hang that part on each curtain ring. One pleat hook to one curtain ring. And you are good to go!
You can either use these curtain rings with the little eyelet (that’s where the hook goes), or you can just use the clip curtain rings and ignore the clip part and hang the pleat hook directly on the ring.

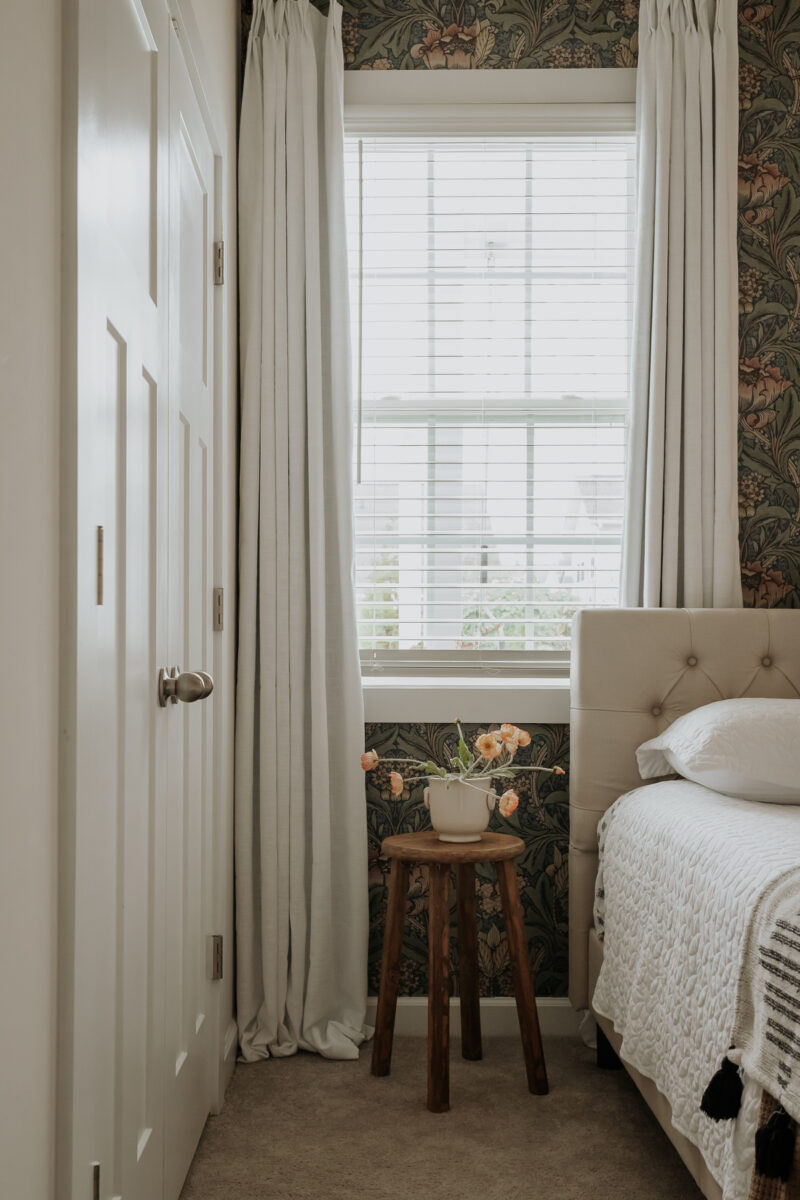
Here’s how my curtains looked after the pleating was all done.


I’m in the process of testing a bunch of different curtains for our downstairs space, so while I didn’t keep these Hilja curtains up here, I did move them to another part of the house. I love the heavier feel to the Ritva curtains, but they showed a bit too yellow for my space.
IKEA curtains are such an affordable way to dress your windows. And yes – you can also have those pleated curtains you see in all the designer homes. Enjoy this project and thanks for visiting today!
xo Karen

