Rustic DIY Farmhouse Coat Rack
I hope you aren’t sick of seeing my entryway yet because I have one more little project to show you.
A few weeks ago, I made this rustic bench. I LOVE it. But I knew I wanted something for the wall on top. It looked a little sad and empty. I was going to make a peg rail – but decided to move that project to my laundry room.
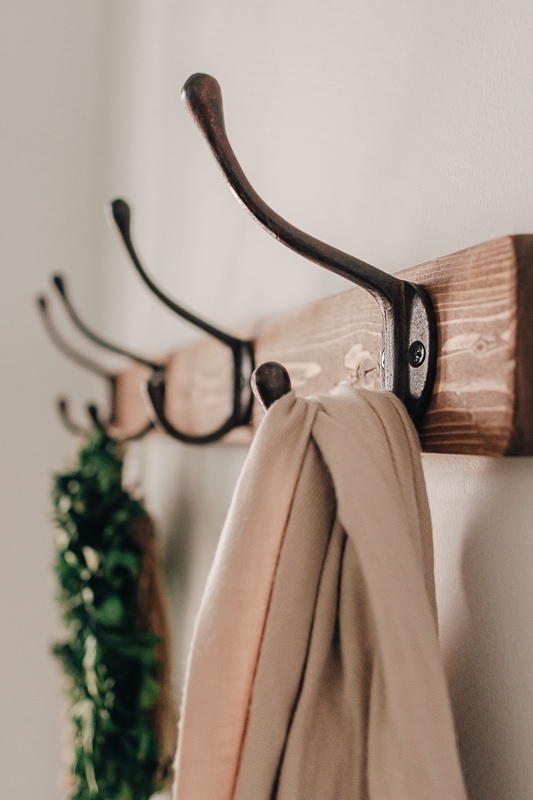
My husband had the idea to make an old, farmhouse-style coat rack. (PS: I love when his ideas line up with ideas!) I was all in on this easy DIY project. Here’s a little preview.
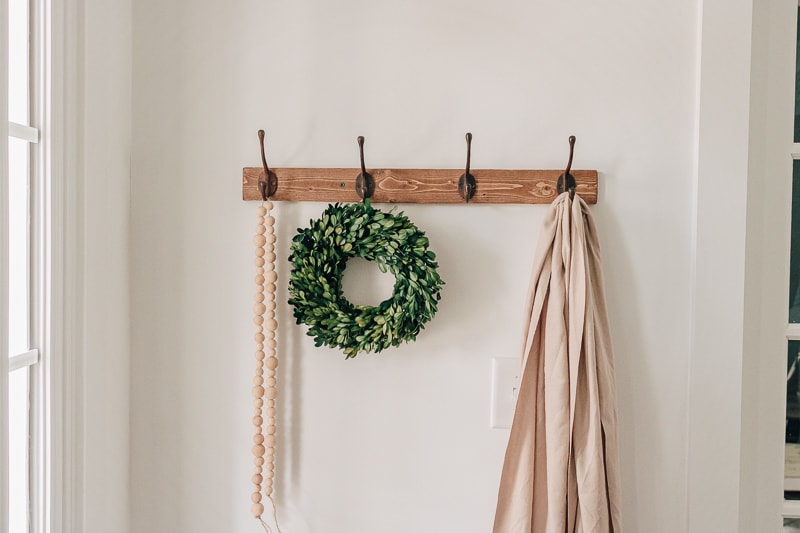
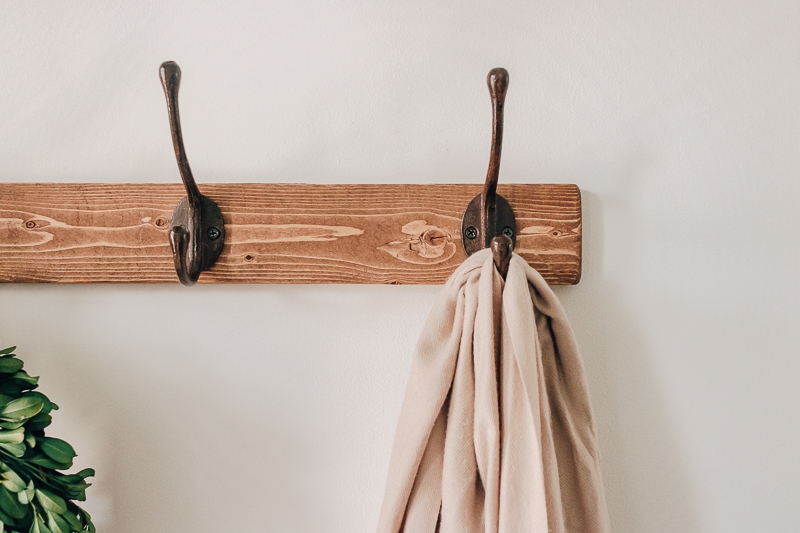
Although this farmhouse style coat rack is functional, we already have an entryway closet for coats.
So I’m using it for decorative purposes only. I can’t wait to dress this thing seasonally (can you see a cute pair of mittens or vintage ice skates hanging there for the holidays?)
Let’s get started.
Things You’ll Need
- 1x2x4 (my finished coat rack is 25 inches long)
- Orbital Sander / Sandpaper
- Wood Screws (for attaching to the wall)
- Stud finder
- Level
- Miter Saw or regular saw
- Drill
- Wood Stain (I used Special Walnut)
- Polyurethane
- Tape Measure – see post: How to read a tape measure
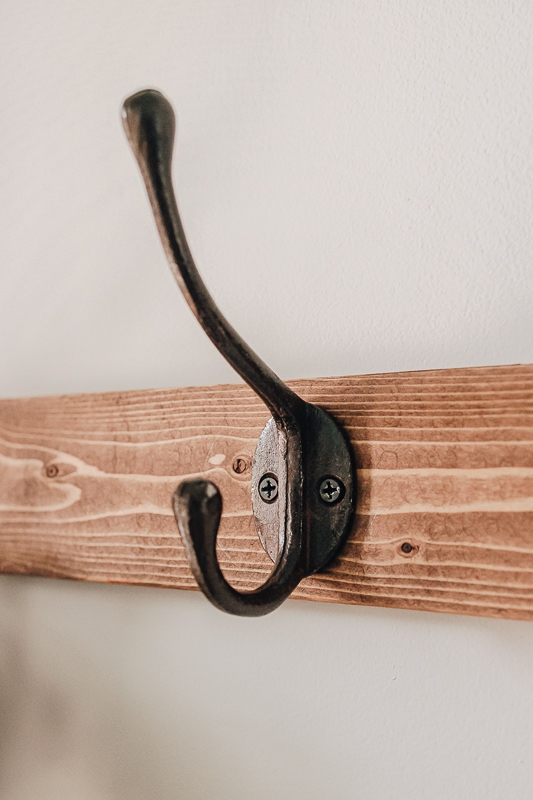
- Old Coat Hooks and screws – I bought these and they are so pretty (see note)
NOTE: I LOVE the old coat hooks I bought. But the screws they came with were junk. Most of them stripped almost immediately, so I had to go out and buy different screws. I’m ok with this – but I wanted to give you a warning. These coat hooks are so pretty and have that old farmhouse, rusty goodness to them. I highly recommend!
How to Make a farmhouse DIY Coat Rack
I made a quick video, but I realize that I didn’t get ALL the steps on the video. So I will try to make a new video at some point. But if you have any questions, feel free to ask!
Step 1: Cut Wood to Size, Sand, and Stain
Use a miter saw or a regular saw to cut your wood down to the length you want your coat rack to be. My finished coat rack is 25 inches long, with a total of four hooks.
After you cut your wood, sand it using an orbital sander or sandpaper. To make it look a little more worn and old, round down the square edges. Don’t be afraid to rough it up a bit.
Wipe away the sawdust with a tack cloth, then apply your favorite stain and a coat of polyurethane. Give it 24 hours or more to dry completely.
Step 2: Attach Coat Rack to the Wall
Wait – why are we hanging this up when we don’t have the hooks on yet?
You don’t have to do it this way, but I’ll tell you why I did. Two reasons.
First reason – Ideally, we should drill the rack into the studs. Especially if you are actually using this to hang coats and bags. By doing hanging it on the wall first – you can potentially use your coat hooks to cover the ugly screw (which is what I did, with one screw anyway).
The second reason – Doing it this way also helps if the screws for your coat hooks are longer than the width of your rack. The screws come through the back of the wood and go right into the wall.
To hang it on the wall, use a stud finder to find the studs and mark this area on your wall.
Hold your rack up on the wall where you want it and use a level to ensure it’s straight. Mark your wall with this placement. You will also make a mark on your rack where it lines up with the studs.
Pre-drill a pilot hole through the center of your rack where the stud marks are. Hold your rack back up on the wall using the placement we marked before, and screw it to the wall through these pilot holes. (It never hurts to check that it’s level one final time.)
Now your coat rack is hung and we just need to attach the hooks.
Step 3: Attach Coat Hooks
Determine how you want your hooks spaced.
Here’s an easy way to make even spaces between hooks:
- Space one hook two inches in from one end and one hook two inches in from the other end.
- Then, measure the space from the first hook to the last hook.
- Divide this measurement by the number of spaces you will have between each hook.
- That number is the exact spacing you need between the remaining hooks.
I made a quick diagram:
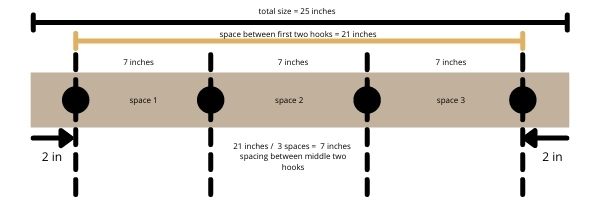
For each hook placement, measure the spacing, then find the exact center. To find the center, take the width of your rack and divide it in half. That number is the exact center. (And don’t worry if it’s not perfect, no one will notice!)
Now that we know placement, make a mark on your rack for each screw hole. Then, drill pilot holes on these marks (if you want) and finally screw in your hooks.
That’s it!
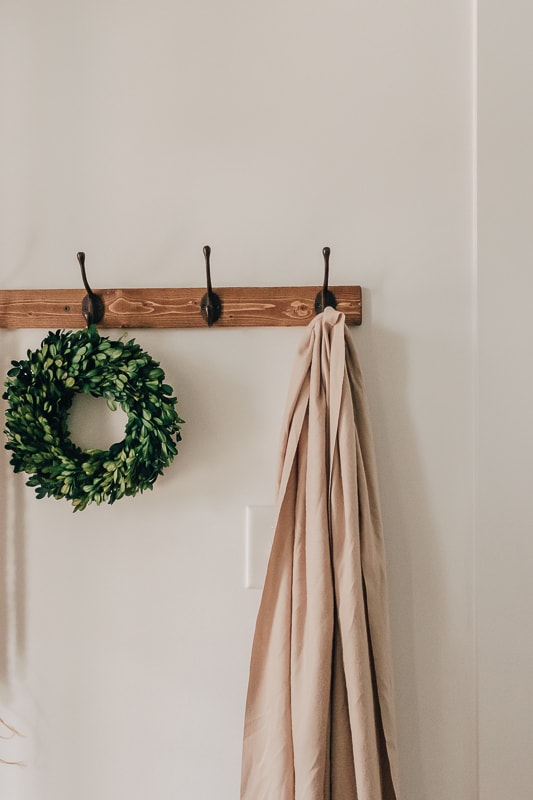
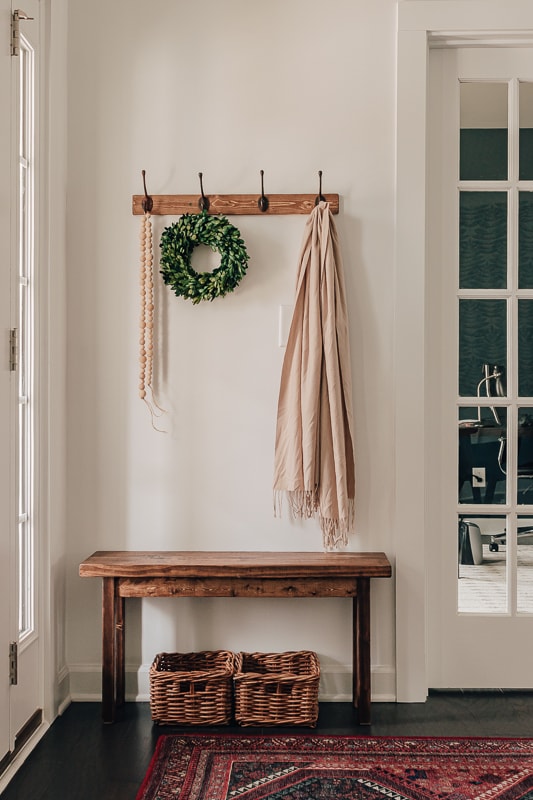
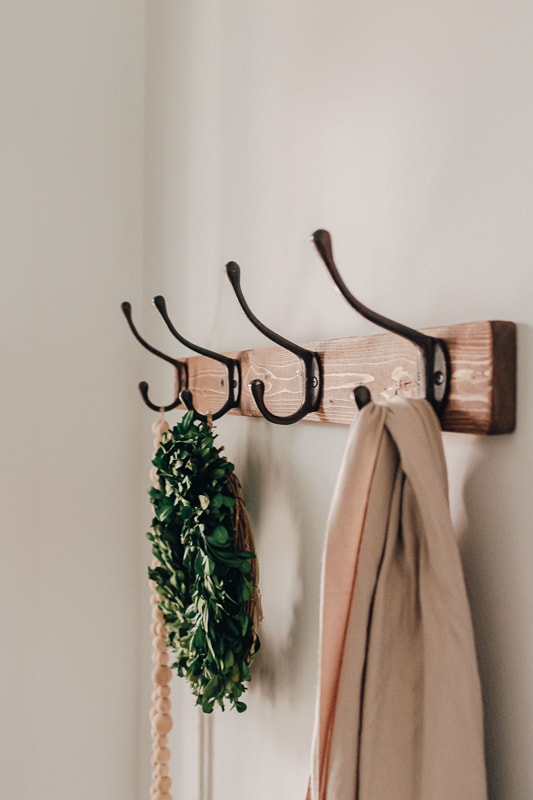

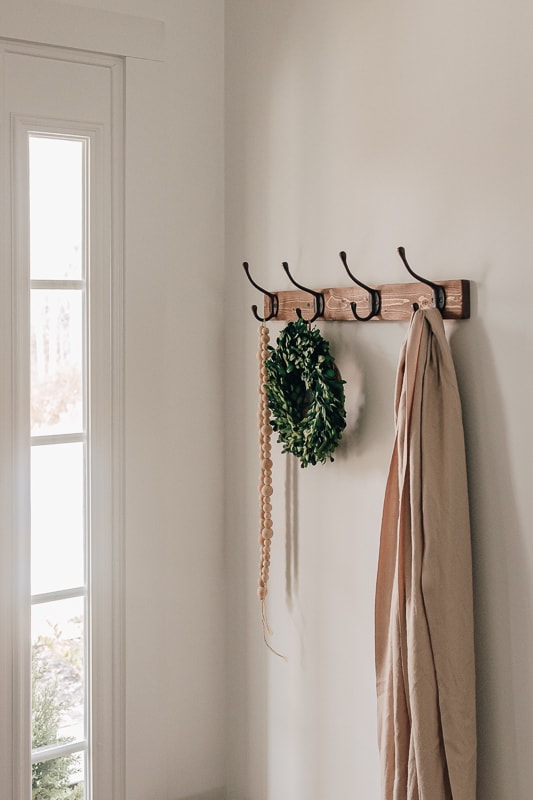
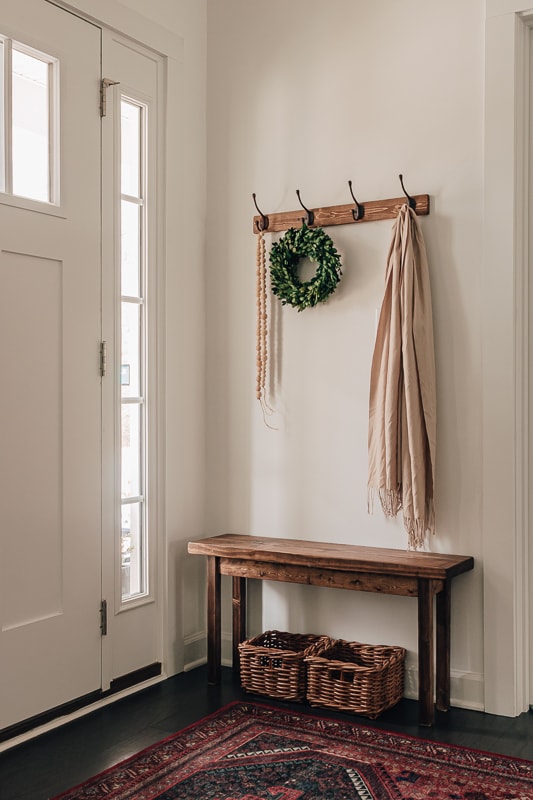
The first time you do this project it might take you a little while, and that’s ok.
After you get the hang of it, the next ones go much quicker.
I always tell myself that the worst that could happen is that I need to start over (which is why I use cheap Pine most of the time), or I need to patch holes in my wall where I screwed up. LOL. I’m ok with that.
The best way to learn is by doing. So the more you do this, the more comfortable you will get and the better and faster these projects go.
If you told me last year that I would be making wood projects I would have laughed out loud. It’s kind of funny what comes from being stuck at home.
Our entryway is really starting to take shape. I still need some art or maybe a mirror, but I’m loving the changes so far.
Thanks for visiting today!
Xo Karen

