Genius DIY Bar Stool Nightstand

This post contains affiliate links, which means we may earn a small commission if you purchase through them — at no additional cost to you. Please see our policy page for more details.
Learn how to take a bar stool and turn it into a DIY side table! This bar stool hack is a cheap and easy way to create your own side table for your home.
I went thrifting last week for a cute little side table for our living room. Looking online, all the side tables were either too large, too small, too expensive, or not the right vibe I was going for. So I stopped at my local thrift stores to see what I could find. And unfortunately, I didn’t find any side tables that would work.
I did however find a bar stool. This bar stool was in a good condition, super sturdy, and priced right. But it was too tall. And the wood color was not right. It looked very dated (not in a good way). It had this 80ish, dorm-room vibe to it.
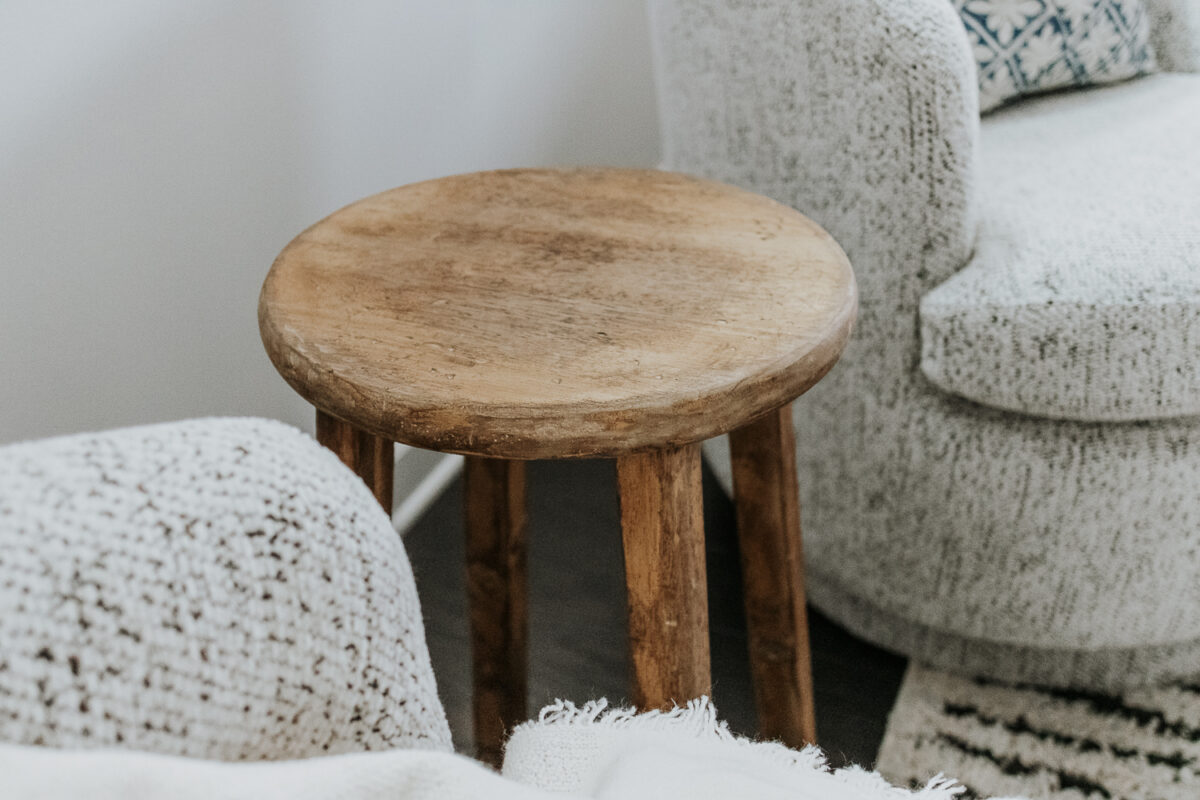
But I knew I could change all that and let me tell you – this turned out better than I expected. I’m excited to show you guys exactly how I turned this ugly bar stool into a rustic side table (very Amber Interiors-esque.)
Things You’ll Need for this Project
- Bar Stool
- Hand Saw
- Orbital Sander
- Tools for Making Wood Look Old; like a hammer, screwdriver, chisel
- Wood Stain ( I used Provincial)
- Polyurethane
- Paintbrush or foam brush for applying stain and poly
- Safety Googles and Rubber Gloves for Applying Stain
DIY Side Table Tutorial

How to Create a DIY Side Table from an Old Bar Stool.
Total time: 1 day
-
Saw

You will want to measure how tall you want your side table to be. Then, saw off the legs on the bar stool at this dimension. My bar stool also had round dowels in between the legs and I sawed those off too for a cleaner look. You want to make sure your legs are going to be stable enough on their own before you do this.
-
Sand

I sanded this thing for an hour. There was a glossy finish on there and it seemed like it took forever to get it down to the bare wood again. After sanding, remove all the sanding dust with a vacuum or tack cloth.
-
“Age” Wood

This step is optional but highly recommended. I took my hammer, a screwdriver, and a chisel and made a bunch of marks in the wood so it would look more aged. I wanted to give it more character and these tools did just the trick. You can carefully hammer the tops and the legs and then use your screwdriver to create deep marks and gouges in the wood. The chisel is good for creating longer etched lines in the wood and sanding the edges a bit to create wear.
-
Stain

Use your favorite wood stain on your side table. I used Provincial. This step is also optional, if you like the look of natural wood then you can skip right to the final step.
-
Protect

This step is important because people will most likely be setting drinks down on the table. You don’t want those pesky water rings and stains so it’s best to apply three good coats of polyurethane. For this project, I used their water-based Matte poly.
And there you have it! You just made a rustic little side table from a cheap bar stool. So next time you are out thrifting, give that dated bar stool a second chance. You never know what you could turn it into!


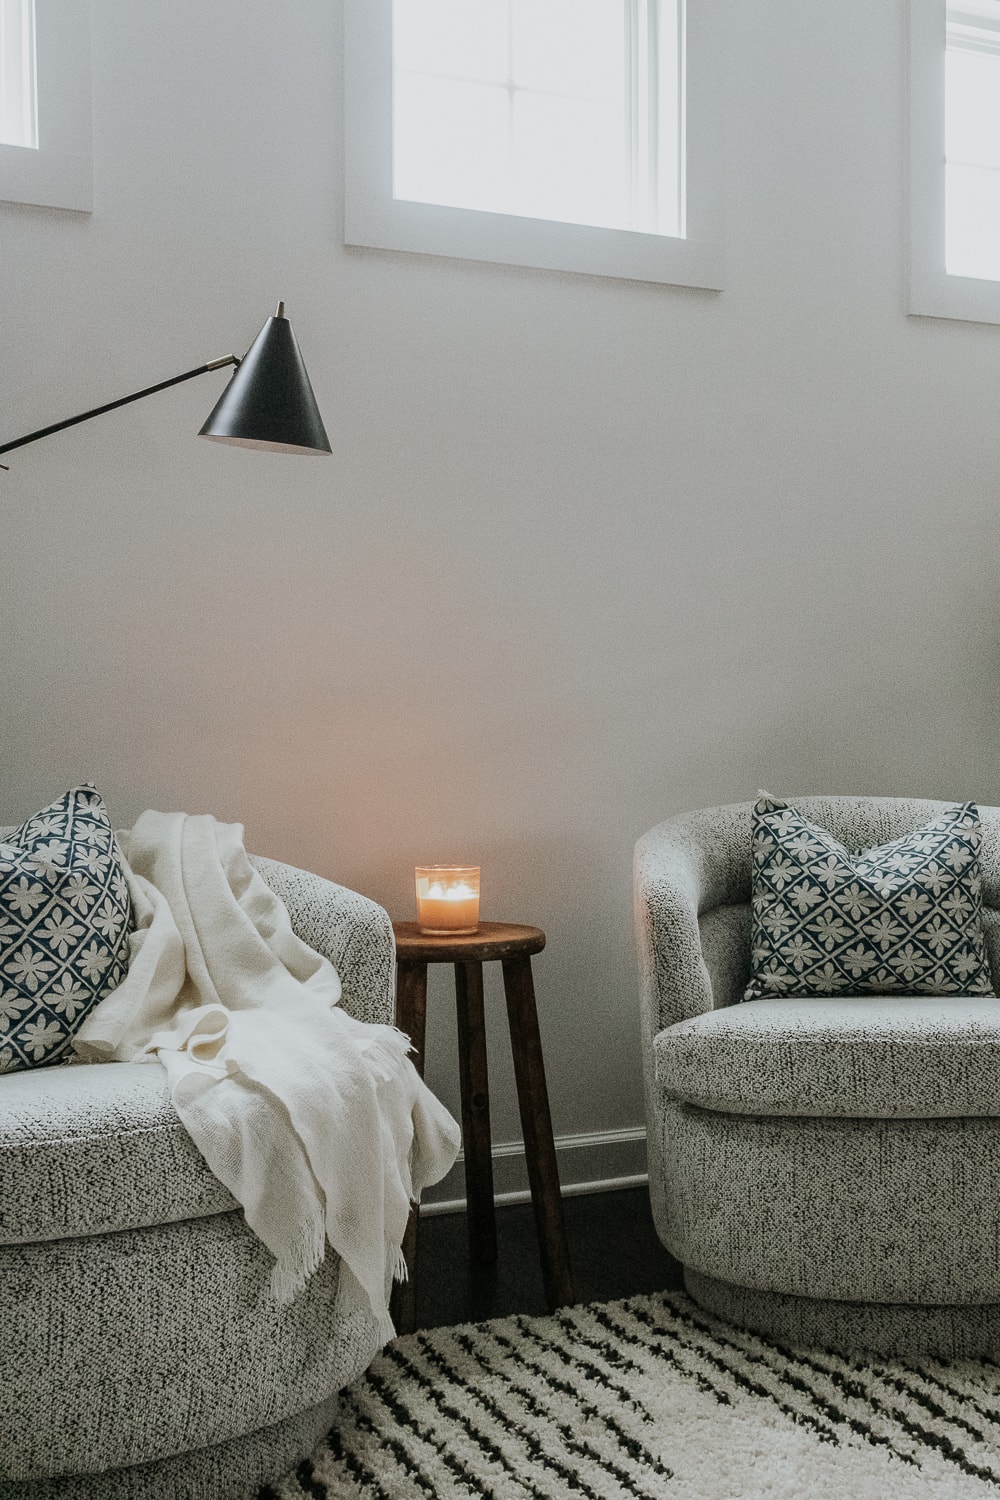


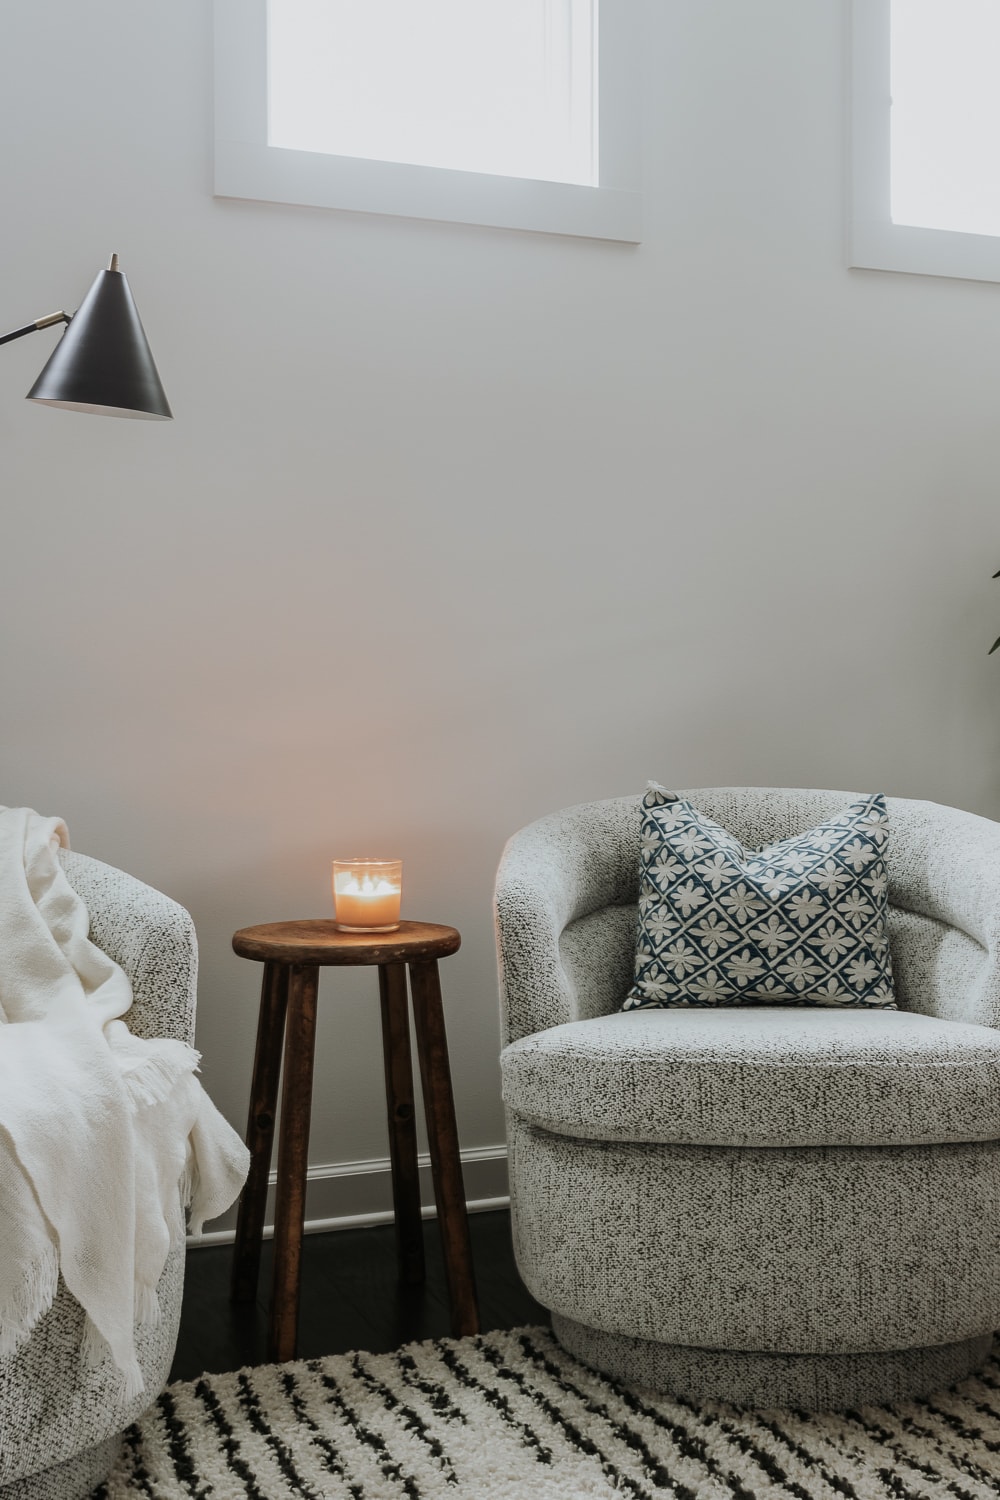

Sources: Swivel Chairs | Lamp | Faux Tree in Pot | Rug | Candle | Pouf
I hope you guys enjoyed this project! Thanks for visiting today!
xo Karen


