DIY Wooden Box with Lid

This post contains affiliate links, which means we may earn a small commission if you purchase through them — at no additional cost to you. Please see our policy page for more details.
A tutorial for crafting a DIY wooden box with a lid using wood glue. No fancy hardware or complicated wood cuts are needed!
Did you have a keepsake box growing up? I did. It was an old sneaker shoebox that I stuffed with polaroid’s, letters, and trinkets—even a first tooth. I was very proud of it at one time, opening it weekly for friends to show off my treasures.
As time wore on, I opened it less and less. And by the time I went to college, I had completely forgotten about it.
Imagine my surprise when my mom handed me my old box of memories after all those years.
So of course I want to make one for my kids that they can use throughout their childhood. They already have a baby keepsake box, but this is slightly different. This is theirs to fill with their own sentimental items.
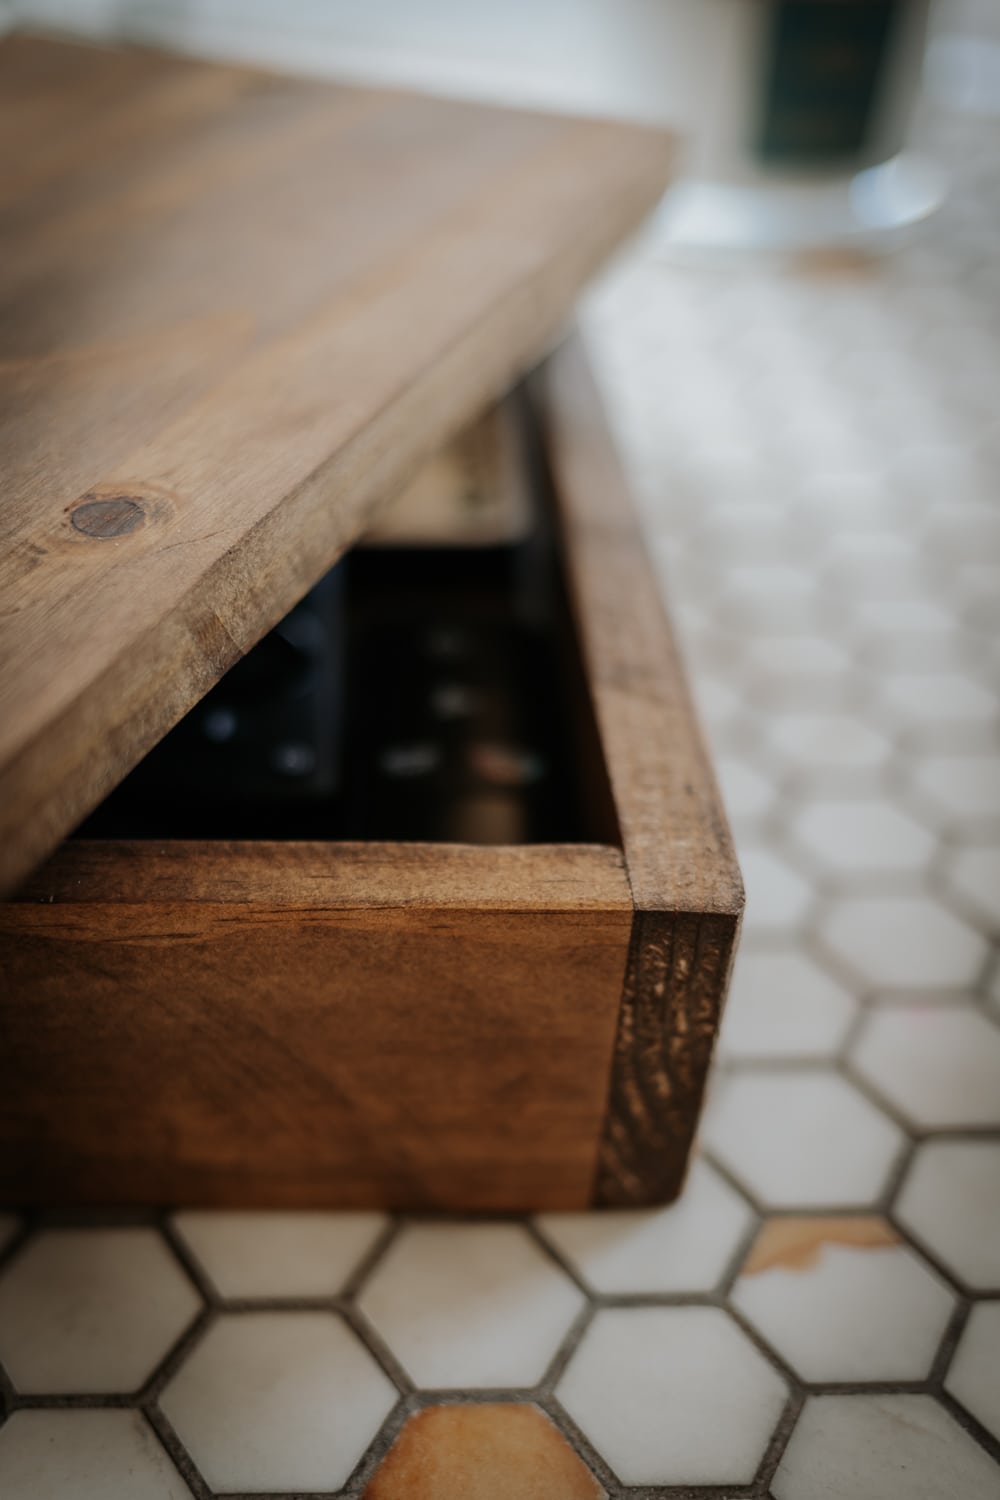
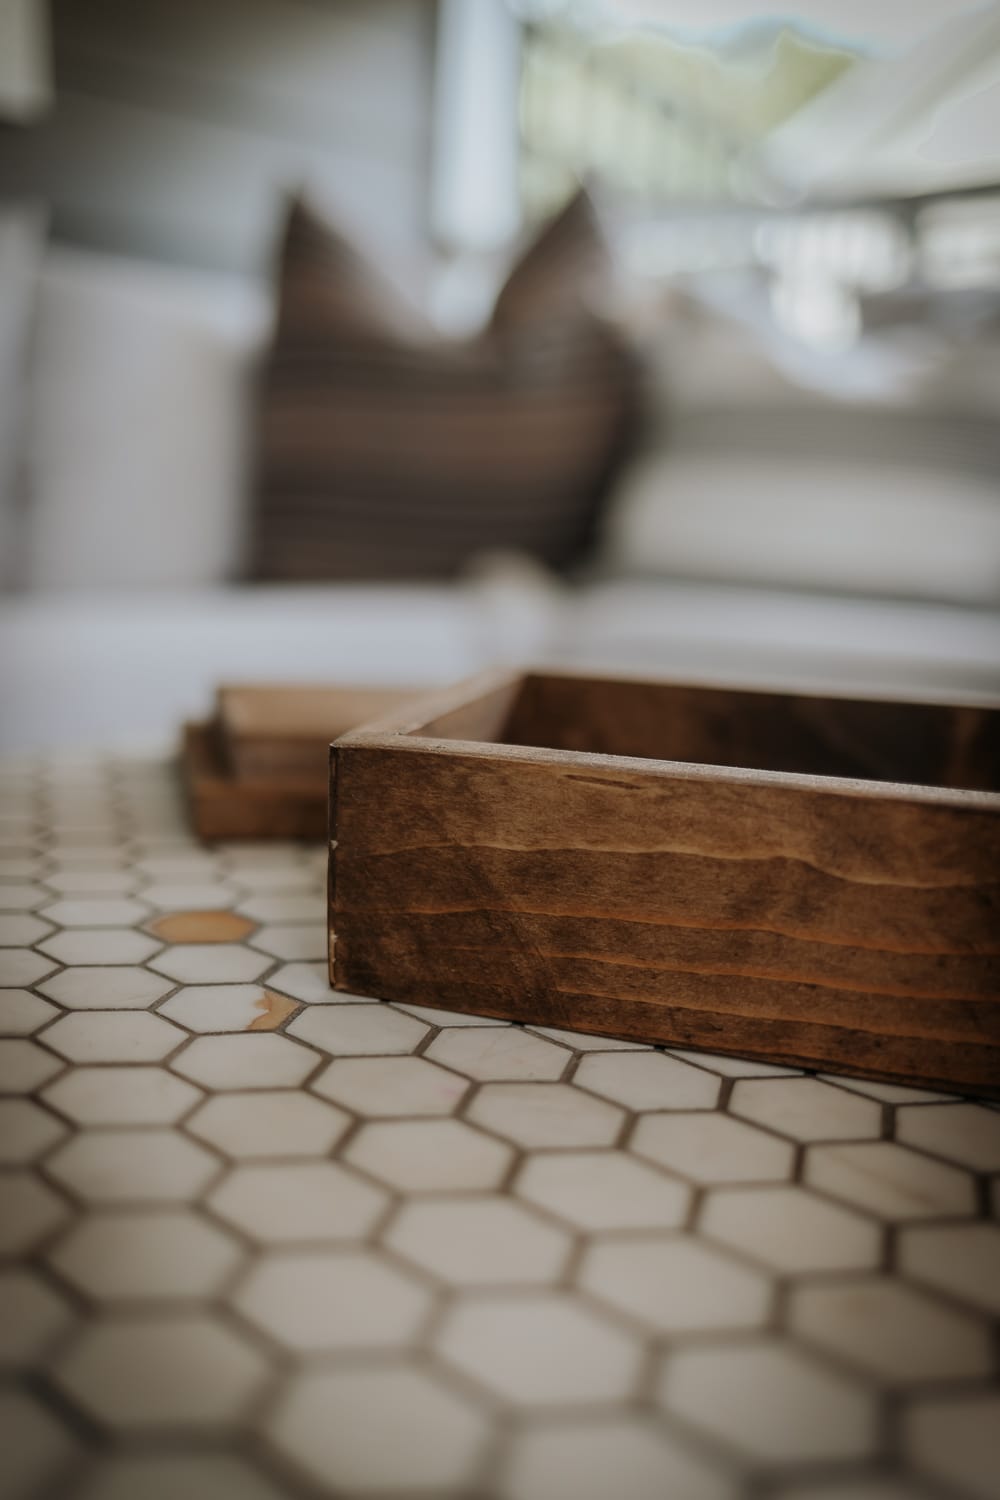
Memories aside, these keepsake boxes are super practical for everyday use and cheap to make. Stack them on a bookshelf or a coffee table, and use them to hide ugly remotes and speakers (which I’m showing you here in the photos.) You can use them as a jewelry box, a mini toy box, a pantry storage box and more.
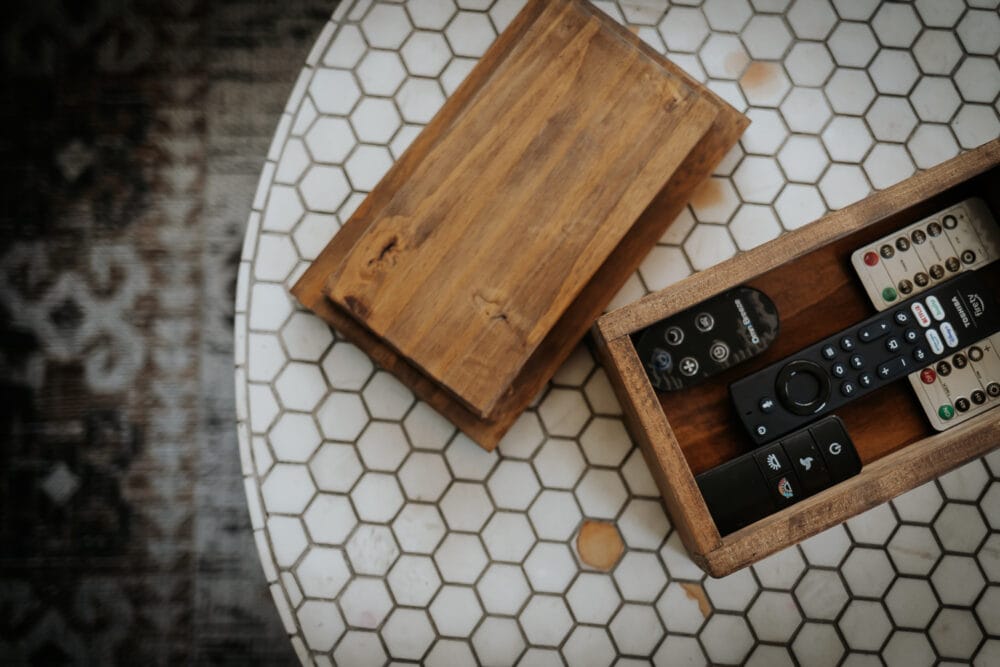
These boxes also make wonderful gifts for birthdays and holidays and even weddings. Fill it with something special and gift it to a friend or family member. You can even paint them with a pretty pattern. These bone boxes always have the prettiest patterns and inspire me to do something similar with painter’s tape and paint.
The keepsake box I’m making requires no hinges or hardware or screws or dado blades or rabbet joints. No complicated saw cuts. This is an insanely easy woodworking project. This only requires some scrap wood and wood glue. It’s as basic as it gets! But still very pretty and functional!

Things You’ll Need
- 3/4 inch wood (see notes)
- Table Saw or Miter Saw
- tape measure
- wood glue
- clamps
- orbital sander
- Brad Nailer + Nails (optional)
- wood stain / paint
Notes: You can use any type of wood for this project, I’m using Pine. Oak, Maple, Cherry, Poplar and Walnut (hardwoods) are more expensive but make beautiful little keepsake boxes. You can also use plywood. This is a creative project and you can be as fancy as you like. Go wild!
DIY wooden Box Instructions

How to create a DIY keepsake box with scrap wood.
Total time: 3 hours
-
Cut wood Box Pieces

This box has four sides, a bottom, and a lid with a smaller inset lid on the bottom. So you will need to cut wood as follows:
→2 equal cuts for the bottom of the box and bottom of the lid
→2 equal cuts for the long side pieces of the box
→2 equal cuts for the short side pieces of the box
→1 piece large enough to cover the top of the box completely (as the lid)
The next photo shows how this simple box comes together. The long sides face the front all the way across. -
Wood Glue Box Together

Spread a line of wood glue along the areas where the box pieces come together. Use a square tool around the corners to ensure everything is lined up perfectly square. Once you’ve ensured everything is nice and straight, use clamps to hold it in place until the wood glue dries (at least an hour or two). Optional: You can pop a few nails in there using a nail gun. You can hammer the nails after to get a more flush fit. I opted not to do this but it’s entirely up to you. UPDATE: I have my box sitting outside on my screened in porch. The elements caused some of the box joints to split, so nailing it might be a better way to go. If you keep your box inside, this might not be an issue.
-
Cut wood for the lid

This is why I do the lid last! To get a perfect fit. Once your box is dry, flip it upside down on a piece of wood. Trace around the box with a pencil, then cut this piece out to your markings using a saw.
-
glue lid pieces together

Place wood glue all over the smaller(bottom) lid piece, and center it on the top lid. Clamp it in place until it’s fully dry – again, at least an hour or two.
-
sand box

Now it’s time to sand your box down. I use an orbital sander and 180-240 grit sandpaper.
-
stain or paint

If staining your keepsake box, you can apply wood conditioner first to ensure a nice even coat. You can also paint your box any color you want!
-
coat with polyurethane

Finally, after the stain or paint is dry, apply a layer or two of brush on polyurethane. This will protect and further strengthen your keepsake box – so it will be beautiful for years to come!

I hope you find this DIY wood box project as delightful, valuable, and fun to make as I do. And thanks for visiting today!
xo Karen


