Festive DIY Merry Christmas Banner

I have the cutest DIY for your Holiday decor this year. Today, I’m showing you how to create a festive Christmas banner with a little burlap ribbon, jute twine, and paint. It’s easy!
This is very similar to the burlap banner I made for Hannah, but this time, I opted to paint the letters instead of using felt. I also decided to keep this a no-sew project (not a sewing machine, at least). This banner has a rustic vibe and brings some texture and warmth to your rooms.

Things You’ll Need
- 3-inch Burlap Ribbon
- Jute twine
- Scissors
- Acrylic Paint
- Stencil Brush
- Letter Stencils
- Blunt Needle
How to Make DIY Merry Christmas Banner

A tutorial for making a Merry Christmas Banner from burlap for the Holidays.
Total time: 30 minutes
-
Cut Burlap Pieces
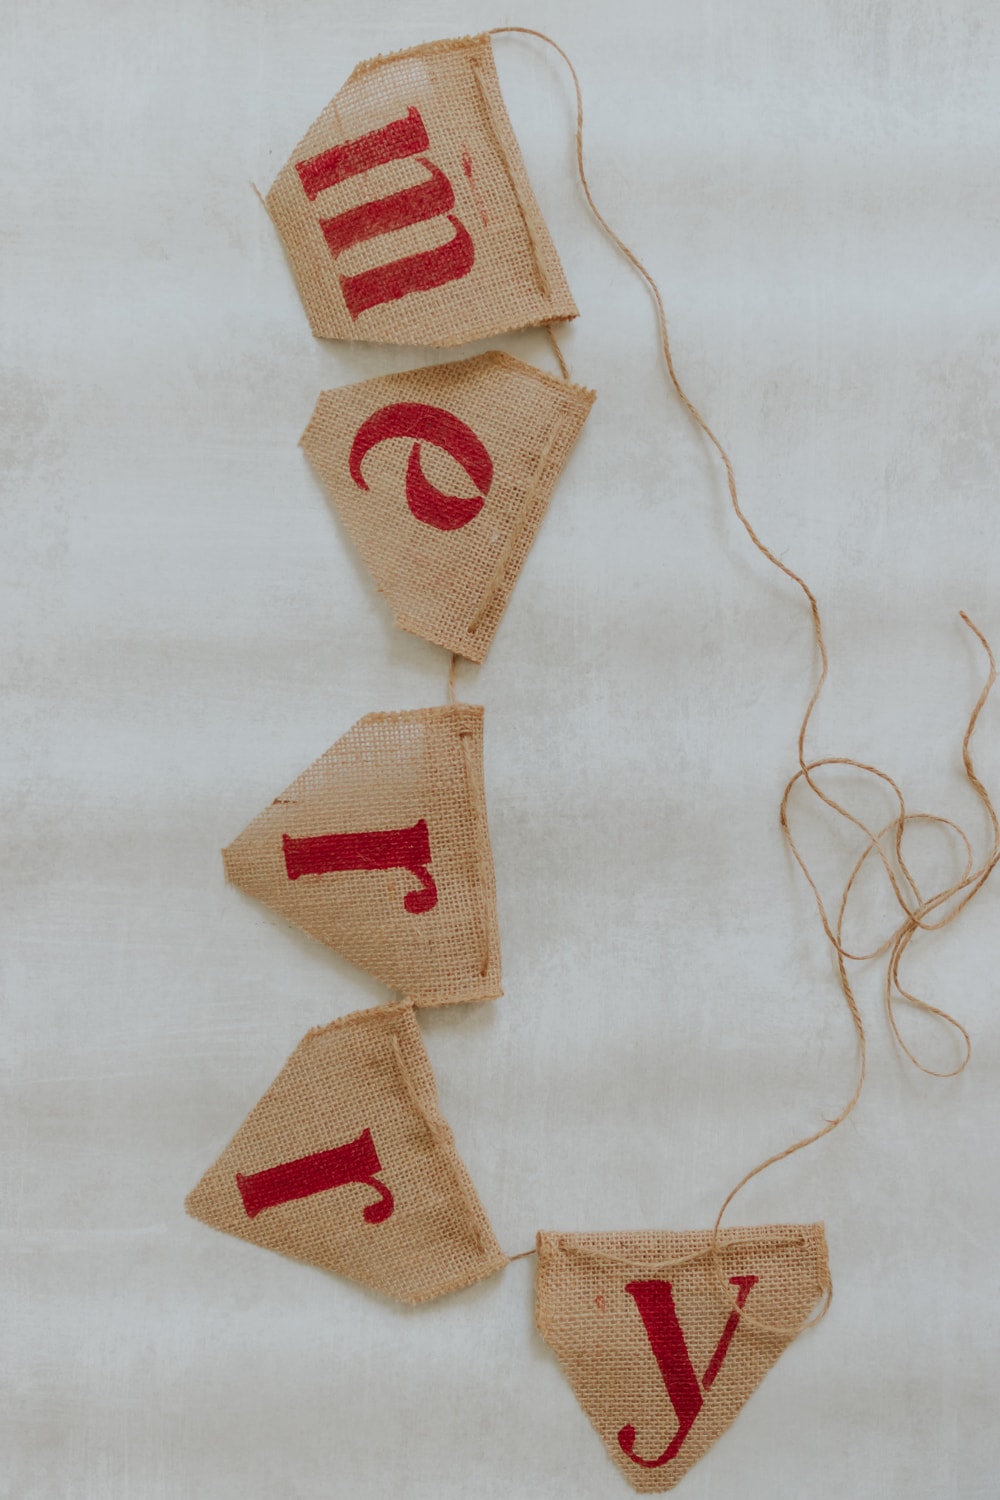
Cut a 6-inch square from Burlap for each letter you need. For a ‘Merry Christmas’ banner, you will need 14 squares. If you want a point at the bottom of each square, you should cut that now. I did this after I stenciled and wish I had done it before. So, I’m sharing my oops moment with you so you don’t make the same mistake!
-
Paint Letters on Burlap using Stencils
Paint each letter onto a burlap square using your letter stencils, a stencil brush, and a little bit of acrylic paint. Allow the letters to dry completely.
-
Thread Blunt Needle with Jute Twine
Thread a long piece of jute twine through your needle and secure it with a knot.
-
Hand Sew Banner Together
Thread the twine through the tops of each burlap square and continue until each letter is strung on the jute twine. Keep a longer length at each end of the banner for hanging.
I chose to stop at Merry, but if you want the Christmas part, you can keep going with this and hang it directly below the Merry banner. Or, you can put them all on one long jute string for a giant banner.
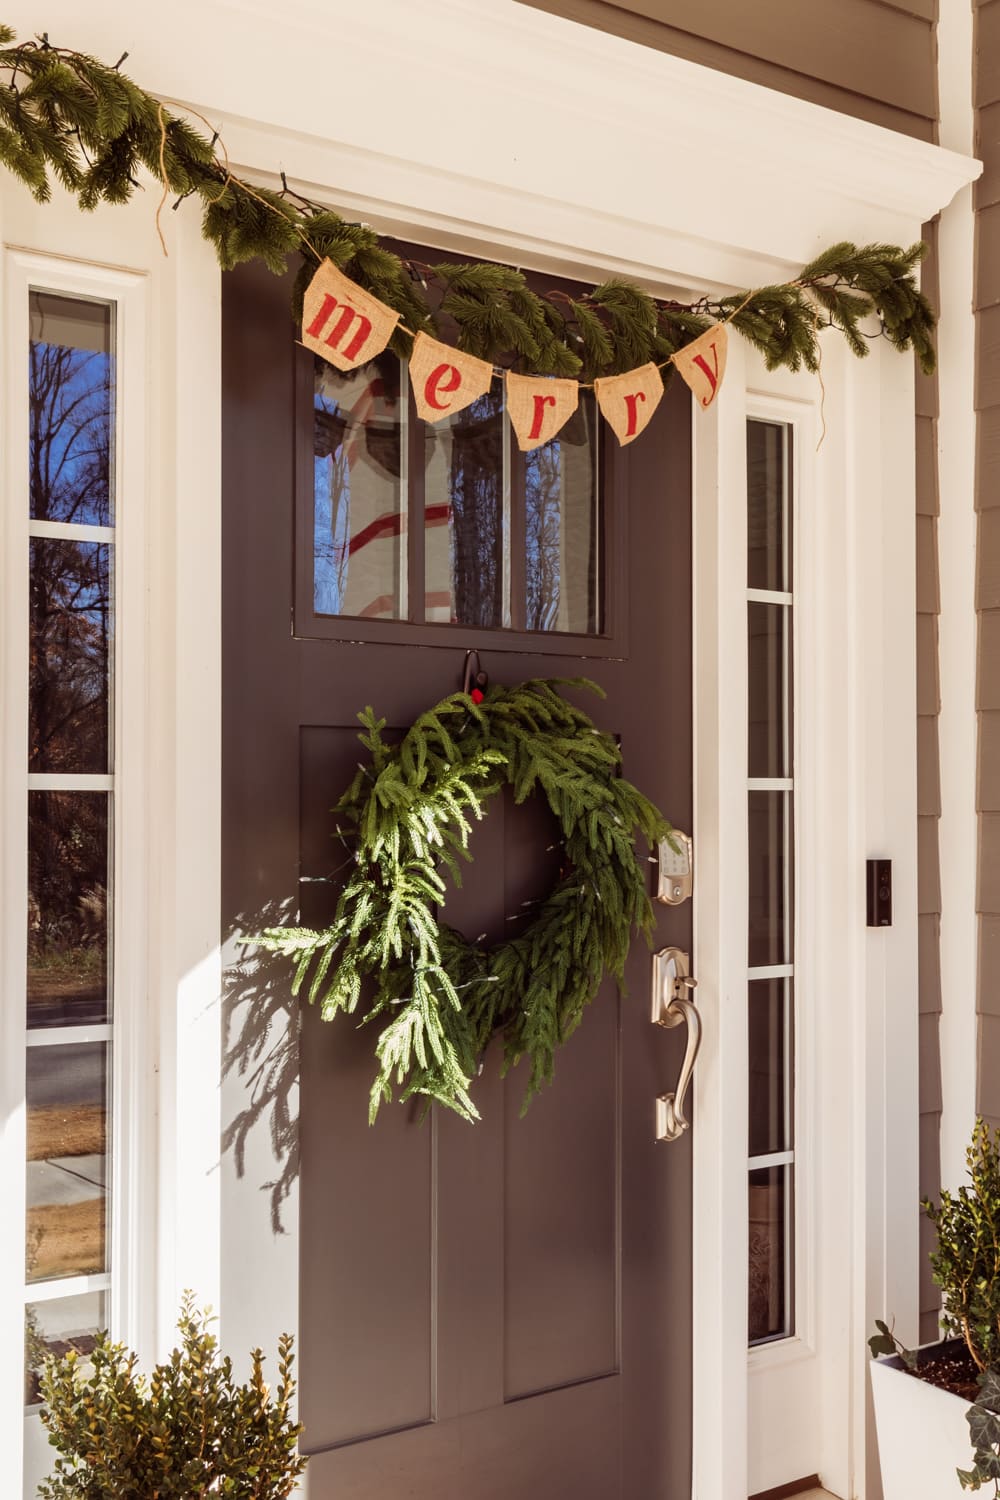
And that’s it for this easy project! I have this hanging above my front door on top of some garland, but the possibilities are endless for where you can hang this.


