Skip to content

DECORHINT

  • Shop Our Home
  • AmazonExpand
    • Weekly Amazon Finds
    • Pottery Barn Inspired Items on Amazon
    • Amazon Home Decor Finds
    • Favorite Amazon Light Fixtures
    • Christmas Decor on Amazon
    • Stocking Stuffers For Everyone
    • Amazon Storefront
  • home finds
  • DIYExpand
    • wood projects
    • paint projects
    • crafts
    • tips + tricks
    • halloween
    • christmas
  • inspiration
  • AboutExpand
    • Meet Karen
    • Start a Blog
    • Product Photography Session
    • SUBSCRIBE
    • Contact Me
DECORHINT

Simple Beautiful DIY Dried Orange Ornaments

This post may contain affiliate links. Please see our policy page for details.

ByKaren Sloan Updated onApril 21, 2022

Make these beautiful dried orange ornaments for your Christmas Tree this year!


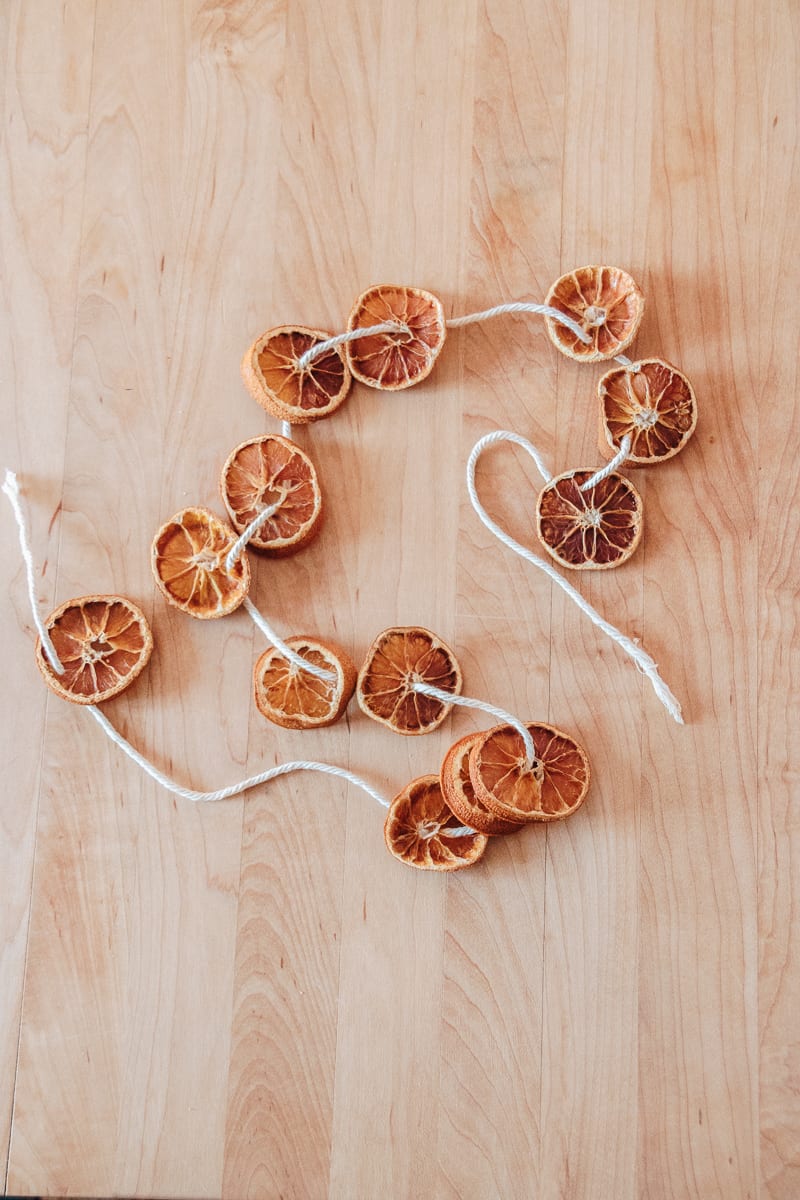
Dried citrus ornaments can be such a pretty addition to your tree. And no – they are not smelly and sticky if you dry them completely the right way. I’ve made these a bunch of times before and they always put me in the holiday spirit. In fact, I still have my dried orange garland from years ago!

In today’s post, I’m going to show you how I make my dried orange ornaments. These also make lovely gift toppers and can be used in dried potpourri. To make this economical, I use cheap jute twine and grab a big ol’ bag of oranges from the grocery store. The bagged fruit is always a little bit cheaper than buying them individually.

For the most part, this project is hands-off. After you slice up the oranges, you let the oven do all the work for 2-4 hours. If you happen to slice one and it’s uneven, you can just put that one aside to cook with later.

Let’s go!

How to Make Dried Orange Ornaments

Things You’ll Need

  • Oranges
  • Jute Twine
  • Baking Sheet
  • Scissors
  • Toothpick
  • Knife
How to Make Dried Orange Ornaments for your Christmas Tree

How to Make Dried Orange Ornaments – Easy!

Total time: 4 hours

  1. Slice Oranges

    A close up of a dried orange slice 

    Preheat your oven to 200 degrees. You want to slice your oranges so they’re about 1/4 inch thick ideally. I am not perfect so some of my slices are thicker than that. It takes them a little longer to fully dry out.

  2. Bake Orange Slices

    Dried orange slices on a baking sheet

    Arrange your orange slices on a baking sheet with a rack or a Silpat/parchment. You want to bake them at 200 degrees for anywhere from 2-4 hours. If your slices are super thin, probably closer to 2 hours. If they are thicker, it’s gonna take closer to 4 hours. After your orange slices are baked, they shouldn’t be sticky to the touch. If they are, you will have to bake them a little longer or leave them to air dry for a few hours/days. You can’t really mess this up, it just takes time! 🙂

  3. Tie on String and Hang

    How to Make Dried Orange Ornaments for your Christmas Tree

    Use a toothpick and carefully poke a little hole towards the top. Loop some jute twine (or baker’s twine!) through the hole and tie a knot. Then, you are ready to hang!

I personally love the look of these orange slices up against a green tree with a pop of red! So I’m using some berry stems to complete the look. You can also use red baubles. I just think these are so pretty. You really can’t go wrong!

Putting a dried orange oranment on a tree branch
How to Make Dried Orange Ornaments for your Christmas Tree

I hope you guys enjoyed this festive little project! Be sure to check out more Christmas Crafts here before you go.

xo Karen

Post navigation

Previous Previous
Festive Pipe Cleaner Candy Canes – Great Kids Craft!
NextContinue
Before and After: Small Laundry Room Makeover
DECORHINT.COM About
  • Privacy Policy
  • Disclaimer & Disclosure
  • T & C

Decor Hint is a participant in the Amazon Services LLC Associates Program. As an Amazon Associate, I earn from qualifying purchases. All content on this website is copyrighted to Decor Hint, unless otherwise noted. Re-use is not permitted without explicit written permission. This website is not intended to substitute for advice from a professional.

© 2023 DECORHINT

Instagram Pinterest Facebook YouTube TikTok
  • Shop Our Home
  • Amazon
    • Weekly Amazon Finds
    • Pottery Barn Inspired Items on Amazon
    • Amazon Home Decor Finds
    • Favorite Amazon Light Fixtures
    • Christmas Decor on Amazon
    • Stocking Stuffers For Everyone
    • Amazon Storefront
  • home finds
  • DIY
    • wood projects
    • paint projects
    • crafts
    • tips + tricks
    • halloween
    • christmas
  • inspiration
  • About
    • Meet Karen
    • Start a Blog
    • Product Photography Session
    • SUBSCRIBE
    • Contact Me
Search