How to Make Soy Candles with Essential Oils

This post contains affiliate links, which means we may earn a small commission if you purchase through them — at no additional cost to you. Please see our policy page for more details.
In this blog post, we’ll dive straight into the practical steps of making soy candles infused with essential oils. From gathering your materials to mastering the art of scent blending, we’ll provide clear, concise instructions to help you create custom candles that bring the natural aromas of essential oils into your home.
Let’s skip the fluff and get straight to the heart of crafting these delightful, eco-friendly candles that are perfect for enhancing any space with soothing scents.
Important Note before we begin
When making candles in these little jars, the jars can get hot to the touch after the candle has been burning a while, so just keep that mind. Keep your fingers safe and be sure to keep these out of the littles reach.
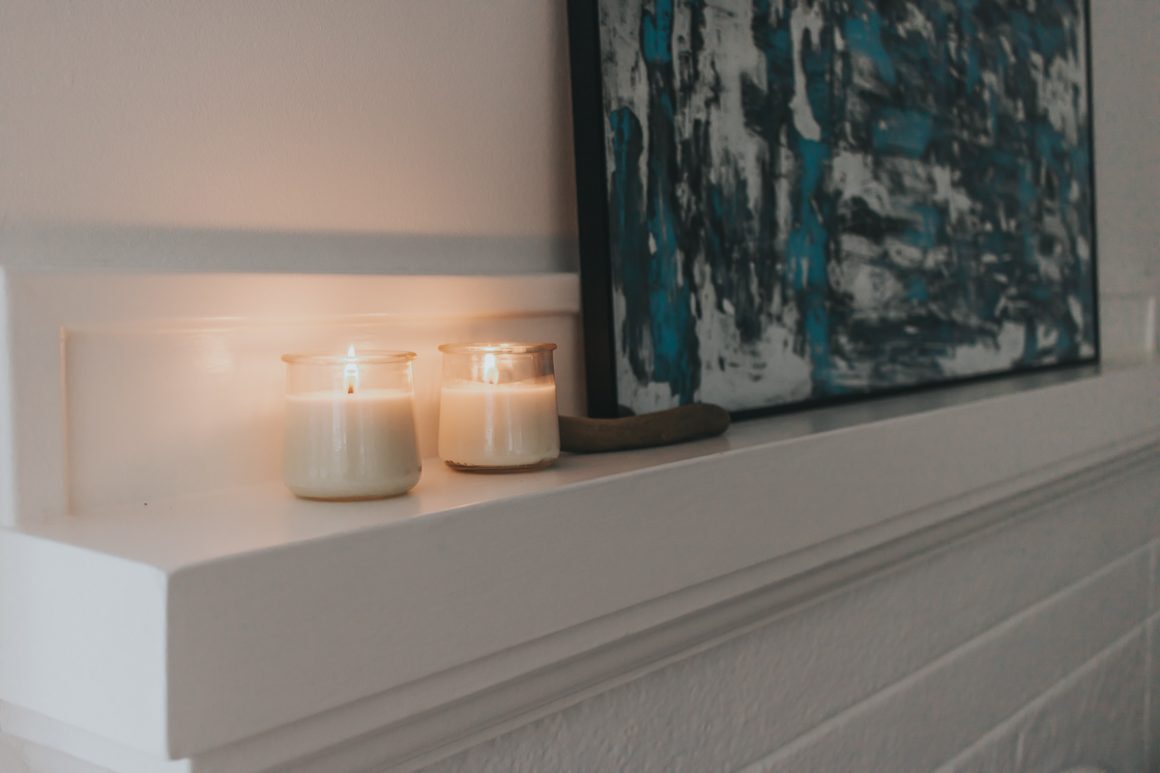
Let’s get started with this simple tutorial by gathering up our materials.
Things You’ll Need

- Soy Wax Flakes
- Wicks
- Clothespins
- Essential Oils – I used 20 drops of a trio of rosemary, juniper berry, and cedarwood
- Containers – I used Yoplait Oui Yogurt Jars
- Double Boiler
How to Make Soy Candles with Essential Oils
Step 1 – Measure your soy wax flakes
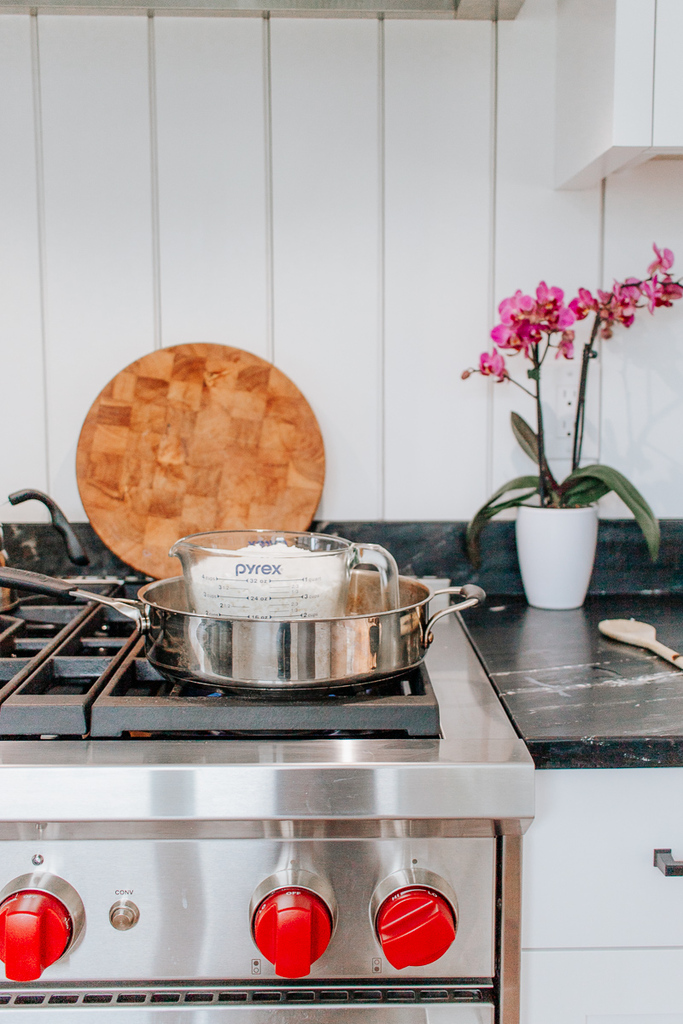
Measure your soy wax candles and place them in your pitcher/glass measuring cup. The correct ratio of wax flakes is simply double the size of your container. I filled up two yogurt jars worth to make one candle. Repeat for as many candles as you want.
Just remember, the soy wax flakes are always double the amount of your container. Don’t worry about weighing it or being exact here. This is supposed to be easy and fun, right?
Step 2 – Melt your wax
Now let’s get to melting our wax. What you’re going to do is heat your wax over a double boiler until it’s melted. If you want to keep this project super easy with minimal clean up afterward, you can buy one of those cheapy throwaway foil tins and use that to heat up your wax.
Step 3 – Prepare your jars
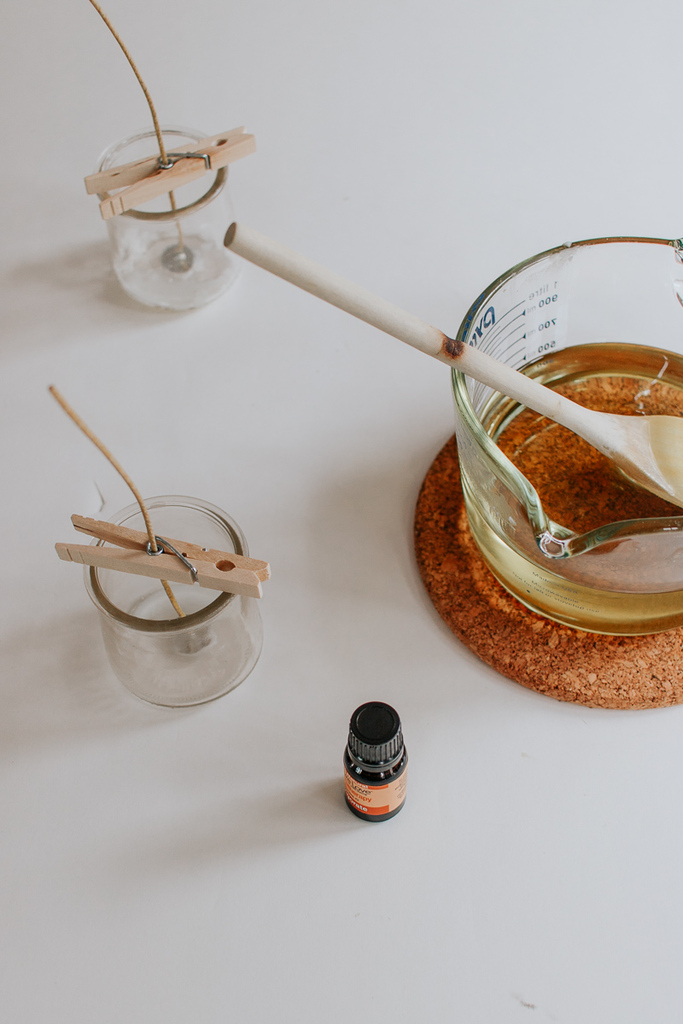
Now that our wax is melting, we can prepare our jars. To prepare our jars, you should have your wick and a clothespin handy. We need to stick our wick to the bottom of the vessel or jar we are using. You can use a bit of hot glue to get it to stick. But here’s an even easier way to do this.
Once your wax is a bit melted, spoon a bit of the melted wax into the bottom of your container. Quickly stick your wick down on top of the wax before it hardens. The melted wax will allow your wick to “stick” to the bottom center of the jar. Trust me, I made a bunch and this method works perfectly.
Now that our wick is down, we will want to hold it in place. You can accomplish this easily by using a clothespin (or a long wooden dowel if you have a wide candle.) Thread the wick through a clothespin and rest the clothespin on top of your vessel. This will hold the wick in the center of the jar for you.
Step 4 – Add in Essential OIls
By now, your wax should be fully melted. Turn off the heat and allow the wax to cool slightly. I waited for 5 minutes or so. Drop some of your favorite essential oils into the wax and stir, stir stir!
What’s the secret to a nice scented candle?
You should drop the essential oils into the candle wax while it’s not too hot, but still warm. Then start stirring! Stirring helps the scent incorporate throughout the candle. This will really help you create a lovely scented candle in the end.
I used 40 drops or so of my essential oils.
Step 5 – Pour the wax into your jars


Yay, we are almost done! We’ve got our melted wax complete with essential oils and we have our jars ready to go!
Now we are going to carefully pour the melted wax into our containers. You can just pour around the clothespin or dowel, it’s not hard to do. Allow the wax to cool completely.

You now have these beautifully scented DIY soy candles that you can display anywhere and everywhere in your home. Are you so proud of yourself?
I can’t tell you guys how much I love this project (do I say that a lot!?) There is something so relaxing about a beautifully lit candle. Plus – these smell great. And they will smell great for you too because you put your favorite scents in them!
If you wanted to gift these away, I would make a cover for the top by cutting some fabric with pinking shears, then using a cute jute twine or ribbon to hold it in place. You could tie a little sprig of rosemary, dried orange ornament or a little gift tag to it.

