Pretty DIY Wood Lanterns
This post contains affiliate links, which means we may earn a small commission if you purchase through them — at no additional cost to you. Please see our policy page for more details.
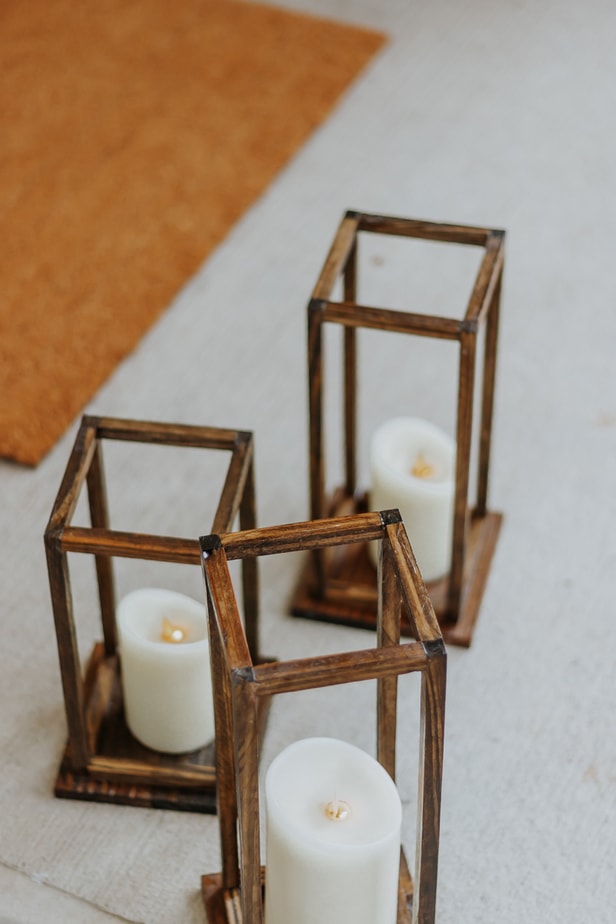
A complete tutorial for building these easy DIY wood lanterns from old pallet wood.
Another easy wood project for the books!
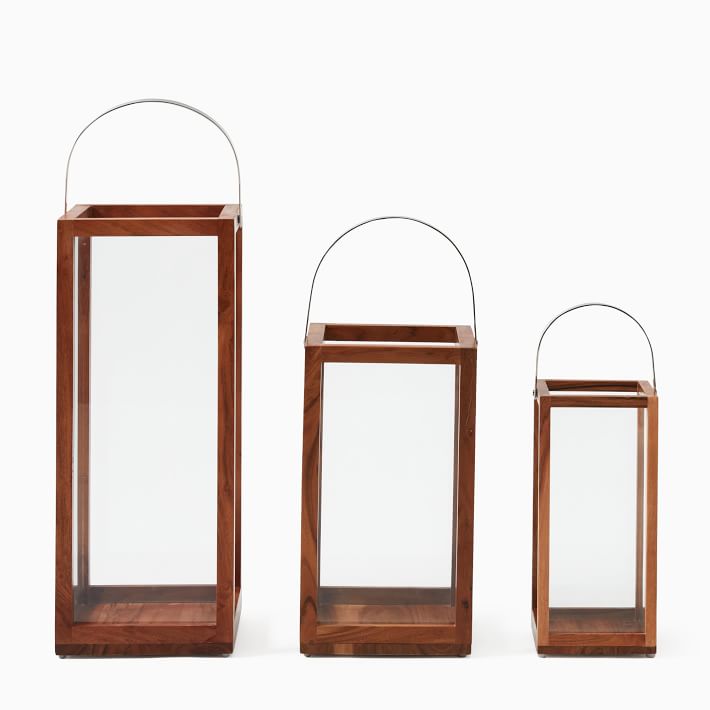
Most of my inspiration for creating things comes from shopping online. I happened to spot these stylish wood lanterns from West Elm and I just knew I could create my own version of them. And luckily, I was also about to visit my parents and I knew this was a good project for my Dad and me.
I love that we started this tradition a year ago; so far we have made benches, little step stools, and now this!
We made a set of three lanterns in different sizes from an old pallet that we took apart and sanded down. So, if you have one laying around this is a good way to put it to use.


Let’s get started!
Things You’ll Need
- Square Dowels (Or scrap wood)
- Wood Glue
- Pneumatic Pin Nailer and Pin Nails
- Table Saw (if making your own square dowels)
- Tape Measure (see how to read a tape measure)
- Square
- Polycrylic
- Wood Stain
- Rope and staple gun (to make handles – optional)
Wood Lantern Measurements
Here are the various sizes of the lanterns and the wood cuts you will need to make.


For each lantern, you need the following:
- 1 wood base – our base was a square 6 inches and 1/2 inch deep (we glued two 1x3s together)
- 4 longer square dowels for the lantern sides
- 8 shorter square dowels to go in between
Here are the overall dimensions of each lantern and the wood cuts we made for each:
| Lantern Size | Overall Dimensions (including the base) | Wood Cuts |
| Small | 5 inches wide x 10.5 inches tall (base is 6 inches wide and 1/2 inch thick) | 8 – 4 inch square dowels 4 – 10 inch square dowels |
| Medium | 5 inches wide x 12.5 inches tall (base is 6 inches wide and 1/2 inch thick) | 8 – 4 inch square dowels 4 – 12 inch square dowels |
| Large | 5 inches wide x 14.5 inches tall (base is 6 inches wide and 1/2 inch thick) | 8 – 4 inch square dowels 4- 14 inch square dowels |
Where to Buy Square Dowels
If you are savvy on the table saw, you can easily make your own square dowels. But a lot of us don’t have a table saw and it definitely takes some skill to do this. Luckily I had my dad there to help me!
I’ve rounded up a few places to buy square dowels so you don’t need to make any cuts for this project. Check your local hardware stores, like Home Depot, as well craft stores! I linked to several options below so just click on your favorite one for more information.
- Etsy – a great source for finding square dowels in any shape or size you need!
- Amazon – not as big of a selection as Etsy, but there are still some good finds here.
- Home Depot – you might have to do some digging, but I did find 3/8 inch square dowels on their website. Same goes for Lowe’s too!
- Walmart – I found some square dowels on Walmart believe it or not!
- Michael’s – these are craft wood dowels but they don’t mention the width. Might be worth checking into!
- American Wood Crafter’s Supply – they offer square dowels in a lot of measurements!
DIY Wood Lanterns Tutorial
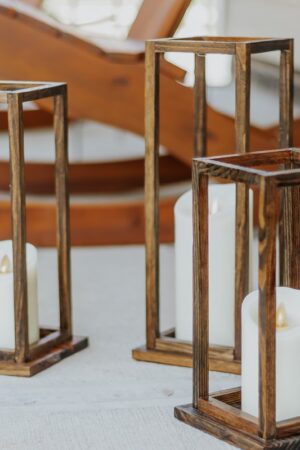
Follow this step-by-step process for making your lanterns.
Total Time: 2 hours
-
Make your Wood Cuts

We used a table saw to make these 1/2 inch square dowels from an old pallet that we deconstructed. We sanded each piece first using an orbital sander. You can also buy square dowels from places such as Amazon and Etsy (see the heading above). These dowels may be slightly wider than 1/2 inch but it won’t change the overall look of your lanterns.
-
Stain Your Wood

You can either stain your wood now or stain it after you put them together. We found it easier to stain each piece now, then we didn’t have to worry about wood glue potentially blocking stain later on.
-
Pin Nail Lanterns Together

Using your square, you want to line up the dowels so they are straight and form the lantern side. Use a bit of wood glue first, then a pin nailer to secure them together. We made the sides first, then connected them together with the 4-inch square dowels.
-
Attach Dowels to Lantern Base

Once our lantern was constructed, we attached it to our 6-inch base using wood glue and a few pin nails in each square dowel.
-
APPLY POLYCRYLIC
After your stain is dry (if you just stained it) and your lanterns are constructed, you will want to protect them with a couple of coats of Polycyrlic. I used semi-gloss but you can use whatever sheen you like!
-
ADD ROPE HANDLES (OPTIONAL)

I tried this step with both stiff rope and floppy rope. The floppy rope was MUCH easier to attach to the lanterns. To do this, I cut a piece of rope and then I stapled it to the underside of the top part of the lantern. You can flip it upside down for better access. I decided to take the rope handles off afterward because I preferred them without!
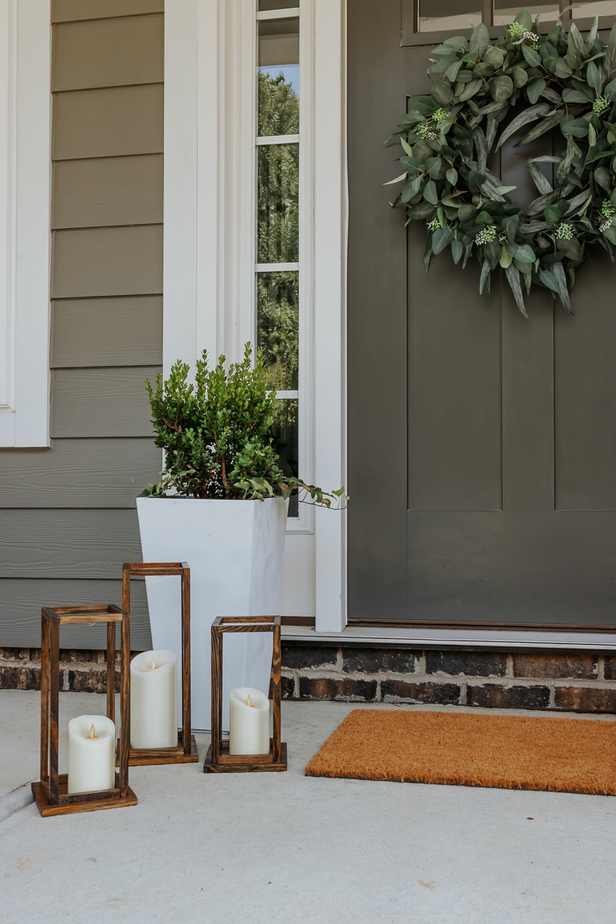
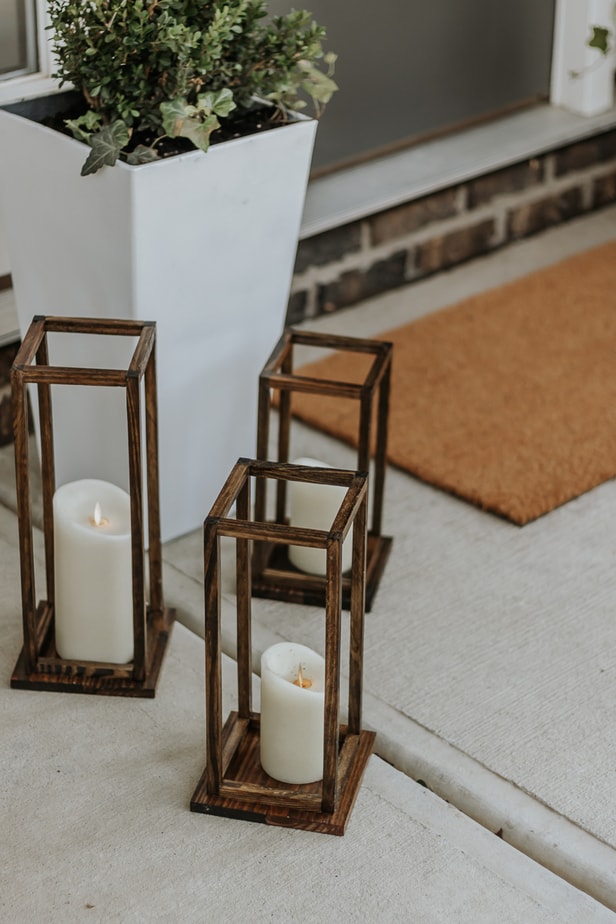
I love the way these turned out! I chose to put my Luminara candles in them so I could turn them on and off easily with the remote. You can also set a timer to have them come on and turn off automatically.

I decided against the rope handles and left them bare for now. I think I want to go with more of a sturdy handle, such as copper. I just need to figure out how to do that. So for now, the rope handles work but I also think they look good as is.
These are really pretty all lit up at night and make great table decor too! Not bad for some scrap wood, huh?


I hope you enjoyed this tutorial!
xo Karen


