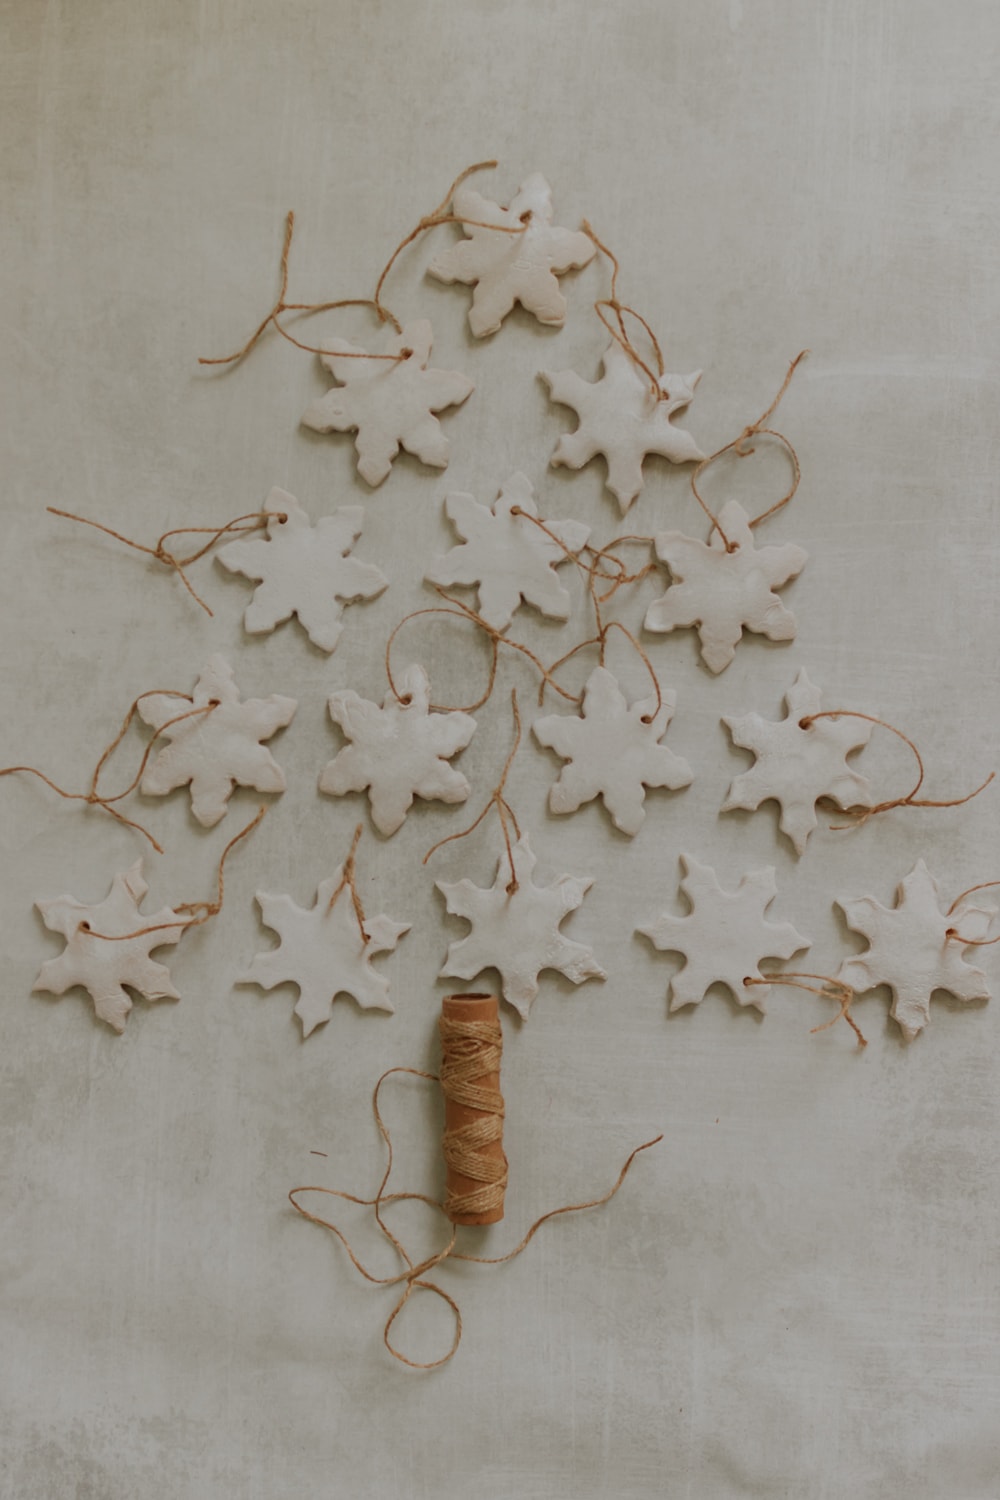
How to Make Salt Dough Snowflakes

Today, we are making salt dough snowflakes! These might just be my favorite salt dough ornaments ever. I love the pop of white against my dark green Christmas tree. And because these are so cheap to make, you can make a whole bunch and really make a statement.
You only need a few simple ingredients and materials for these. First, you want to check out my super simple recipe for the best salt dough ornaments. I’ll post it below for convenience.
Things You’ll Need
- Flour
- Salt
- Rolling Pin
- Snowflake Cookie Cutters
- Water
- Mixing Bowl and Spoon
- Toothpick
- Jute Twine or String
- White Spray Paint
Salt Dough Snowflakes Tutorial

How to Make Salt Dough Snowflake Ornaments
Total Time: 1 hour
-
Make Salt Dough

The first step is making salt dough! This couldn’t be easier. The basic recipe is 2 cups of flour to 1 cup of salt. Mix these together in a bowl. Then, slowly add water and mix until you have a dough consistency. It shouldn’t be sticky, crumbly, or dry. I use basic white flour and Morton’s iodized salt.
-
Roll Out Dough and Make Snowflakes

Sprinkle some flour on your rolling surface and roll the dough out until it’s a little less than 1/2 inch thick. Use your snowflake cookie cutters and cut out the shapes. DON’T FORGET: Use a toothpick to make a hole in the snowflakes that you can use later for hanging.
-
Bake Snowflakes

Place your snowflakes on a baking sheet with parchment or a Silpat and bake them at 200 degrees for about 30 minutes. If they don’t seem totally done when you pull them out, you can leave them out to air dry.
-
Paint Salt Dough Snowflakes

After your snowflakes are totally dry, you can paint them white or any color you like with acrylic paint or spray paint. I find it takes a couple of coats of spray paint, as the first coat absorbs a bit into the salt dough.
-
Tie on String and Hang

You can spray your salt dough with a piece of string and thread it through the hole in your snowflakes. Tie the top into a knot and hang them on your tree!


How to Store Salt Dough Ornaments
Salt Dough ornaments can last years if you store them properly. I store mine between pieces of wax paper and keep them in our guest room closet with the rest of the ornaments. They are stored at normal room temperature—nothing too hot or too cold. I learned this from Martha Stewart!
I hope you guys enjoyed this tutorial! Happy Crafting! 🙂
Xo Karen


