Simple DIY Bead Ornaments

This post contains affiliate links, which means we may earn a small commission if you purchase through them — at no additional cost to you. Please see our policy page for more details.
This year, I want to pare down the Christmas “stuff” and go more rustic and traditional. (Why do I feel like I always say…” pare down”?)
Last year, I tossed all my red, gold, and green ornaments in favor of a blue-themed holiday tree. At least, that’s what seemed to match my living room at the time best.
However, we recently changed the rug in our living room, and I think it’s neutral enough to go in any direction I want. And I like that traditional red and green color palette back!
I don’t want to go crazy with red, though—just a few hints here and there to make it festive. I think red is great when it’s balanced with neutral tones and lots of greenery. These natural wood beaded ornaments are my first step towards that style this year.


These ornaments make a great kids’ craft, too! My kids loved stringing the beads on the wire, and then I would take over and close them up properly. The wire can be sharp, but it should be okay if you keep a close eye on it.
So – are you ready to start making some ornaments this year? Let’s go!
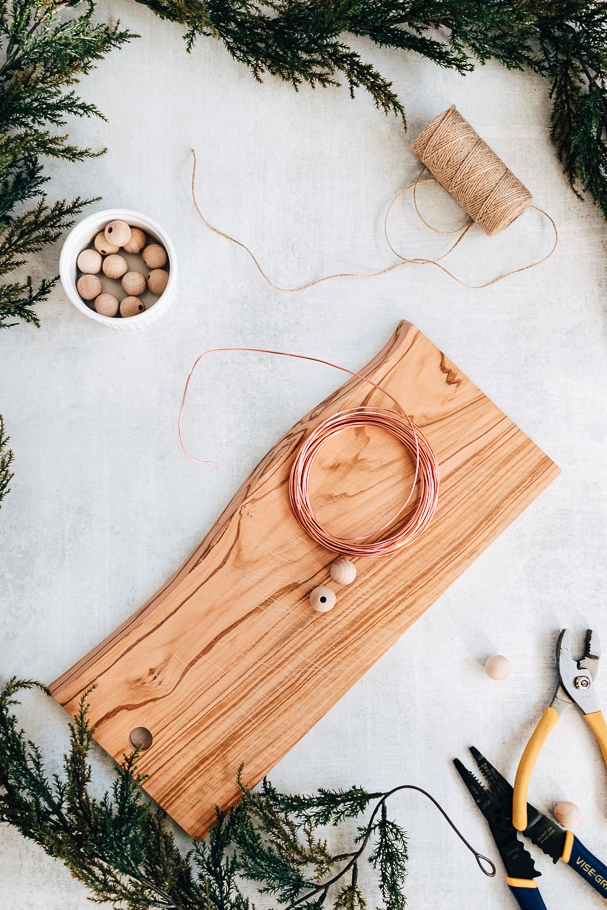
Things You’ll Need
- Bendable Wire – I used this copper wire
- Wood Beads – 20mm
- Jute Twine
- Pliers
- Wire cutters
How to Make DIY Bead Ornaments
These ornaments will only take you a few minutes to put together. Promise!
Step 1: Cut Some Wire
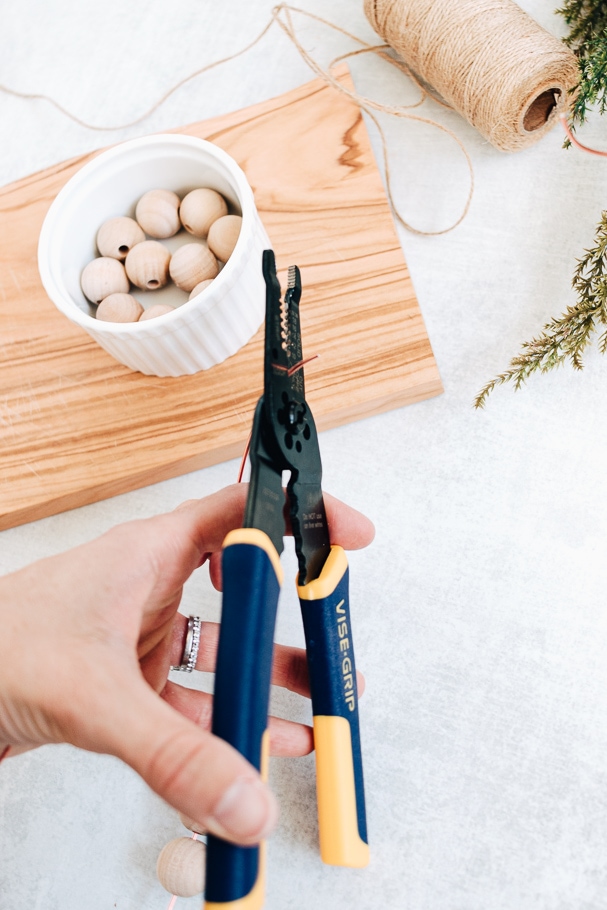
Okay, the first step is to cut a string of wire. Use your wire cutter. I cut mine to about 6 inches or so—let’s not get so technical here. These are rustic and imperfect ornaments. We are working with larger beads, and they take up a bit of space on the wire. So, to get decent-sized ornaments, you want to start long.
You can always snip off any excess wire at the end.
Step 2: String your beads


Call your kids in! Start stringing those beads on the wires. You can certainly use different-colored beads if you like that look. I really love the rustic look of all-natural wood, so I kept them plain.
Step 3: Shape the Wire into a Circle and Twist closed
Once you have enough beads on – shape your wire into a circle.


Bring the two ends together at the top. Twist the wire closed with your fingers or pliers.
You can also use your pliers to “smash” down (technical term) any sharp ends.

Twisting the wire will also tighten up the circle—the more you twist, the smaller/tighter the circle will be.

Here is the part where you can use your wire cutters to cut off any excess sloppy wire from the top.

Step 4: Add Jute Twine for Hanging
The last step is adding some jute twine for hanging. You can also use baker’s twine or other string. I like the look of the jute. Thread jute string through the ornament and tie a knot, creating a loop.

All done!
I can’t wait to see how these DIY bead ornaments look on our tree this year! Those larger beads will create quite a statement. It’s a subtle nod to a bead garland. But much simpler.

Don’t forget to check out my tutorial for plaid DIY Placemats, as seen in the picture above.
