11 Awesome Beginner Macrame Projects
Are you new to macrame? You’re in luck. These beginner macrame projects are perfect if you’re just starting out. Many of them are small or mini versions, so they are not as intimidating. Complete them in a weekend!
To make it even easier, check out my post on Basic Macrame knots and download your free handy Macrame knot pdf. It’s easy to see why Macrame is such a popular DIY project. Bringing macrame into your decor invites that chic, bohemian vibe into our homes.
Macrame pieces are not only crafts, but they are also artwork. Those intricate knots can be mesmerizing!
There are many uses for macrame, too (plant hangers, fruit, and veggie holders, decorative wall hangings, and even jewelry!). And you don’t have to make it complicated, either. Simple projects look as good as complicated projects if you ask me.
Amazon sells the materials needed for most of these macrame projects. Just go to Amazon and search “macrame cord” and “macrame rings,” and a bunch of good options will appear.
Actually – you can buy finished pieces of macrame too, but where’s the fun in that!?
Beginner Macrame Projects
I’ve rounded up some easy projects that are super cute and fun to try.
1 // Macrame Necklaces
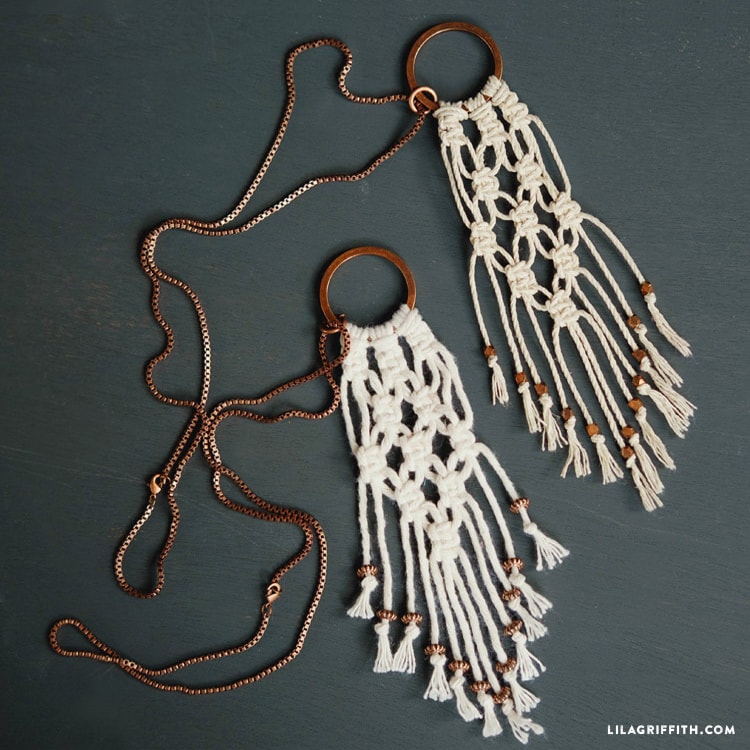
Oh yes, you can wear macrame! Get the full tutorial for these super cute necklaces at Lia Griffith.
2 // Beaded Macrame Plant Hanger
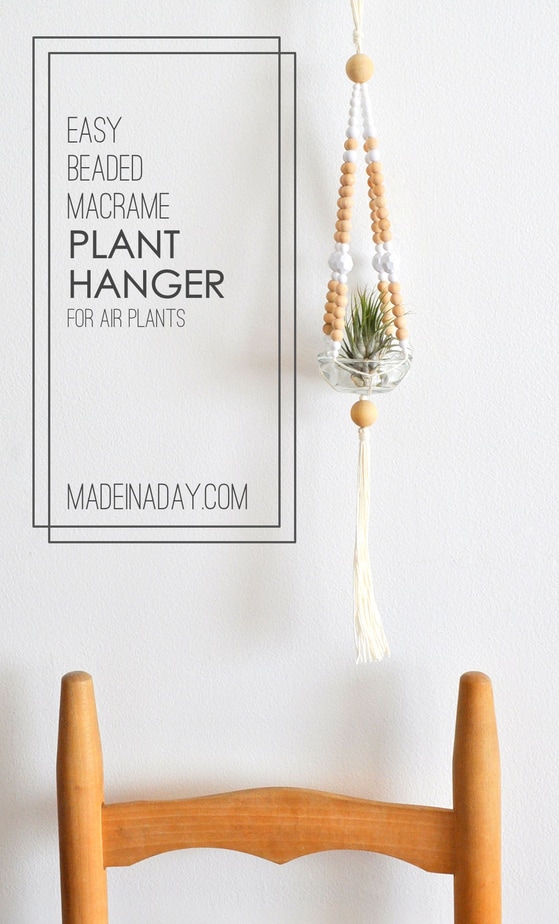
I love the beads here! Get the full tutorial at Madeinaday.com.
3 // Mini Macrame Wall Hangings
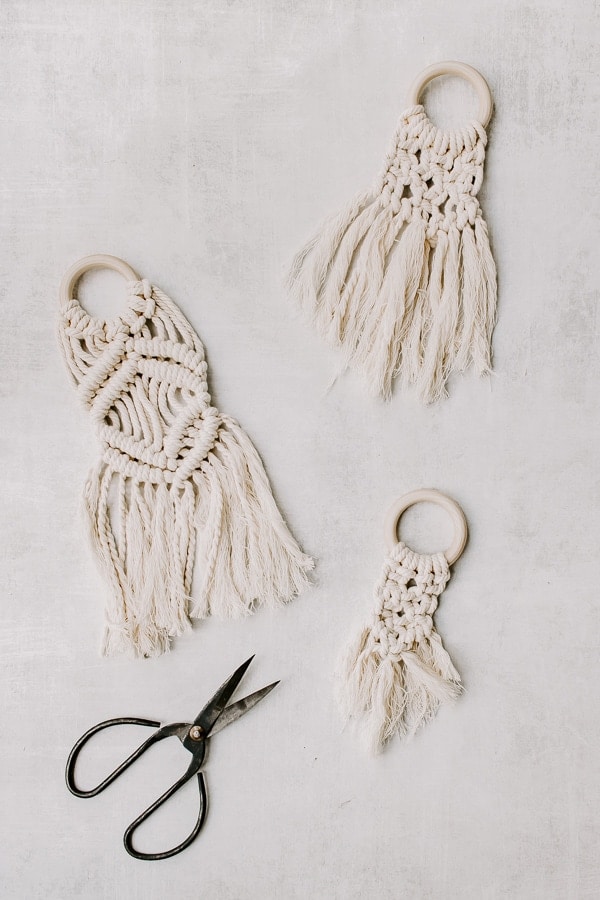
These are so fun to make, and as a bonus, you don’t need a huge number of cords. Find the tutorial for mini macrame hangings here!
4 // DIY Macrame feathers
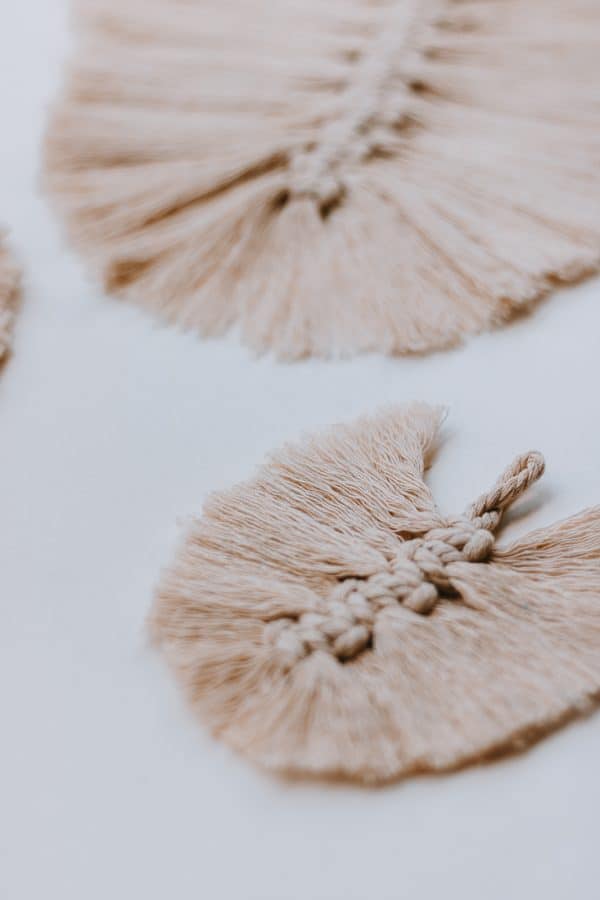
These are sure to impress your friends. Lots of oohs and ahhs for these feathers. Get the tutorial for these Macrame Feathers here.
5 // Easy Macrame Wall Hanging (only one knot)
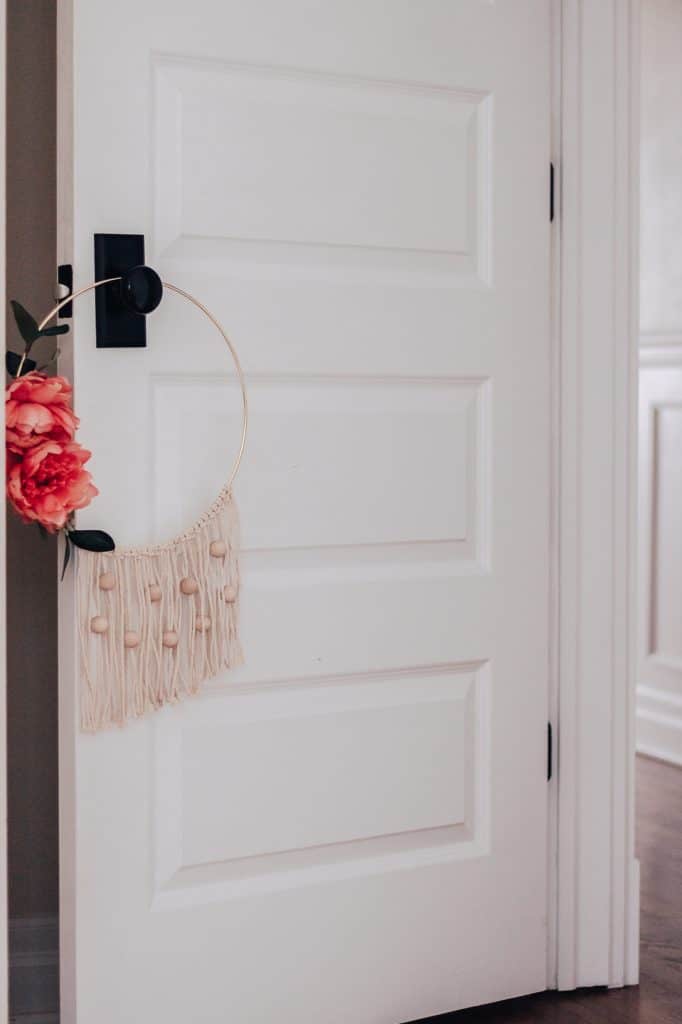
This DIY wall hanging with beads requires just one knot. The full tutorial is available here.
6 // Macrame Spiral Knot Christmas Ornaments
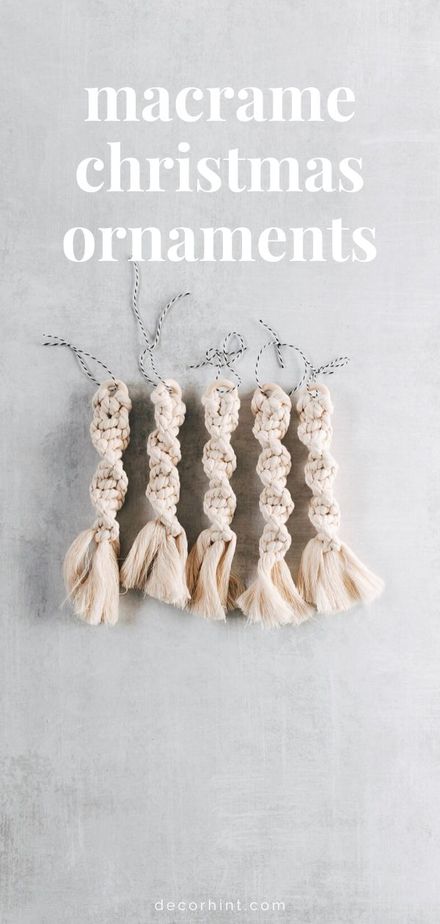
These spiral knot Christmas Ornaments will shine on your tree. Get the full tutorial (plus video) for these macrame Christmas ornaments right here.
7 // Macrame Placemats
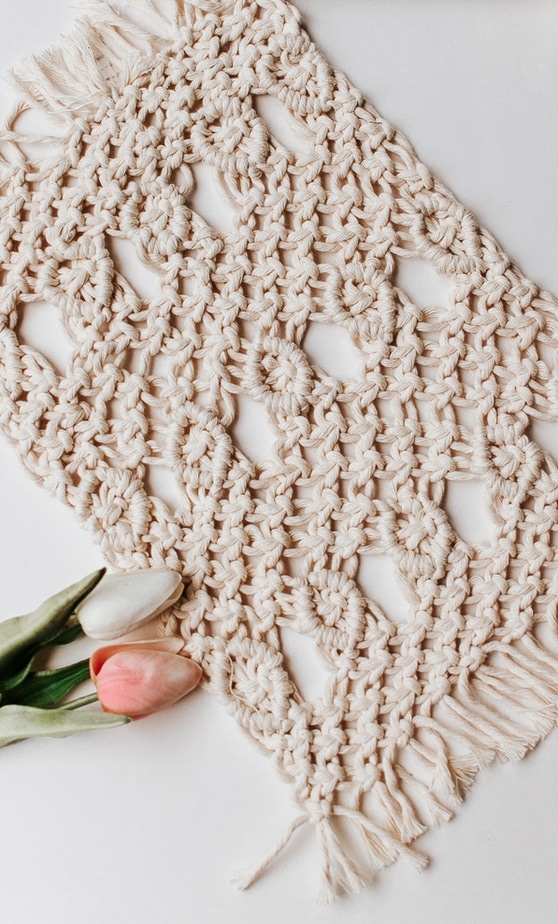
Macrame placemats are a perfect addition to your table. These placemats only take three knots. Get the details for these DIY macrame placemats right here.
8 // Macrame Mason Jars
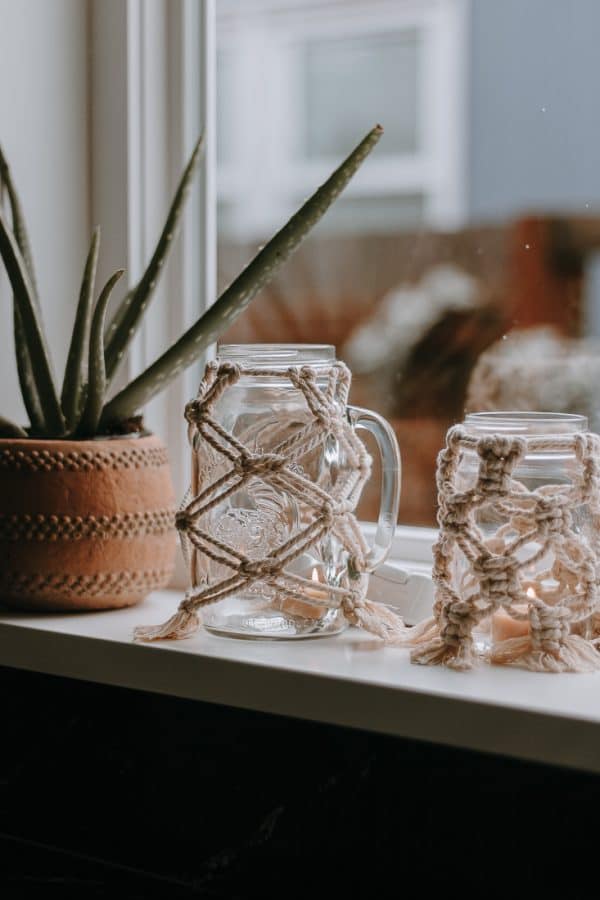
Take a boring mason jar and macrame it up. The full tutorial for these macrame mason jars is right here.
9 // Macrame Produce Bag

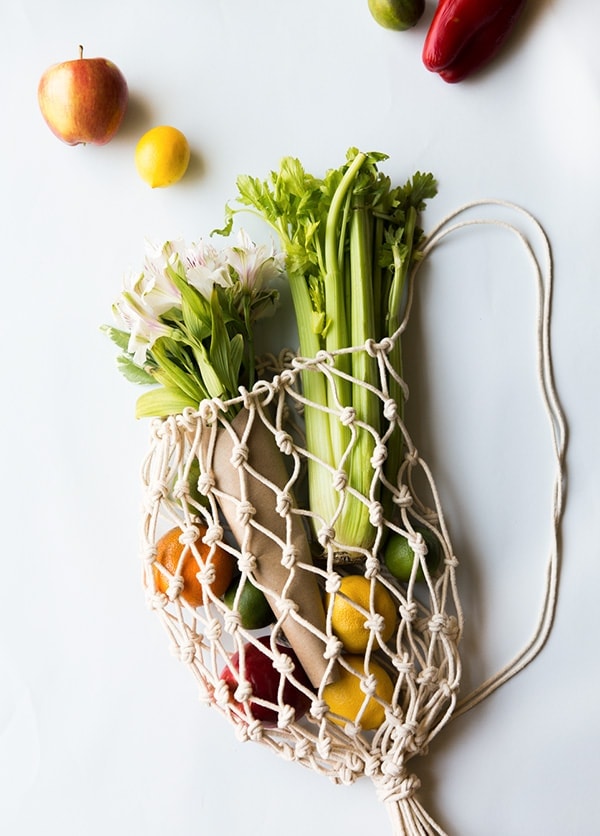
This adorable and trendy produce bag is a cinch to make. You only need one type of knot and a few materials. Get the full tutorial at Say Yes.
10 // Macrame Bracelet
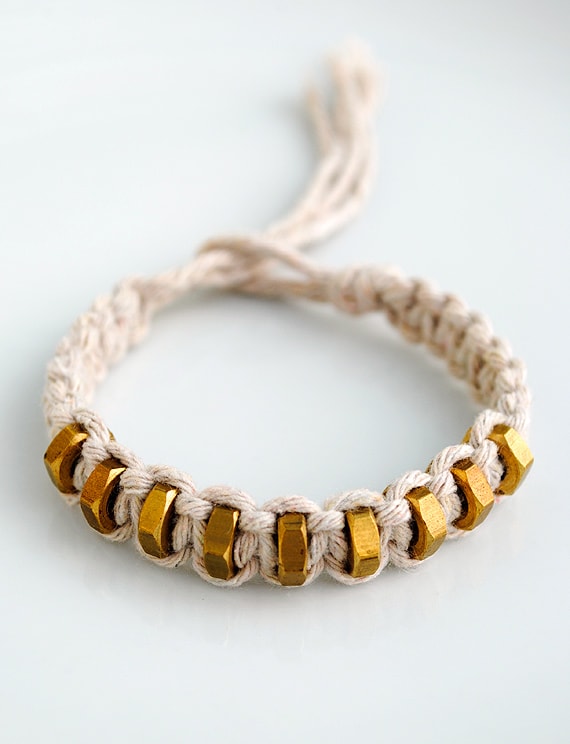
I have more jewelry for you! You can make this beautiful macrame bracelet, and you won’t believe the materials she used to make it. Hint: You may have to look in your garage. Get the full tutorial right here.
11 // Macrame Ball Ornament

This is a fun little video showing you how to make these really cool macrame ball ornaments. See the video by Oh My Knot here.


