How to make a gallery wall on a budget

This post contains affiliate links, which means we may earn a small commission if you purchase through them — at no additional cost to you. Please see our policy page for more details.
You don’t need to spend a lot of money here. I’ll tell you my tried and true tips for how to make a gallery wall on a budget. From the best inexpensive frames, to cheap artwork, it’s all in here in this one long EPIC post.
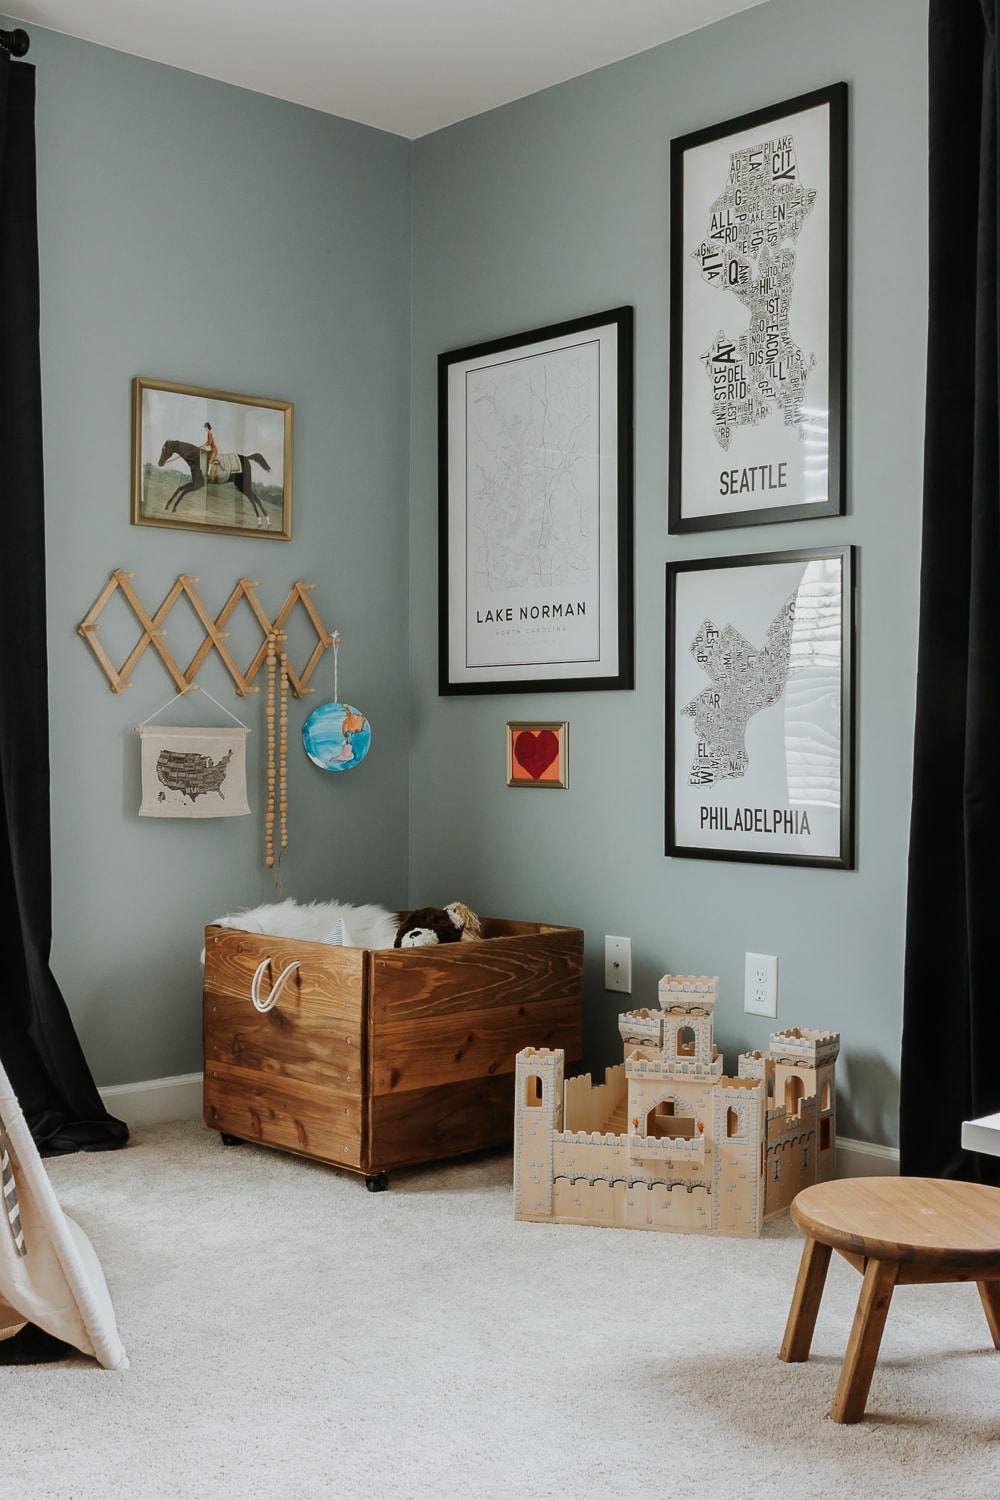
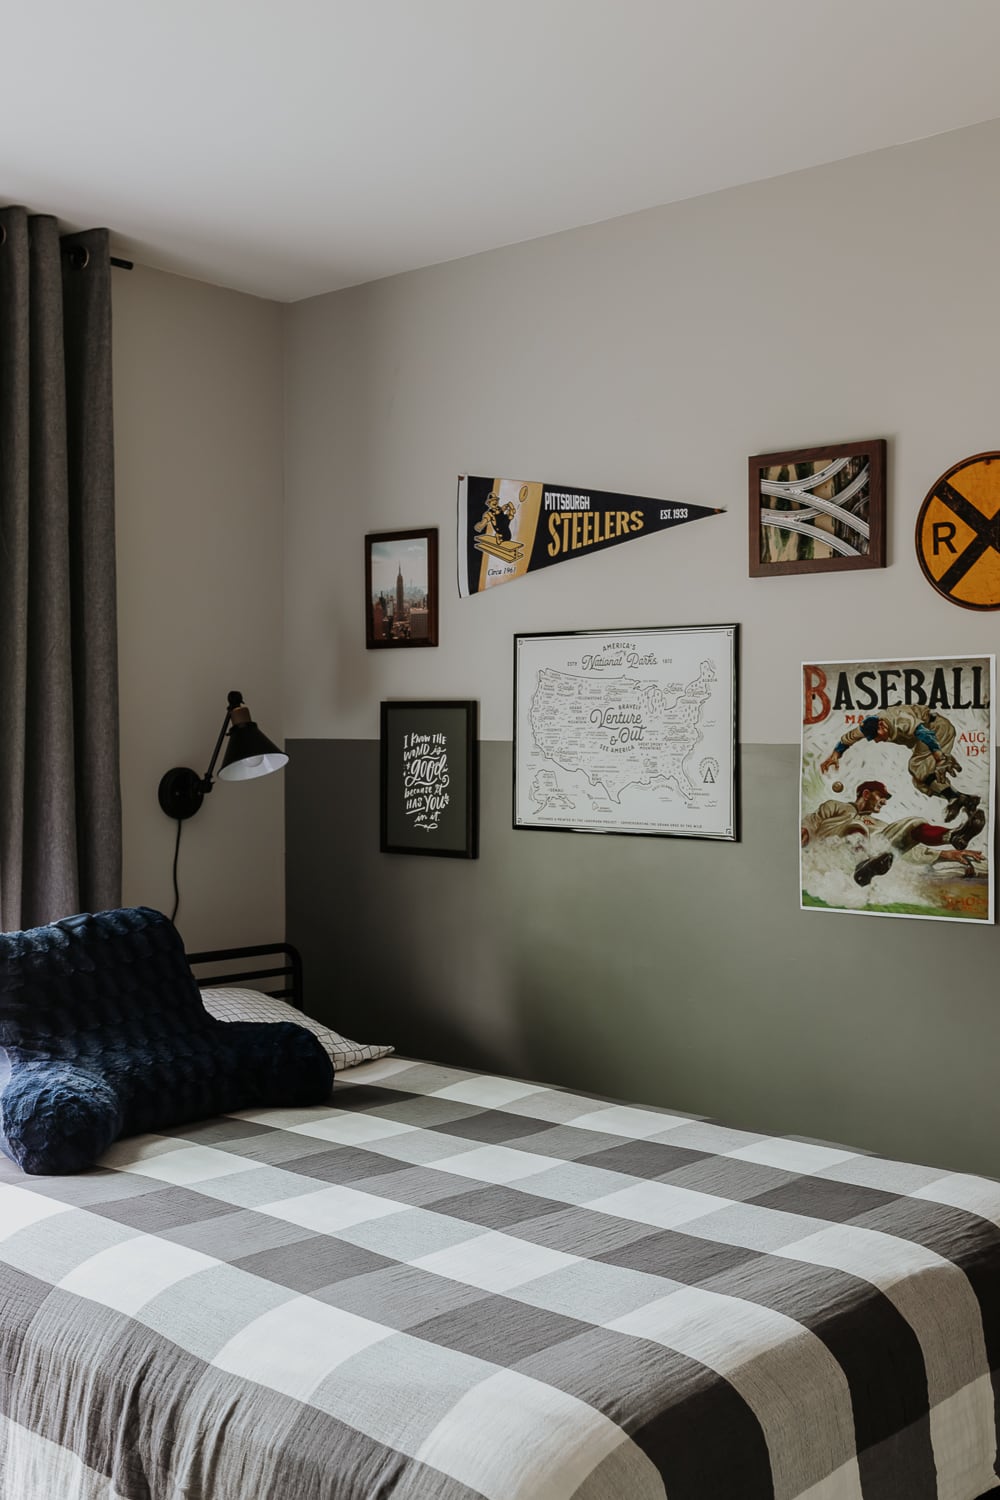
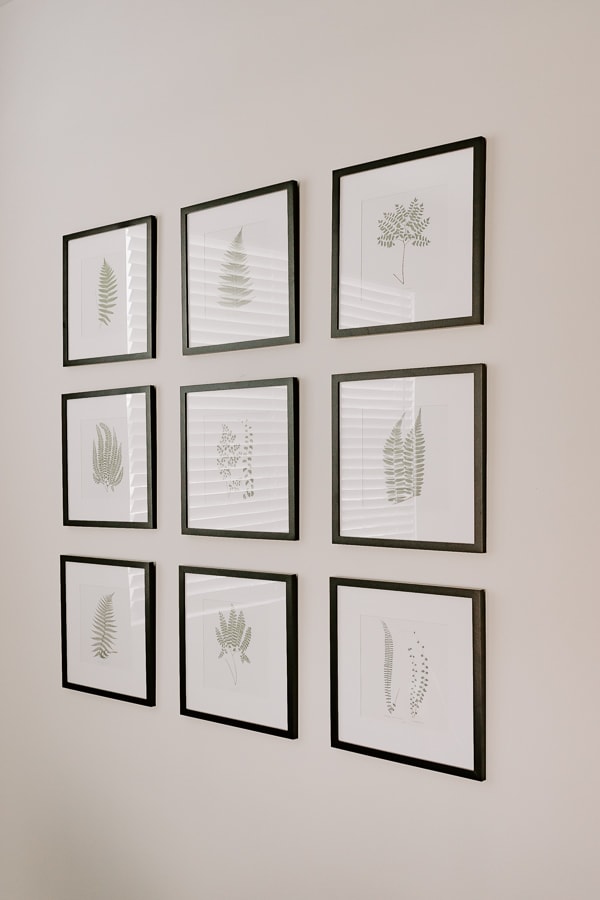
We’ve put together a number of gallery walls in our time. I will say – you get better with practice. Our first try at it was in our old craftsman in Seattle. Followed by a grid gallery wall in our new home’s kitchen, followed by a staircase gallery wall, a playroom gallery wall and finally my son’s gallery wall!
I’m sharing all the tips we learned to keep our gallery walls cheap and doable. So let’s dive right in.
how to Make a gallery wall on a budget
Putting together an inexpensive gallery wall is not hard, and putting it together can be fun.
→Here’s your order of events:
- Decide on your Aesthetic and Art Style
- Choose your Frames
- Select your Art
If you already have the art – you will have to buy frames to fit. However, if you are starting from scratch, then you can choose the frames and then print the art to fit the frames.
Let’s talk more in depth about each of these.
1. Decide on your Aesthetic First
Before purchasing anything, decide the overall aesthetic first.
→Keep these design basics in mind:
- FRAMES: Go eclectic or monochromatic with your frame – choose either all black frames or go with a variety of frame finishes. Mix and match frame sizes or go for a grid style.
- MATS: Mix your mats – try some art with and without mats for a more artistic look, or go for oversized mat frames.
- STYLE: You can be very eclectic but any piece that doesn’t feel “right” should be put somewhere else. Check out Pinterest, Instagram, Home Magazines and the like to find what you are most drawn to. The gallery wall photos you pin over and over again are telling you something. You can also choose to stay in one art vibe: such as all black and white, all vintage oil paintings, all geometric, etc.
2. Where to buy cheap frames
Buying picture frames can quickly eat away at your budget. Unless…
→ Unless you know where to buy good, cheap frames.
- Thrift Stores: This has become my go-to! Our thrift stores have so many good frames for cheap, and it’s easy to swap the art out.
- Michael’s is a great source for good, quality frames that also look vintage. Plus, they seem to always be running a sale of some sort. And you can usually find a 40% off coupon online as well. We wanted that chunky, textured look to our frames.
- IKEA – everyone knows IKEA! Their Ribba frame is a good one.
- Target also has a fantastic selection of frames, although most of the frames are your typical black, white and wood frames. You are not going to find many, if any, vintage looking frames.
- Amazon. I would be remiss if I didn’t mention it. A quick search for vintage frames on Amazon brings up a slew of good, affordable options. Check out Craig Frames, Lawrence Frames and Golden State Art.
- Dollar Stores can also be a good source for smaller sized frames. When I go, I always make it a point to peruse the framing aisle to see what’s in stock. I’ve scored multiple sets of copper and gold frames in 8×10. You cannot beat that price!
- Homegoods: If you have a Homegoods near you, it’s worth a look there too. My only advice would be to make sure you can take out and remove any existing artwork from the frame before you buy it. A quick glance at the back of the frame should give you a hint. Otherwise, you might be stuck with artwork you are not in love with. (But don’t worry, you can always do a DIY Spackle art over top!)
- You should also consider using what you have and antique them yourself. If you already have frames that you like, but the color/style/feel is off, consider revamping them.
- Frame it Easy – one of my favorite places for GOOD, high quality framing in ANY SIZE YOU WANT.
I guarantee that you will find a collection of good frames and at any of these shops mentioned above. Let’s move on to the artwork.
3. Where to find Inexpensive Artwork
The wonderful thing about art is that it’s all subjective. I recommend you find art that’s meaningful to you in some way. Don’t choose any old art for the low price tag. Make sure it MOVES you. In some way. Your home should be a reflection of who you are. With that being said, you can find art that speaks to you and doesn’t cost an arm and a leg.

→ Here are some great options for inexpensive art.
Etsy
Let’s start with one of my favorites sources for inexpensive artwork: Etsy. This site is chock full of talented artists and many of them sell at crazy affordable prices. You can even purchase digital versions of your favorite art and print it out at home. (More on printing your digital art below). One of my favorite pieces of art in our home is an Etsy find – Clare Elsaesser. I am a lifelong fan of her artwork.
Society 6
Society6 is another great source for cheaper art prints. I like that their prints are different, you won’t find them anywhere else.
IKEA
If you peruse their frame aisle you can find some little artistic gems alongside. Take a modern piece of art and contrast it by framing with a vintage gold frame. I can guarantee you no one will know it’s IKEA!

Public Domain Art
Download and print Public Domain Art from National Archives. This is probably my favorite tip! There are some gorgeous prints that you can find FREE on these websites:
I would ensure that each piece of art you find is definitely public domain and not copyrighted. You can also buy public domain art that is already enhanced and resized for printing or that can be printed for you.
If printing at home, I highly recommend using this Printable Cotton Paper. It gives your photos a subtle texture and more heft.

Art you already have
Finally, take stock of what you already own. And think outside the box.
Perhaps you have a photograph from a memorable trip that you can print and frame. Or, maybe you can frame an heirloom doily or handkerchief. Now that’s something with a story behind it.
→ Here are some additional unique ideas for “art”:
- Pages from calendars and books
- Old Letters or Recipes
- Vintage Photographs of family
- Postcards
- A favorite fabric (even clothes!)
- Pressed flowers or leaves from your own backyard
- Photographs from Free Stock Photo Sites
- Plates, mirrors and other objects (like antlers, shutters, low baskets, matchbooks)
- Create your own art!
How to hang your Gallery Wall
Now that we have our frames and our art – let’s get this baby up on the walls.
1. Layout your Art before Hanging
You want to take some time to play around with the frames and overall look. The easiest way I found to do this is to pretend the floor is your wall.
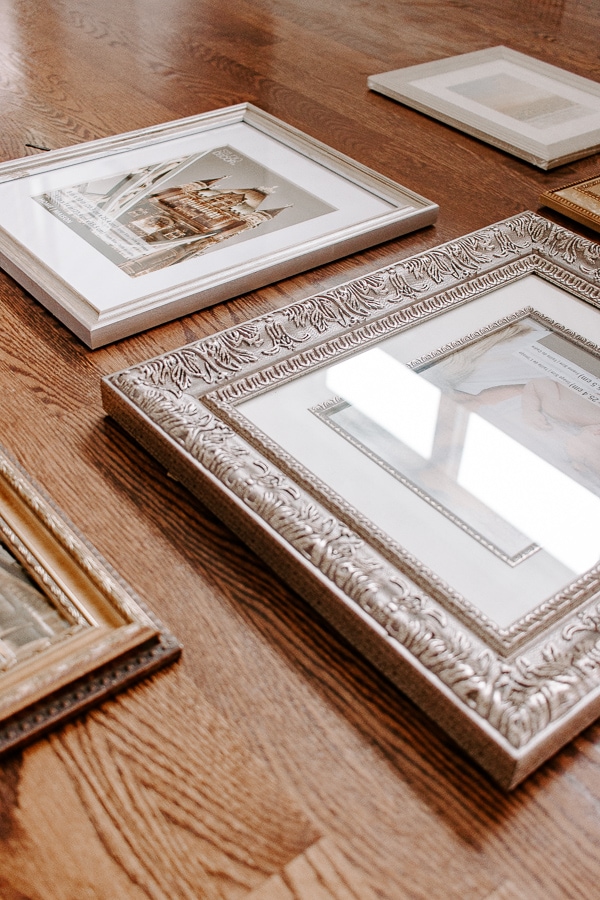
Measure the overall size of your gallery wall space and then copy the same size on your floor. You can use painter’s tape to mark it off.
Now, lay all your framed art on the floor within this space. You can mix and match until you find the look that works for you.
If you are going for an eclectic look, try to pair different frames next to each other. A vintage near a black frame, a horizontal next to a vertical, etc. But don’t stress about this either.
I’ve found that we can get so caught up in the stress of creating a gallery wall that it takes the fun out. And it’s going to look great so don’t worry!
You can do the whole “cut pieces out of kraft paper and tape them to the wall thing” but I found it just as easy to lay all my art out on the floor and find the perfect set up that way.
Again – don’t worry and keep it fun! Snap photos of your floor creations with your phone so you can remember what you did and to make it easier when hanging.
The basic guideline for hanging a gallery wall is that there are no basic guidelines. However, generally, it’s best to try and keep art no more than 3 inches apart.
If you go much further apart than that it starts to look disjointed and weird, in my opinion. You can totally eyeball the spacing. It doesn’t have to be mathematically precise.
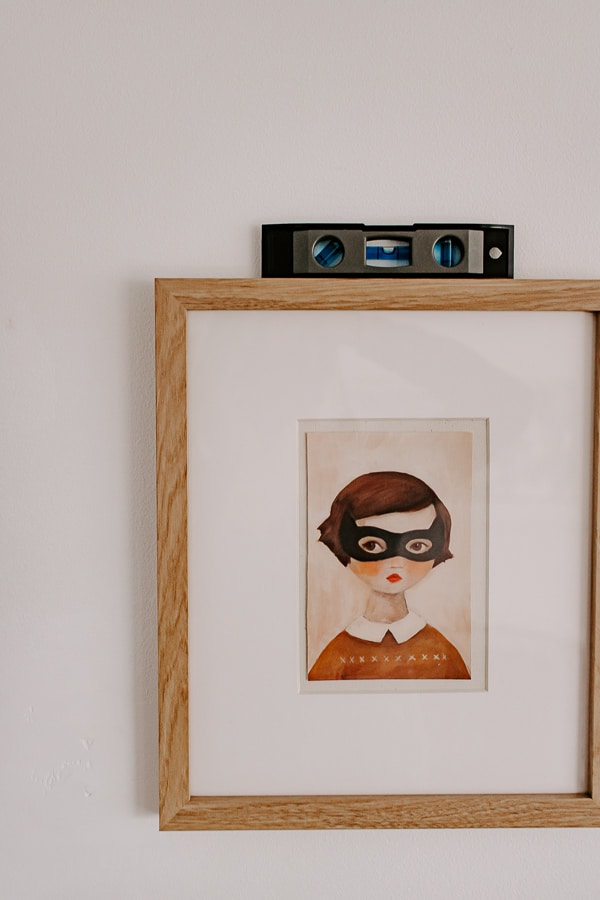
2. Use a Level
The ONE step you can’t skip is using a level. Art that is not hung straight makes the whole wall look off. So, take some time to level off each piece of art while hanging. You’ll be so much happier you did.
3. Use Command Strips for Damage Free Hanging
You can use a hammer and nails to hang your art, or you can use (my favorite) 3M wall hanging strips. Then you don’t create a bunch of micro-holes in your walls. Just be sure to use enough strips for each piece and I usually go for the heavier ones (the ones that say they hold at least 5 lbs). Always err on the side of caution and put a few extra strips on your frame.
Here’s some of my favorite hangers …
(featured image: House Beautiful).


